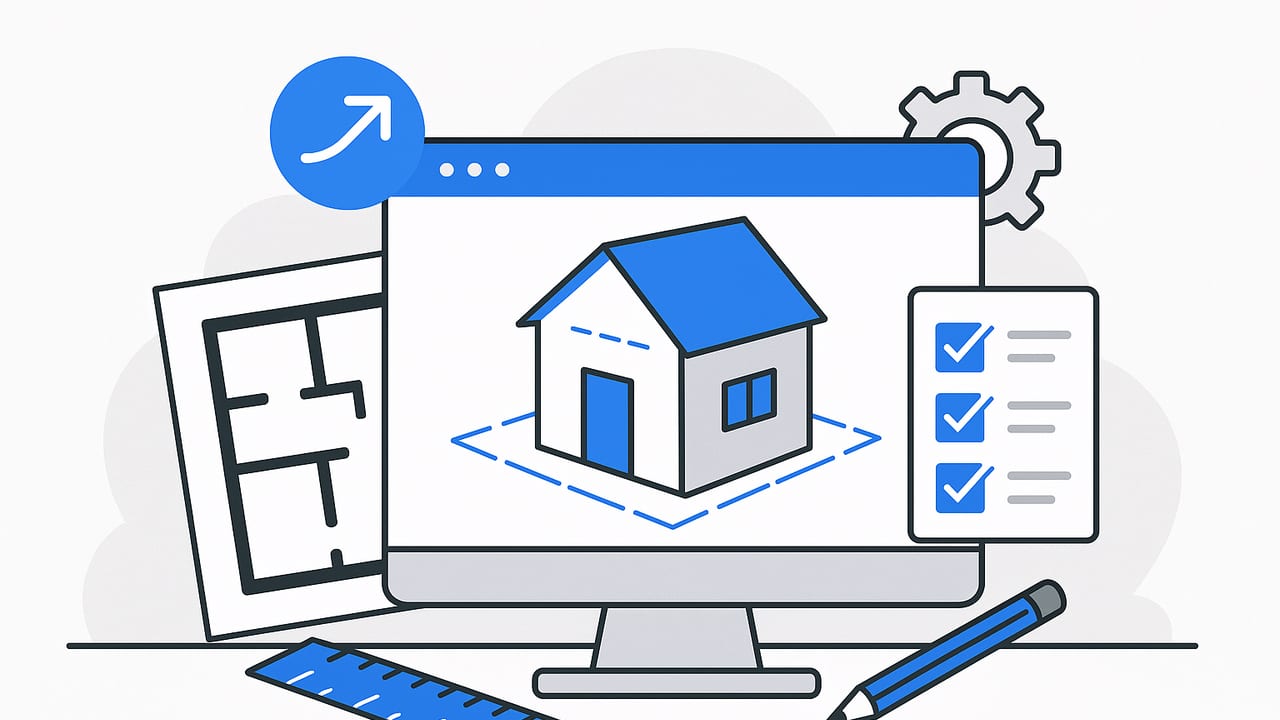
Transforming a 2D plan into a navigable, photoreal 3D model helps you verify layouts, test furniture, and communicate design intent clearly. Whether you are a homeowner planning a renovation, a designer producing a quick concept, or a real estate pro creating visuals, the path from lines to a livable model follows a repeatable process. This guide explains how to create 3D model from floor plan with practical steps, scale math you can trust, and a quality assurance checklist that prevents costly rework.
Before you start: pick the right floor plan
The quality of your input dictates the quality of your output. Work from the clearest source you can find and make sure you understand scale and intent before modeling.
- Resolution and clarity: Scan at 300–600 DPI if you are digitizing a paper plan. Avoid skewed photos; shoot from above with even lighting.
- Scale and dimensions: Look for an explicit scale such as 1:50 or 1:100, and at least one labeled dimension for verification.
- Line conventions: Distinguish walls, doors, windows, and fixtures. Thicker lines often indicate structural walls.
- Annotations: Note ceiling heights, structural columns, stair directions, and level names.
How to create 3d model from floor plan step by step
Below is a step-by-step workflow that works in most 3D tools, from SketchUp and Blender to Revit, Archicad, or mobile apps. The steps assume a single-level plan, but the principles extend to multi-story projects.
1. Calibrate scale correctly
Import or place the plan image on a locked reference layer. Use a known dimension to calibrate the drawing. If the plan says 1:100, then 1 mm on the plan equals 100 mm in reality. Set your model units to metric or imperial to match your target output and client expectations.
# Simple scale helper
# mm_on_plan is a measured distance on the plan image
# scale_denominator is 50 for 1:50, 100 for 1:100, etc.

def to_real(mm_on_plan, scale_denominator):
    return mm_on_plan * scale_denominator

# Example: 48 mm on plan at 1:50 => 2400 mm real
Pro tip: After scaling once, measure two or three more known distances to confirm consistency. If you find drift, your source image may be skewed; re-scan or use perspective correction before proceeding.
2. Trace walls and structural elements
Trace centerlines or faces according to your software best practice. In CAD and BIM tools, assign layers or categories for walls, columns, and beams. Snap to corners and intersections; avoid freehand lines. For curved walls, use arcs or splines with minimal segments to maintain smoothness.
3. Set story heights and datums
Define a project base point and elevation levels. Typical residential floor-to-ceiling heights range from 2.4 m to 2.7 m, but always use plan notes or onsite measurements when available. Add a separate ceiling plane if soffits or bulkheads are present.
4. Extrude walls to height
Convert traced walls to 3D by extruding them to the story height. When possible, model wall thickness accurately: common interior partition thicknesses are 90–100 mm, and exterior walls are often 200–300 mm depending on materials and insulation.
5. Insert doors and windows with real sizes
Cut openings precisely. Doors commonly range from 760 to 915 mm wide in residential builds, with 2040 mm height typical in many regions. Windows vary widely; model the sill and head heights to reflect daylight and sightline behavior. Include door swings to verify clearance.
6. Add stairs with riser and tread math
When stairs appear on the plan, count risers and use the rise plus run rule of thumb: rise plus tread depth is roughly 450–480 mm total, with risers of 160–190 mm and treads of 250–280 mm as common ranges. Align the stair direction with the arrow shown on the plan.
7. Create floors, ceilings, and openings
Place a floor slab aligned to the outer wall boundaries. Cut openings for stairwells and double-height spaces. Add ceilings and crown elements where needed so your renders catch realistic light bounce.
8. Place fixtures and furniture to verify flow
Use asset libraries for kitchens, baths, and furniture. Follow clearance rules: 900 mm recommended for circulation paths, 600 mm in front of closets, 1000–1200 mm around dining tables, and at least 760 mm in front of toilets. This step validates that the layout works beyond lines on paper.
9. Assign materials, lights, and environment
Even basic materials dramatically improve readability. Use physically based materials where possible. Add a few area lights or emissive panels near windows to simulate daylight, and enable global illumination for balanced renders. Keep materials true to the plan intent rather than style-first.
10. Set cameras and export views
Create orthographic plans, axon views, and a series of eye-level perspectives. For sharing, export stills at 1920 x 1080 or 2560 x 1440 for presentations. If you need interactive viewing, export to GLB or USDZ for web and mobile, or create a simple walkthrough animation.
Accuracy rules and tolerances that prevent rework
Early 3D models used for concept and planning do not need construction-level tolerance, but you should aim for consistent accuracy so decisions are reliable.
- Overall footprint: within 1 percent of stated dimensions or better.
- Room sizes: within 25 mm for short spans and within 1 percent for spans over 5 m.
- Wall thickness: match specified types; if unknown, use typicals and label assumptions.
- Door and window sizes: match schedule values; if unspecified, use standard modules and mark provisional.
- Heights: honor finish floor and ceiling levels; note any drop ceilings or soffits clearly.
Maintain a change log. When you make an assumption, annotate it. If you later receive updated drawings, you can quickly audit what to revise.
Quality assurance checklist before you share
- Scale confirmed: two or more known dimensions match within tolerance.
- Wall joins clean: no gaps, overlaps, or z-fighting in corners.
- Openings correct: all doors and windows cut through walls with accurate head heights.
- Levels aligned: floor, stair landings, and ceiling planes are consistent across the model.
- Navigation ready: cameras avoid clipping; fields of view between 50 and 60 degrees feel natural.
- Export test: send a small GLB or PNG set and confirm appearance on the target device or viewer.
Measure twice, model once. A five-minute scale check can save hours of cleanup later.
Common pitfalls and how to avoid them
- Scaling from a low-quality photo: correct lens distortion or re-scan. Use grid overlays to spot skew.
- Ignoring wall reference: know if dimensions refer to stud centerlines or finished faces, and model accordingly.
- Single-height assumption: many plans include bulkheads or split levels; check sections or elevation notes.
- Over-modeling too early: block out major masses first, then refine. Early materials and lights help find geometry issues sooner.
- Asset bloat: keep furniture polygon counts reasonable to maintain smooth navigation and fast renders.
Which workflow fits your timeline
Different methods trade speed, accuracy, and flexibility. Use the approach that matches your deadline and skill set.
| Workflow | Learning curve | Turnaround | Accuracy | Best for |
|---|---|---|---|---|
| Manual tracing in 3D tool (SketchUp, Blender) | Moderate | 2–6 hours for a small apartment | High if scaled correctly | Designers who want control over detail and style |
| Import from CAD or BIM (DWG, IFC) | Higher | 1–3 hours after cleanup | Very high when source is well drafted | Projects with existing digital drawings |
| AI-assisted conversion from image | Low | Minutes to an hour | High for layout, refine details as needed | Quick proposals, client previews on mobile |
File formats and collaboration tips
Pick formats that preserve scale and materials, and confirm units on both ends of the pipeline.
- OBJ and FBX: widely supported for geometry and materials. Verify units upon import.
- GLB and USDZ: great for web and mobile viewing; package textures; compact.
- IFC and RVT: use for BIM data round-tripping and coordination.
- DWG and DXF: ideal for sharing 2D references and snapping clean linework.
- PNG and WEBP: high-quality stills for reports and presentations.
Establish a naming convention before you start exporting. Example: ProjectName_Level_View_Rev for stills and ProjectName_Model_Units_Format for 3D files. Include a readme with units, north indication, and known assumptions.
Time expectations: from studio to site
- Small apartment, single level: 2–4 hours for tracing and massing; 1–2 hours for fixtures and materials; 30–60 minutes for lighting and exports.
- Two-story house: 6–10 hours for structure and stairs; 2–4 hours for furnishings; 1–2 hours for QA and presentation.
- Commercial suite with open plan: 4–8 hours for layout and partitions; extra time for MEP proxies and code clearances.
Your actual time depends on source quality and how deeply you style materials and lights. Keep your first pass simple, validate dimensions with stakeholders, then polish.
FAQ
Can I create a 3D model from a floor plan without dimensions
Yes, but you need at least one trusted reference dimension, such as a known door width or stair run. Use that to calibrate scale, then label assumptions prominently. When onsite measurements become available, update the model and rerender key views.
How do I handle curved or angled walls
Use arcs or low-segment splines for curves and ensure tangency where curves meet straight segments. For angled walls, lock angles using snapping or angle input so geometry stays precise during extrusion.
Do I need photoreal rendering to validate a layout
No. Clean materials and balanced lighting are enough for layout validation. Photorealism is helpful for presentations, marketing, and material decisions but not required for early flow checks.
How precise must the model be to fit furniture
For basic fit studies, aim for room dimensions within 1 percent and door swings modeled accurately. For custom casework or tight clearances, raise accuracy to millimeter-level in the affected zones and confirm onsite.
Putting it all together
To create 3D model from floor plan consistently, follow a simple pattern: calibrate scale, trace cleanly, extrude to correct heights, cut accurate openings, drop in key fixtures and furniture for flow, and run a quick QA before you export. Choose the workflow that matches your tools and timeline, keep annotations of assumptions, and validate two or three dimensions in every review set.
If you prefer a fast mobile workflow, an iOS app like Floor Plan to 3D can convert black and white plans into accurate 3D layouts with preserved proportions, so you can focus on testing scenarios and exporting high-resolution images for proposals.
