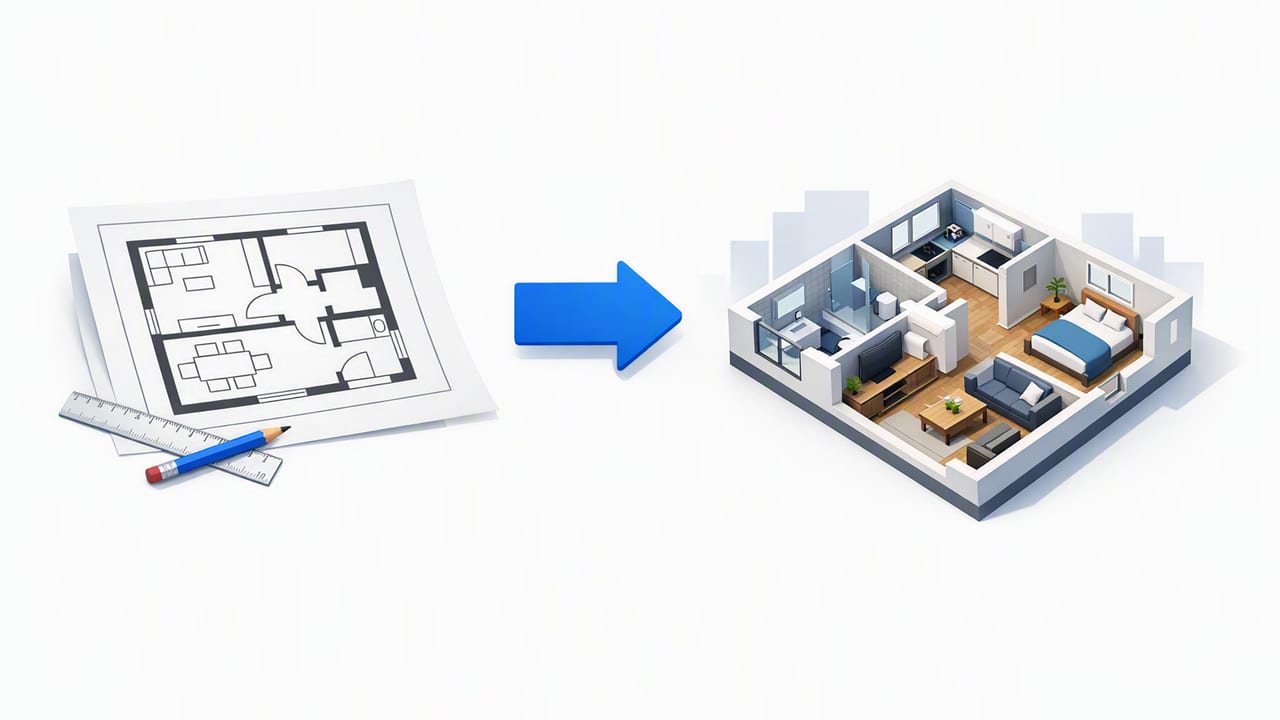
When you convert floor plan to 3D, the goal isn’t just a pretty render—it’s a dependable model you can use to test renovation ideas, validate furniture layouts, and communicate clearly with contractors or clients. The difference between a “nice visualization” and a “decision-ready” 3D render comes down to one thing: accuracy.
This guide walks through a practical, accuracy-first workflow for turning a black-and-white floor plan or blueprint into a clean 3D layout. You’ll learn how to prep your plan, calibrate scale, spot common conversion mistakes, and use an AI room planner mindset to explore multiple redesign options without losing the original proportions.
What “accurate” means in floor plan to 3D conversion
Accuracy in 3D floor plan conversion has three layers:
- Geometric accuracy: walls align, rooms close properly, and angles match the plan.
- Dimensional accuracy: the model respects scale (room widths, door sizes, hallway clearances).
- Semantic accuracy: labels, room names, and key notes are preserved so the 3D view remains understandable.
A great workflow keeps all three intact. If you only optimize for looks, you risk a 3D render that misleads decisions—like selecting cabinetry that won’t fit, or approving a layout that blocks circulation.
Before you convert: prepare the floor plan for clean results
1) Choose the best source plan you can get
If you have multiple versions (printed scan, PDF export, marketing brochure), prioritize:
- High contrast: dark lines on a white background.
- Minimal distortion: avoid photos taken at sharp angles.
- Visible dimensions: at least one reliable dimension line is ideal for scaling.
2) Remove visual noise (if possible)
Even basic cleanup improves conversion. If you can, crop to the building footprint and remove unrelated pages. If you can’t edit the plan, aim to capture a clean scan or photo with even lighting.
3) Identify what must not change
Before generating a 3D model, list the “non-negotiables”:
- Exterior walls and structural columns
- Stair openings and landings
- Plumbing stacks (kitchen/bath core)
- Window and door locations (especially on exterior walls)
Tip: If you’re redesigning, treat structure and openings as anchors. Move furniture first, then non-structural partitions, and only then explore structural changes.
Step-by-step: an accuracy-first workflow to convert a floor plan to 3D
Step 1: Capture or import the plan without distortion
If you’re photographing a printed plan, keep your camera parallel to the page and fill the frame. Distortion creates skewed walls and “almost-right” angles that become obvious in 3D.
Step 2: Calibrate scale using a known dimension
Most conversion errors come from incorrect scale. Use one known measurement (for example, a 10' wall or a 900 mm door width) to set scale, then verify with a second dimension if available.
If you need a simple way to think about scaling, here’s the underlying idea:
// If your imported plan measures 243 px for a wall that is 12 ft in reality:
scale = real_length / measured_length
scale = 12 ft / 243 px

// Apply scale factor to every measurement derived from the image.
You don’t need to manually compute this in most tools, but understanding it helps you troubleshoot when furniture feels “too big” or hallways feel “too tight.”
Step 3: Trace or confirm wall boundaries and thickness
Walls define everything else. Pay attention to:
- Wall thickness: interior vs exterior often differ; mixing them can shrink rooms.
- Wall joins: make sure corners meet cleanly (no gaps or overlaps).
- Odd angles: bay windows, chamfers, and diagonal corridors need extra care.
Step 4: Place openings (doors/windows) with swing and sill awareness
Doors and windows aren’t just holes in walls—they shape circulation and furniture placement. When converting, verify:
- Door swings: avoid collisions with fixtures, cabinetry, or adjacent doors.
- Window height assumptions: if sill heights are unknown, keep them consistent for realistic 3D lighting.
- Alignment: windows should be centered or offset exactly as in the plan.
Step 5: Confirm room labels, dimensions, and proportions
Accurate labeling helps you (and others) interpret the model quickly. If your source plan includes room names and dimensions, preserve them. Then run a quick proportion check:
- A typical hallway should feel navigable (often ~36–48 in / 900–1200 mm in many homes).
- Bedroom layouts should allow bed clearance on at least one side.
- Kitchens should support workflow triangles (sink–stove–fridge) without pinch points.
Step 6: Add baseline furniture to validate usability
Furniture is your “sanity test.” Add a few standard items to catch scale mistakes early:
- Queen bed (approx. 60" x 80" / 152 x 203 cm)
- Standard sofa (varies, but 84–96" wide is common)
- Dining table (ensure chair pull-back space)
- Kitchen counters (commonly ~24" / 60 cm depth)
If everything fits only when you use unrealistically small furniture, your scale or wall placement is likely off.
Common conversion mistakes (and how to fix them)
| Mistake | What it looks like in 3D | How to fix it |
|---|---|---|
| Wrong scale calibration | Furniture looks toy-sized or oversized; doors feel incorrect | Recalibrate using a known dimension; verify with a second measurement |
| Misread wall thickness | Rooms shrink; windows don’t align; exterior footprint changes | Differentiate exterior/interior walls; keep thickness consistent |
| Skew from angled photo capture | Walls that should be parallel slowly drift | Rescan/recapture; use perspective correction if available |
| Openings placed “approximately” | Furniture conflicts; circulation breaks | Place doors/windows by dimension lines or centered marks; confirm swings |
| Ignoring notes and symbols | Missing closets, soffits, or steps create unrealistic interiors | Translate key symbols into 3D elements (closets, built-ins, stairs) |
Room-by-room tips for better redesign previews
Once the base model is accurate, you can explore redesign options faster and more confidently. Here are targeted checks that improve renovation previews and staging realism.
Kitchen: plan around constraints, not vibes
- Keep clearances: leave comfortable walking space between counters and islands.
- Respect appliance widths: verify fridge depth and door swing so it doesn’t block traffic.
- Use lighting tests: in 3D, try under-cabinet lighting and daylight balance to see true finishes.
Bathroom: small errors become big problems
- Confirm door swing early: bathroom doors commonly clash with vanities if mis-modeled.
- Validate fixture spacing: toilets, showers, and sinks need realistic clearances.
- Check wet wall locations: keeping plumbing aligned reduces remodel complexity.
Living room: staging for flow
- Anchor with circulation: ensure paths to doors and hallways stay open.
- Use reference furniture sizes: don’t “cheat” with tiny sofas to make a layout work.
- Test multiple focal points: TV wall vs fireplace vs window view—3D makes comparisons fast.
Bedroom: prioritize clearances
- Bed + nightstand math: confirm both sides if possible, or decide which side sacrifices space.
- Closet access: ensure doors (sliding or swing) open without obstruction.
- Natural light: window placement in 3D can guide furniture orientation.
Using an AI room planner mindset without losing accuracy
AI-guided room planning is most helpful when you treat it as a rapid iteration engine on top of a correct base model. A reliable approach is:
- Lock the shell: exterior walls, stairs, major openings.
- Generate 2–4 layout options: focus on furniture arrangements and zones.
- Compare by criteria: storage, circulation, seating capacity, daylight.
- Only then explore renovations: moving non-structural partitions, adding built-ins, opening kitchens.
This keeps the “fun” part of redesign grounded in what the plan can actually support.
Exporting 3D renders for presentations: what to include
When your 3D model is accurate, exports become genuinely useful in proposals and stakeholder reviews. Consider exporting:
- Top-down 3D view for layout clarity
- Eye-level perspectives for material and staging decisions
- Before/after pairs to communicate renovation impact
- Multiple lighting conditions (day vs evening) for finish selection
For clarity, add minimal annotations: room name, key dimensions, and a short legend for proposed changes.
Quick accuracy checklist (use this every time)
- Scale set using at least one known dimension (verified by a second)
- Walls close cleanly with correct thickness
- Doors and windows placed exactly, with correct swing direction
- Stairs and structural elements match the plan
- Baseline furniture fits without unrealistic downsizing
- Labels and key notes preserved for communication
Conclusion: speed comes after correctness
It’s tempting to rush from a 2D plan to a stylish 3D render, but accuracy is what makes the model valuable for real decisions. When you convert floor plan to 3d with a scale-first workflow, you get a dependable foundation for AI room planning, renovation previews, and presentation-ready visuals—without the painful rework that comes from small errors.
If you want a lightweight iOS workflow for turning black-and-white plans into clean 3D renders while keeping proportions and labels intact, you can explore Floor Plan to 3D & Home Redesign as one option.
