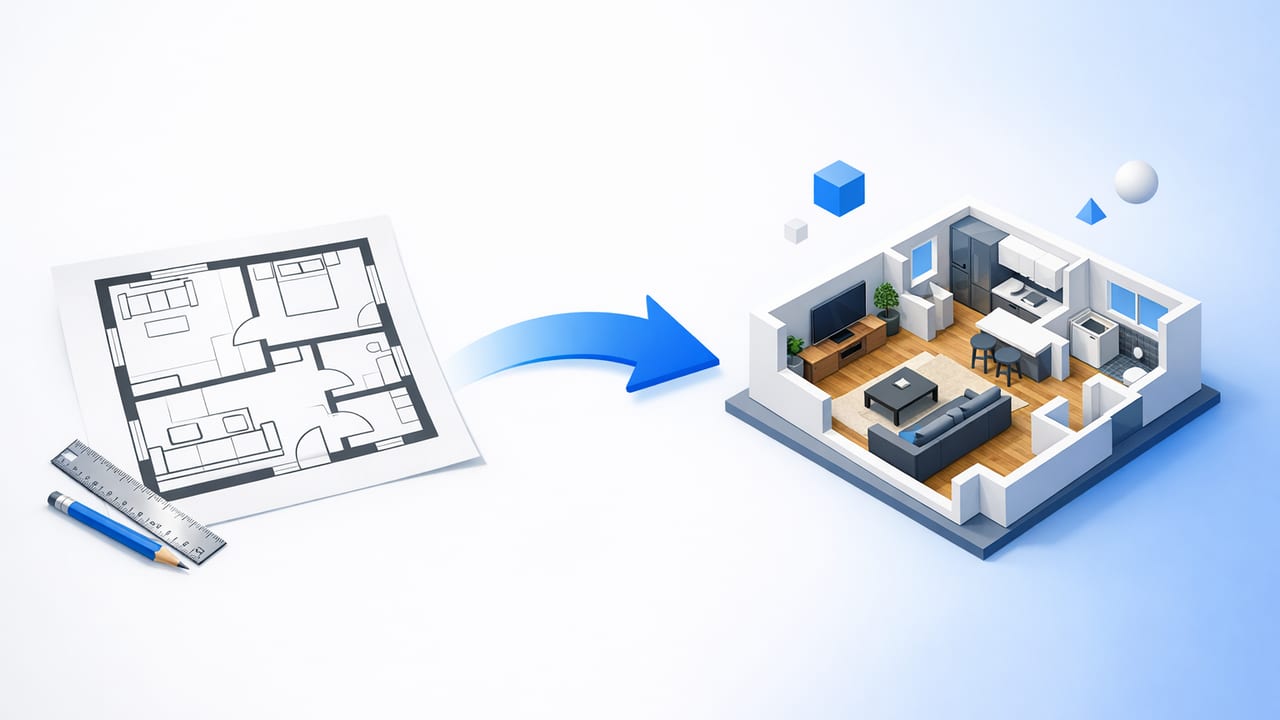
If you want to convert floor plan to 3d, the real challenge usually isn’t getting “a” 3D model—it’s getting a trustworthy one. A slightly wrong wall thickness, a missing door swing, or a scale mismatch can cascade into bad furniture layouts, misleading renovation previews, and confusing presentation images.
This guide focuses on an accuracy-first workflow you can use with any modern floor-plan-to-3D process (apps, services, or in-house). You’ll learn what to prepare, what to verify, and how to troubleshoot the most common conversion issues so your 3D renders reflect the original plan’s labels, dimensions, and proportions.
Why accuracy matters when you convert a floor plan to 3D
3D is powerful because it turns lines into spatial decisions—kitchen clearances, hallway widths, door conflicts, and window placement all become obvious. But 3D also amplifies errors:
- Scale drift (even 1–2%) can make built-ins or furniture “almost fit,” which is the worst-case scenario for planning.
- Misread symbols (doors, stairs, fireplaces) can break circulation and room function in the 3D scene.
- Missing labels makes it harder to align room intent (e.g., “laundry” vs “pantry”) with redesign ideas.
What you need before you start
Before conversion, gather the cleanest reference you can. You don’t need perfect drawings, but you do need at least one reliable measurement to lock scale.
Recommended inputs (best to acceptable)
| Input type | Pros | Common issues | Best use |
|---|---|---|---|
| Original PDF blueprint | Sharp lines, consistent scale, readable labels | May include multiple sheets/layers | Fastest, most accurate conversion |
| High-res scan (300+ dpi) | Good detail, workable for AI and manual tracing | Skew, shadows, creases | Most common homeowner input |
| Phone photo | Easy to capture | Perspective distortion, glare, blur | Last resort; requires extra cleanup |
| Hand sketch | Can reflect “as-built” reality | Often missing dimensions and symbol consistency | Early concept planning |
Minimum checklist
- One known measurement (e.g., a labeled wall length, door width, or overall building width).
- Readable room labels (or a separate list mapping each room name).
- Door and window locations (even if sizes are approximate).
- Stairs (direction, landings, and approximate run).
Step-by-step: an accuracy-first workflow
Use this sequence whether you’re converting with AI, tracing manually, or combining both.
1) Clean the plan image (5–15 minutes)
Most conversion errors begin with messy input. Your goal is to make walls and openings unambiguous.
- Crop to the relevant floor (avoid showing two floors in one frame if possible).
- Correct rotation so walls are horizontal/vertical.
- Increase contrast to strengthen wall lines and lighten background noise.
- Remove distractions like title blocks, legends, and big annotation clusters if they overlap geometry.
Rule of thumb: If you can’t quickly tell what is a wall vs. a cabinet line, conversion tools won’t either.
2) Lock scale using a known dimension
When you convert floor plan to 3d, scale is the backbone. Pick the most reliable dimension on the sheet—ideally a long exterior wall or an overall width—because longer references reduce relative error.
- Identify one dimension you trust (e.g., “42'-6\"”).
- Ensure the 3D conversion process uses that as a calibration reference.
- After conversion, re-measure at least two other spans to confirm scale consistency.
3) Confirm wall types: exterior, interior, and structural
Many plans use different line weights. If your conversion treats all walls equally, you may lose realistic thickness and structural rhythm.
- Exterior walls are usually thicker and continuous.
- Interior partitions are thinner and often stop at openings.
- Structural elements (columns, beams) should be preserved, not “smoothed out.”
If the plan is ambiguous, choose a simple convention (e.g., exterior 6–8 in, interior 4–6 in) and document it for the project.
4) Place doors and windows with intent (not just holes)
Openings drive circulation and furniture layouts. When reviewing the 3D, verify:
- Door swing direction (left-hand/right-hand) and which room the door belongs to.
- Window height assumptions (sill height) if you plan cabinetry or a headboard under windows.
- Sliding doors are not accidentally converted into hinged doors.
5) Validate room boundaries and labels
Room planning and redesign suggestions (AI or manual) depend on correct room definitions. After conversion:
- Check that each room is enclosed by walls (no tiny gaps at corners).
- Ensure open-concept areas are defined logically (e.g., “Living/Dining” zone split).
- Verify labels match the plan (or your intended use if you’re repurposing spaces).
6) Add vertical context: ceiling heights, steps, and level changes
A flat 3D model can look right while being functionally wrong. If you can, confirm:
- Ceiling height (even a default like 8 ft is better than unknown).
- Stair direction and landing placement.
- Sunken rooms, raised hearths, or 1–2 step transitions.
7) Do a quick “reality check” with clearances
Once the base 3D is built, run a clearance sanity check. This is where errors reveal themselves fastest.
- Hallways: 36 in+ typical minimum comfort.
- Door clearance: can the door open without hitting fixtures?
- Kitchen work zones: confirm aisle widths (often 36–48 in depending on layout).
- Bathrooms: check toilet and vanity clearances (local codes vary, but conflicts are easy to spot in 3D).
Common conversion mistakes (and how to fix them)
Walls don’t meet at corners
Cause: Low-resolution input, broken linework, or aggressive cleanup filters.
Fix: Zoom in and “snap” endpoints; in many tools, simply redrawing a short corner segment closes the room and restores correct area.
Rooms are mirrored or rotated incorrectly
Cause: Orientation metadata in images or an accidental flip during import.
Fix: Compare a unique feature (stair direction, garage location, chimney) to ensure north/entry alignment is correct.
Doors become windows (or vanish)
Cause: Symbol confusion—especially on older plans or stylized drawings.
Fix: Manually override openings using the plan’s swing arcs and jamb indicators. Prioritize entry doors, bathroom doors, and patio sliders.
Scale is “close” but not correct
Cause: Calibration used a short dimension, or the plan image was photographed with perspective distortion.
Fix: Recalibrate using the longest reliable dimension. If you only have a phone photo, try re-shooting from directly above, or use a scanning app that corrects perspective.
How to judge whether your 3D conversion is good enough
Perfection isn’t always necessary. A renovation preview for paint colors needs less precision than a cabinet order. Use this quick rubric.
| Use case | Acceptable tolerance | Must be correct |
|---|---|---|
| Early layout exploration | Within ~2–3% | Room adjacency, door locations, major windows |
| Furniture planning / staging | Within ~1–2% | Wall lengths, openings, circulation paths |
| Renovation concepts (non-structural) | Within ~1% | Kitchen/bath clearances, window/door sizes |
| Construction documentation | As-built verification required | Everything (confirm onsite) |
A simple data structure for room planning (optional)
If you’re collaborating with a designer or using multiple tools, it helps to store room intent and constraints in a lightweight format. Here’s a minimal example you can adapt:
{
  "project": "Main Floor",
  "scale_reference": { "wall": "Exterior West", "length_in": 510 },
  "rooms": [
    {
      "name": "Kitchen",
      "targets": {
        "style": ["warm modern"],
        "must_keep": ["window over sink"],
        "clearance_min_in": 42
      }
    },
    {
      "name": "Primary Bedroom",
      "targets": {
        "bed_size": "king",
        "must_keep": ["closet access"],
        "notes": "Allow wall for dresser + TV"
      }
    }
  ]
}
Best practices for faster, cleaner 3D renders
- Start with layout, then decorate: lock walls/openings before experimenting with finishes.
- Use “versioning”: duplicate the model before big changes (e.g., “Option A: open wall,” “Option B: keep wall”).
- Keep a measurement log: record 5–10 key dimensions you can re-check after edits.
- Export consistently: same camera angles and lighting across options makes comparisons clearer.
When you should re-measure the real space
Converting a floor plan to 3D is excellent for decision-making, but older homes and remodeled spaces can drift from archived plans. Re-measure if:
- Walls were moved, especially around kitchens/baths.
- Window sizes/positions feel inconsistent with the plan.
- You’re ordering custom millwork, countertops, or tile patterns.
Conclusion
To convert floor plan to 3d successfully, treat the process like a quick verification loop: clean the input, lock scale, confirm openings, validate room boundaries, then sanity-check clearances. Once the base model is trustworthy, you can confidently explore interior design, exterior refresh ideas, and renovation previews without second-guessing the geometry.
If you’re looking for an iOS workflow that converts black-and-white plans into clean 3D renders while preserving key layout details, Floor Plan to 3D & Home Redesign is one option to explore.
