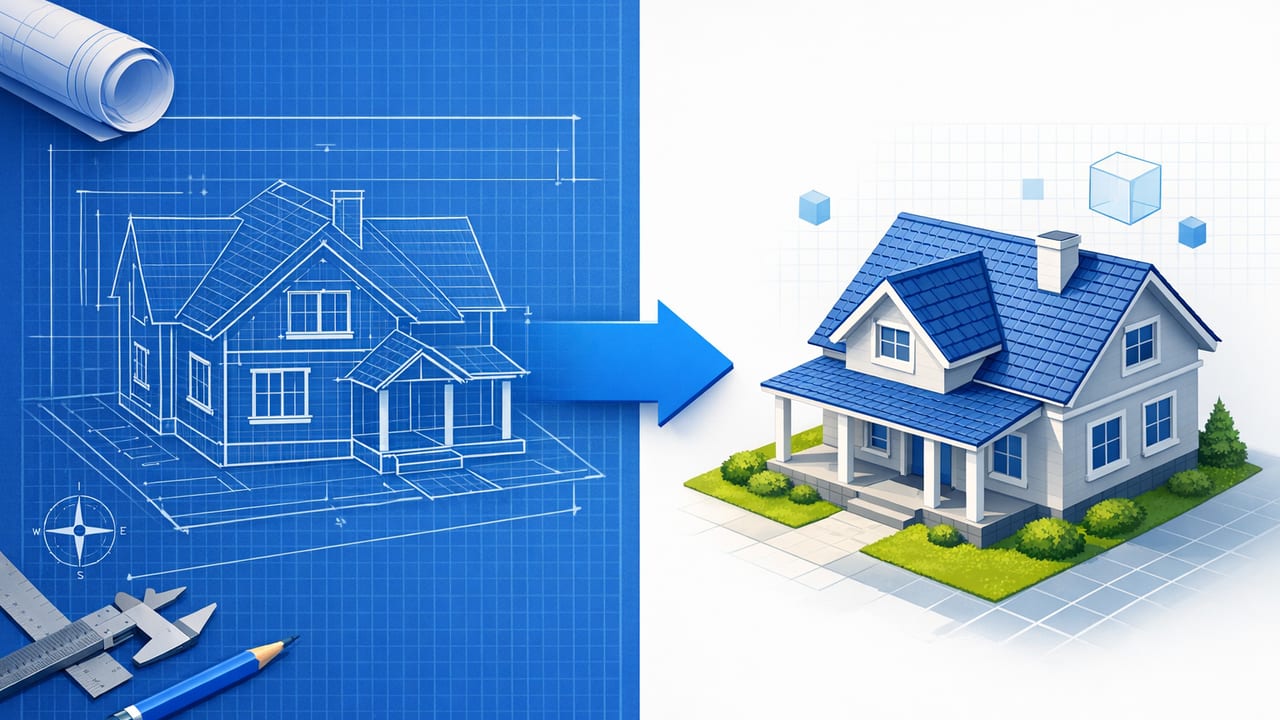
If you’ve ever tried to convert blueprint to 3d model, you already know the hard part isn’t “making it 3D”—it’s making it faithful. Real-world blueprints include faint dimension lines, messy scans, outdated notes, and symbols that don’t translate cleanly into walls, doors, and windows. The result is often a 3D model that looks polished but is subtly wrong: rooms shrink, openings drift, and furniture layouts stop making sense.
This guide focuses on an accuracy-first workflow you can use whether you’re a homeowner planning renovations, a designer creating concept visuals, or a contractor preparing client-ready previews. You’ll learn what to clean up in the plan, how to lock scale, how to handle ambiguous details, and how to produce 3D renders that are useful for decisions—not just pretty images.
Why accuracy matters more than realism in early 3D models
Most renovation mistakes start with a model that “looked right” but wasn’t dimension-true. Before materials, lighting, and decor, your model should reliably answer questions like:
- Will a 36-inch walkway actually stay 36 inches after the island shifts?
- Does the new door swing collide with a vanity or closet?
- Are windows aligned with the exterior elevation, or did the conversion guess?
- Do room labels and dimensions match the original plan?
When the underlying geometry is trustworthy, you can iterate quickly on layouts, staging, interior design options, and even exterior refresh ideas.
Step 1: Start with the best possible blueprint input
The conversion quality is strongly tied to input quality. Before importing anything into a conversion tool, spend a few minutes improving the source.
Preferred inputs (best to worst)
- Vector PDF (crisp lines, easy scaling)
- High-resolution scan (300–600 DPI, evenly lit)
- Phone photo (only if corrected for perspective)
Quick cleanup checklist
- Crop to the single floor you’re modeling (avoid title blocks if possible).
- Increase contrast so walls are darker than dimensions/notes.
- Fix skew: ensure the plan is squared (no trapezoid distortion).
- Remove clutter if you can (handwritten notes over wall lines cause misreads).
Tip: If your “walls” are thin, faint lines, many converters will confuse them with dimension strings. Darken wall strokes slightly before conversion.
Step 2: Confirm what “the blueprint” actually represents
One of the biggest sources of mismatch is that different drawings use different reference surfaces:
- Exterior-to-exterior dimensions (overall building footprint)
- Interior-to-interior dimensions (clear room sizes)
- Centerline dimensions (common in some construction sets)
Before you build the 3D model, decide which reference you will honor. For early concept models, interior clear dimensions are often most helpful for furniture and circulation. For exterior refresh studies, overall footprint matters more.
Step 3: Lock scale using a known dimension (do this early)
Scaling is the point where many conversions become “consistently wrong.” Choose one or two dimensions that are clearly printed and unlikely to be revised—like an overall width, a major room size, or a standard door opening called out on the plan.
A simple scaling method
Measure the same segment on your imported image (in pixels or any arbitrary units), then compute the scale factor.
// Scale factor concept
// real_length could be inches, feet, or meters
scale_factor = real_length / measured_length_on_image

// Any image measurement multiplied by scale_factor becomes real-world length
real_world = image_measurement * scale_factor
After scaling, validate it with a second known dimension in a different part of the plan. If those two checks disagree, the plan might be distorted (common with phone photos) or the drawing might include inconsistencies.
Step 4: Interpret walls, openings, and thickness correctly
When you convert a blueprint to a 3D model, the software often has to infer structure from line patterns. Help the process by making decisions up front:
Walls
- Set typical wall thicknesses (e.g., interior partitions vs exterior walls).
- Watch for double lines: some plans show stud walls, others show finished surfaces.
- Resolve ambiguous corners: small gaps may be scan artifacts, not doorways.
Doors
- Door swings are often missing or faint; confirm hinge side and clearance.
- Standardize widths when unclear (but mark assumptions for later).
Windows
- Confirm window placement against exterior elevations if available.
- Decide whether the blueprint indicates rough opening or finished opening.
Best practice: Keep an “assumptions list” as you model. It prevents you from treating guessed details as confirmed facts during renovation planning.
Step 5: Capture labels, room boundaries, and circulation intent
Blueprints aren’t just geometry—they’re intent. Room names, dimensions, and annotations often signal how the space should function.
- Room labels help with organization, exports, and presentation.
- Dimension strings help validate that the conversion didn’t warp proportions.
- Circulation paths (hall widths, entry transitions) should be preserved before adding furniture.
If your tool supports it, keep labels and dimensions visible during early iterations. They’re your quickest “sanity check.”
Step 6: Build the 3D shell first, then add detail in layers
A reliable workflow is to model in passes, from structural to decorative. This keeps you from polishing a model that’s still wrong.
Recommended modeling passes
- Pass A: Shell (exterior footprint, core interior partitions)
- Pass B: Openings (doors/windows aligned and sized)
- Pass C: Fixed elements (stairs, cabinetry blocks, plumbing walls)
- Pass D: Furniture + circulation (layout tests, staging)
- Pass E: Surfaces (materials, colors, lighting, decor)
For renovation previews, you often only need Pass A through D to make confident decisions.
Step 7: Validate the model with an accuracy checklist
Before exporting 3D renders or presenting options, run a quick validation. It’s faster than fixing downstream errors in every camera view.
| Check | What to compare | Common failure |
|---|---|---|
| Overall footprint | Exterior dimensions vs model | Scale drift from skewed photos |
| Room sizes | Printed room dims vs interior clear dims | Walls modeled on wrong reference line |
| Door widths & swings | Openings vs furniture clearance | Door placed on the wrong wall segment |
| Window alignment | Plan vs exterior view/elevation | Windows shifted due to symbol misread |
| Stairs | Run/rise direction and landing locations | Stair volume collides with ceiling/door |
Step 8: Use the model for renovation and layout decisions
Once your 3D base is accurate, you can get real value from it:
Interior design and room planning
- Test furniture arrangements with correct clearances.
- Compare open-plan vs partial walls without committing to demolition.
- Try kitchen triangles and island sizes with realistic walkways.
Renovation previews
- Swap cabinet runs, adjust door locations, or widen openings.
- Preview bathroom layouts (vanity depth, shower clearance, toilet offsets).
- Stage empty rooms to understand scale and function.
Exterior refresh concepts
- Evaluate window proportions and symmetry from street-facing angles.
- Test siding/paint palettes and trim contrast on a consistent model.
- Mock up porch or entry changes while keeping the footprint honest.
Common pitfalls when converting a blueprint to a 3D model
- Assuming the scan is perfectly square: slight perspective distortion causes major scale errors across a plan.
- Ignoring wall thickness conventions: interior room sizes may be off even if the footprint is right.
- Over-trusting symbols: window and door symbols vary widely across drafting styles.
- Adding finishes too early: materials can hide misalignments until late in the process.
- Not tracking assumptions: guessed dimensions become “facts” in presentations.
FAQ
Do I need a perfect blueprint to start?
No. You need a consistent reference dimension and a plan that’s readable enough to distinguish walls from notes. Even messy drawings can produce useful concept models if you validate scale and key geometry.
What’s the fastest way to improve conversion results?
Improve the input: high contrast, corrected skew, and cropped to one floor. Many problems blamed on “bad AI” are actually caused by low-quality scans or perspective-warped photos.
Should I model furniture before I finish doors and windows?
Usually no. Openings affect circulation and usable wall space. Lock doors/windows first, then furniture layouts become meaningful and stable.
Putting it all together
To successfully convert blueprint to 3d model, treat the process like a verification exercise: clean the input, lock scale early, interpret wall references carefully, and validate with a checklist before you render. When the geometry is accurate, your 3D model becomes a decision tool for AI room planning, interior redesign, staging, and renovation previews—without requiring heavy 3D software workflows.
If you prefer doing this on iPhone or iPad, apps like Floor Plan to 3D & Home Redesign can help turn black-and-white plans into clean 3D renders while keeping labels and proportions visible for quick review.
