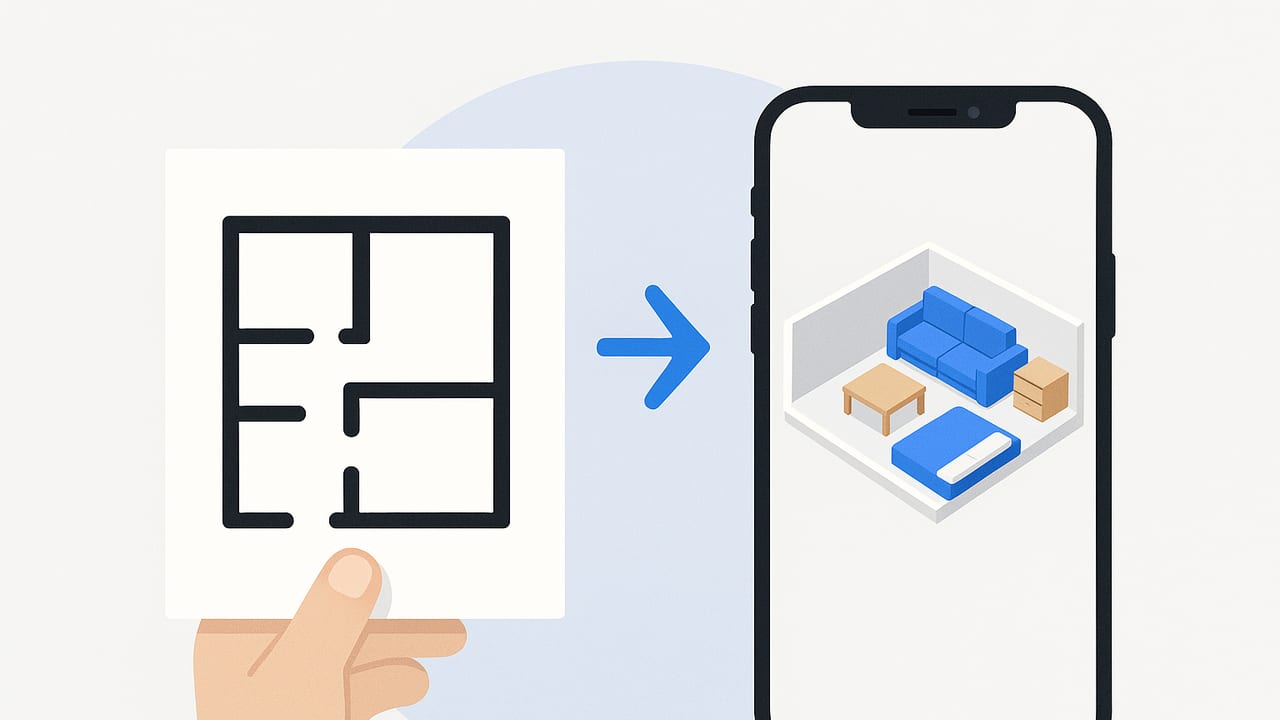
Turning a 2D plan into a navigable 3D model no longer requires a desktop workstation or complex CAD skills. With the right mobile workflow, you can capture a paper plan or PDF, scale it precisely, and generate an accurate 3D layout directly on your iPhone. If you searched for “convert floor plan photo to 3d iphone,” this guide takes you from the first snapshot to a presentation-ready render—with accuracy safeguards, time-saving tips, and export best practices.
What Counts as a Good Floor Plan Photo?
The better your source image, the less cleanup and guesswork you’ll need in 3D. Aim for clarity, contrast, and square geometry.
- Lighting: Bright, diffuse light with minimal glare. Avoid hard shadows across walls and dimensions.
- Angle: Photograph the plan straight-on. Keep the camera parallel to the page and fill the frame without cropping off dimensions.
- Stability: Lay the plan flat and stand over it. Use grid lines in the Camera app to keep edges level.
- Contrast: Black lines on white paper scan best. Increase contrast to make walls and annotations crisp.
- Resolution: Higher resolution is better, especially for small text and dimensions. Modern iPhones are sufficient if captured cleanly.
Best Capture Methods on iPhone
| Method | Pros | Cons | When to Use |
|---|---|---|---|
| Camera photo (Photos app) | Fast, ubiquitous, handles large sheets | Perspective skew if not squared up | On-site, quick capture of paper plans |
| Document scan (Notes/Files) | Auto-deskew, contrast boost, PDFs | Can crop too aggressively; watch margins | Clean A4/Letter plans; multi-page sets |
| Flatbed scanner (import via Files) | Perfectly flat, extremely sharp | Not mobile; limited to available devices | Office workflows; archival-quality scans |
Prepare the Image for Reliable Tracing
Before you trace or auto-convert, spend a minute optimizing the image. A clean input dramatically improves AI recognition of walls, doors, and windows.
- Crop: Remove borders and scanner edges, but retain all dimensions.
- Deskew: Use the iPhone’s document scanner or edit tools to square the image.
- Boost contrast: Increase contrast and reduce noise so walls stand out from text and hatching.
- Annotate missing dimensions: If a span lacks a measurement, jot one with Apple Pencil or Markup so scaling later is unambiguous.
- Preferred formats: JPEG or PNG for single images; PDF for multi-page sets. Rename files clearly (e.g., unit-a-plan.pdf).
End-to-End Workflow on iPhone
The specifics vary by app, but the core steps are consistent. Here’s a dependable mobile workflow from photo to true-scale 3D.
- Import the plan: Load the cleaned JPEG/PNG/PDF from Photos or Files.
- Set drawing units: Confirm meters, centimeters, feet, or inches based on the plan’s notation.
- Auto-detect walls (if available): Use AI recognition to extract walls, doors, and windows from the image.
- Manual trace corrections: Adjust any missed wall segments, align door swings, and add openings or structural columns.
- Apply wall thickness: Set typical thickness (e.g., 100 mm interior, 200 mm exterior, or 4.5”/8” in imperial).
- Scale to true size: Use a known dimension on the plan (e.g., a 10’ room or 3.00 m span) to calibrate the model.
- Check global dimensions: Verify overall width and depth of the plan against printed values; fine-tune if off by more than 1–2%.
- Set wall heights: Typical residential heights are 2.4 m to 2.7 m (8–9 ft). Adjust for dropped ceilings or vaulted areas.
- Add doors and windows: Input sizes and sill/head heights to align with the plan’s elevations or notes.
- Place fixed elements: Stairs, plumbing fixtures, built-ins, appliances, radiators, and fireplaces set the spatial logic.
- Furnish for scale: Add representative furniture to validate circulation and clearances.
- Material and lighting pass: Apply finishes and set lighting so the 3D view communicates depth and purpose clearly.
- Export: Render high-resolution images or a walkthrough clip for stakeholders.
Pro tip: When scaling, measure a long, uninterrupted dimension (e.g., full exterior width) rather than a small room. Longer references reduce percentage error.
How to Scale Precisely (And Keep It That Way)
Accurate scaling is the backbone of useful 3D. Here’s a simple method to compute a scale factor if your app supports manual calibration:
1) Identify a known dimension on the plan (e.g., 12' 0" or 3.65 m).
2) Measure that line in the app (or count pixels if required).
3) Compute the factor: scale = real_length / measured_length.
4) Apply the factor to the entire drawing.
5) Re-measure other known spans to verify; adjust if needed.
Common Scaling Errors and Fixes
| Error Source | Symptom | Fix |
|---|---|---|
| Perspective skew in the photo | One side of the plan scales correctly; the other is off | Deskew image before import; re-capture straight-on |
| Using a short reference length | 1–3% inconsistency across rooms | Scale to the longest known dimension |
| Unclear linework or hatching | AI misses walls or merges rooms | Boost contrast; retrace critical boundaries manually |
| Wrong units (ft vs m) | Model is 3.28x too big or small | Confirm units before scaling; reapply factor |
Modeling Details That Improve Realism
Once the geometry is solid, a few targeted steps make the 3D model clear and compelling without overspending time.
- Doors and clearances: Verify swings and ensure 32–36” (800–900 mm) of clearance where required.
- Windows: Use correct heights, mullions, and sill levels. Add a view outside for realism.
- Flooring continuity: Use unified flooring across open areas; add thresholds where plans indicate transitions.
- Kitchens and baths: Place appliances and fixtures to code-clearances; check sink-dishwasher adjacency, shower sizes, and WC offset.
- Layered materials: Paint vs tile, feature walls, and casework finishes clarify design intent in renders.
Lighting and Camera: Make the 3D Legible
Good lighting elevates comprehension. The goal is soft shadows that define depth while keeping finishes true to color.
- Sun/sky: Set a neutral sun angle (late morning or early afternoon) for readable shadows.
- Ambient occlusion: A touch of AO outlines corners and junctions without turning the image muddy.
- Interior lights: Add ceiling or wall lights where shown; keep color temperatures consistent (2700–3000K for warm residential).
- Cameras: Use 2-point perspective for stills; avoid extreme wide angles that distort scale.
Export Settings That Travel Well
Choose export formats based on your audience and platform.
- Stills: PNG for crisp graphics with transparent backgrounds; JPEG for smaller file sizes. Aim for 3000–4000 px on the long side for print inserts.
- Floor plan overlays: Provide both the clean 3D view and a 2D + 3D hybrid if stakeholders reference technical callouts.
- Walkthroughs: Short MP4 clips at 1080p strike a balance between clarity and portability.
- PDF decks: Combine key views with dimensions, furniture legend, and material notes for a single-share artifact.
FAQ: From Photo to 3D on iPhone
Can I use a hand-drawn sketch?
Yes, as long as the lines are dark and you have at least one reliable dimension for scaling. Thicker markers with straight edges work best.
What about curved walls or odd angles?
Most mobile tools support arcs and custom angles. If AI misses a curve, trace it manually and apply the same scale factor.
Do I need exact wall thicknesses?
For planning and visualization, set typical thicknesses and adjust where noted. For construction coordination, match noted wall types.
Will perspective distortion ruin accuracy?
No, if you deskew before tracing and scale using a long, known dimension. Always verify overall width/length after scaling.
How do I handle multi-level plans?
Model each level on its own layer or scene, align stair openings, and keep consistent reference points (e.g., grid lines or exterior corners).
What units should I work in?
Use the units shown on the plan. Convert only if necessary, and double-check any imperial/metric conversions before scaling.
Quick Checklist: From Site Photo to Render in Under an Hour
- Capture straight-on, high-contrast photo or scan on iPhone
- Crop, deskew, and boost contrast; save as JPEG/PNG
- Import and auto-detect walls; manually fix missed edges
- Set wall thickness and heights
- Calibrate scale using the longest known dimension
- Verify overall plan size; tweak if off by >2%
- Add doors, windows, stairs, and fixtures
- Place key furniture to validate circulation
- Apply materials; set sun and interior lighting
- Export 3–4 stills and one short walkthrough
Troubleshooting: When Things Don’t Line Up
- Rooms look stretched: Recheck deskewing; perspective distortion often causes uneven scaling. Re-import if needed.
- Doors intersect furniture: Door swing direction or width may be off; confirm schedule values and clearances.
- Stairs misaligned between floors: Align floor origins and ensure consistent rises/runs; verify floor-to-floor height.
- Slow performance: Hide heavy layers (furniture, high-poly assets) while adjusting structure, then re-enable before export.
Why Mobile 3D from a Plan Photo Works
The advantage of converting a plan photo to 3D on your iPhone is speed without sacrificing scale fidelity. You’re capturing intent directly from the annotated plan, which preserves relationships (openings, circulation, and adjacencies) that a raw room scan or LiDAR-only model might miss. As long as your scale is correct and your geometry aligns with the drawing, the resulting 3D is reliable for planning, quick proposals, and stakeholder walk-throughs.
For teams and solo creators alike, the combination of a clean capture, defensible scaling, and pragmatic modeling detail creates confident visuals lightning-fast. And that’s the point: communicate layout ideas without waiting on a full CAD pipeline.
Looking for an iOS tool that follows the workflow above—import a black-and-white floor plan image, preserve dimensions, and export high-resolution 3D renders? You can try Floor Plan to 3D, which uses AI to keep the 3D aligned with the original drawing while letting you rearrange layouts and share presentation-ready images.
