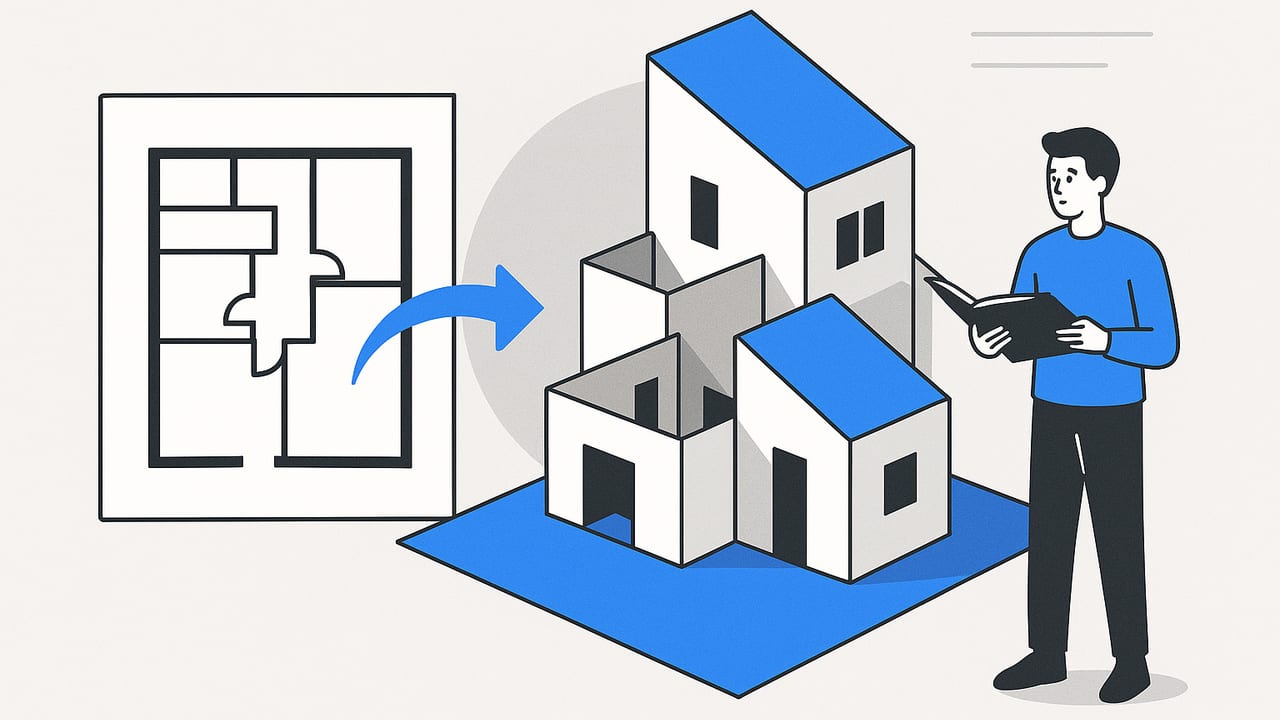
Converting a black-and-white floor plan into a believable 3D space is one of the most valuable studio skills you can build. It sharpens your spatial reasoning, speeds up iteration, and makes your proposals more persuasive. This guide walks architecture students through a practical, repeatable workflow for turning 2D layouts into accurate 3D models, with drills, quality checks, and presentation tips that fit real studio deadlines.
What “converting plans to 3D” really means
At its core, the process is about translating linework into volumes, materials, and light. You’ll make judgements about wall thicknesses, ceiling heights, openings, furniture scale, and how light interacts with surfaces. The end goal isn’t just a pretty image—it’s fidelity to intent: true scale, clean geometry, and clarity for design decisions.
Level of Detail (LOD) to target
- LOD 100–200: Conceptual massing – Walls, slabs, openings, stairs, basic furniture placeholders.
- LOD 300: Design development – Accurate dimensions, door swings, fixture sizes, primary materials.
- LOD 350+ – Detailed joinery, lighting specs, and construction layers; only when required.
A studio-tested workflow from 2D to 3D
- Collect sources – Floor plan (preferably black-and-white), any dimensions, ceiling heights, and notes. If the plan is skewed, photograph it square-on or scan it.
- Normalize the image – Crop margins, deskew if needed, boost contrast. Save a lossless copy (PNG/TIFF) for use as an underlay.
- Calibrate scale – Use a known dimension (e.g., a 10' room width or 3000 mm corridor). Set units early. Avoid rounding until the end.
- Set levels and grids – Define floor elevations, story heights, and a reference grid aligned to a major wall.
- Trace structural bones – Model exterior walls, interior partitions, slabs. Keep wall thickness consistent with plan symbols.
- Cut openings – Place doors and windows at correct widths; confirm sill and head heights based on typical standards if not provided.
- Add stairs and rails – Use total rise/run and code-compliant risers; verify landing lengths.
- Place key fixtures – Kitchens, baths, built-ins. Use manufacturer sizes when possible for realism.
- Apply material placeholders – Keep it simple: matte plaster, timber, tile, concrete. Over-texturing hides geometry mistakes.
- Light and cameras – Use sun for orientation studies and simple area lights for interiors. Set a few consistent camera views for progress checks.
- QA pass – Verify dimensions, alignments, and clearances (see checklist below).
- Export – Save orthographic plans/sections and several perspectives at consistent resolution and naming conventions.
Scale calibration mini-algorithm
You’ll repeat this often, so make it second nature. Here’s a simple pseudocode snippet to calibrate a scanned plan using a known dimension:
// Inputs: planImage.png, knownDistanceReal = 3000 (mm) between points A and B
// Outputs: pixelToMmScale, correctedUnderlay

1. Import planImage
2. If image is skewed, apply a perspective transform (four-corner homography)
3. Measure pixelDistance = distance(A_px, B_px) in pixels
4. pixelToMmScale = knownDistanceReal / pixelDistance
5. Lock underlay at 50% opacity
6. Create modeling units: 1 model unit = 1 mm
7. Trace geometry snapping to scaled references
If the plan is distorted (one side stretched), use a four-point perspective correction before scale calibration. Recheck scale after correction with a second known dimension.
Drills: architect students practice converting plans to 3D
To build speed and accuracy, schedule small, repeatable drills. The phrase “architect students practice converting plans to 3d” isn’t just a keyword—it’s a habit: frequent, scoped exercises that target specific skills.
| Drill | Objective | Timebox | Deliverable |
|---|---|---|---|
| Micro Loft | Calibrate scale, model walls/doors, set two cameras | 45 min | Plan overlay + 2 perspectives |
| Kitchen Core | Fixtures with true manufacturer sizes | 60 min | Axon + close-up of appliances |
| Stair Slice | Rise/run accuracy, landing compliance | 50 min | Section + exploded stair diagram |
| Daylight Check | Glazing + sun study at 9am/12pm/3pm | 40 min | Three shadow studies |
| Furniture Fit | Circulation clearances, door swings | 45 min | Annotated plan + perspective |
Quality assurance: accuracy over ornament
Before you render, validate. This five-minute check saves hours later.
- Scale fidelity – Verify at least two known dimensions (e.g., room width and corridor length). Tolerance: ±1% for studio models.
- Alignment – Check that core walls align across floors; no z-fighting at slab edges.
- Openings – Door swings clear furniture; window heads consistent; sill heights reasonable (e.g., 900 mm typical).
- Stairs – Consistent riser height; equal treads; no fractional steps at landings.
- Materials – Avoid tiling artifacts; use matte finishes for review renders.
- Lighting – Expose for midtones; avoid blown highlights; keep a neutral white balance.
Common errors and fast fixes
- Problem: Model is slightly off-scale across one axis. Fix: Re-run perspective correction using perpendicular walls as references; recalibrate with two dimensions.
- Problem: Doors clip furniture. Fix: Add swing arcs to plan view; maintain 750–900 mm clearance zones.
- Problem: Moiré textures on floors. Fix: Use higher-res textures or increase roughness; reduce camera distance.
- Problem: Noisy render. Fix: Increase samples modestly and clamp indirect light; denoise cautiously.
Tools and workflows: pick what fits your brief
There’s no single “best” tool—choose based on deadline, required detail, and team workflows. Here’s a neutral comparison to help you pick:
| Approach | Strengths | Limitations | Best For |
|---|---|---|---|
| BIM (Revit, Archicad) | Parametric accuracy, schedules, multi-view consistency | Steeper learning curve; slower for quick concepts | Studio deliverables, documentation |
| 3D DCC (SketchUp, Rhino) | Fast iteration, flexible modeling | Manual QA for dimensions; component discipline needed | Concept design, rapid visuals |
| CAD + Import (AutoCAD to 3D) | Precise plan base; layered control | Extra steps for 3D; layer clean-up required | Legacy plans, measured drawings |
| Mobile/AI Converters | Speed from scan/photo; accessible on-site | QA essential; verify scale and topology | Field-to-concept, quick iterations |
Pro tip: Whatever tool you pick, lock a naming convention and a view template early. Consistency saves time and avoids version confusion.
Deliverables that win reviews
Reviewers respond to clarity. Package outputs so your intent is easy to read.
- Orthographic plan with light hatching for walls and annotated key dimensions.
- Axonometric to explain spatial relationships without perspective distortion.
- Two to three perspectives at eye level (1.5–1.6 m), consistent exposure and white balance.
- Section cut through the most complex part (stairs or kitchen core).
- One material board with simple swatches and labels.
File naming and metadata
Use a predictable pattern so teams and instructors can find things quickly.
Project_Semester_Package-Version_View_Resolution.ext
Example: StudioA-LoftA-Set01-v03_Persp-Living_3000px.png
Embed basic metadata (project title, author, scale, date) in a lightweight PDF cover for print and in image descriptions for digital submissions.
Mini case study: from black-and-white plan to true-scale 3D
Brief: A 60 m² one-bedroom plan with minimal notes. Goal: produce a design-development level 3D in two evenings.
- Evening 1 (90 min): Deskew scan, calibrate scale with corridor length, model walls/doors/windows. Quick sun study to confirm orientation. QA: ±0.6% on width/length.
- Evening 2 (120 min): Insert kitchen and bath fixtures using manufacturer sizes; add basic materials and two area lights. Compose three perspectives and an axon. Final QA pass and export.
Outcome: A coherent set of views that confirm furniture fit and daylight, ready for critique and iteration, with changes applied directly to the 3D rather than redlining the 2D plan.
Rubric for self-assessment
- Accuracy (30%) – Dimensions within tolerance; stairs and openings correct.
- Clarity (25%) – Views are composed and labeled; no visual clutter.
- Material legibility (15%) – Simple, believable shaders; no repeating artifacts.
- Lighting (15%) – Balanced exposure; shadows support reading of space.
- Workflow discipline (15%) – Clean layers, components, and naming.
FAQ
How do I preserve true scale when the plan lacks dimensions?
Use a standard element as a proxy (e.g., a 900 mm door leaf or 1200 mm bath vanity). Calibrate with that dimension, then cross-check a second element (e.g., bed width at 1500–1600 mm). If both checks are within ±1–2%, proceed; otherwise re-run perspective correction.
Should I model every detail before rendering?
No. Start with LOD 200–300: correct walls, openings, critical fixtures, and a small set of materials. Add finer details only if they serve a design goal or answer a specific review question.
What camera settings work for interiors?
Use a focal length between 24–35 mm (full-frame equivalent) to minimize distortion. Set eye height around 1.5–1.6 m. Keep verticals vertical (enable two-point perspective) for clarity.
How do I avoid flat-looking renders?
Balance direct and indirect light, add subtle ambient occlusion, and use materials with realistic roughness values. A simple color temperature contrast (cool daylight + warm interior) can add depth without heavy post-processing.
Putting it into practice
Mastery comes from repetition with feedback. Keep a lightweight log: date, drill, time spent, major hiccup, and one improvement target for next time. After a month, you’ll see measurable gains in both speed and accuracy, and your studio critiques will shift from “What am I looking at?” to “Let’s talk about design intent.” For a streamlined way to generate faithful 3D from black-and-white plans on the go, consider testing a dedicated mobile tool like Floor Plan to 3D once your manual workflow is solid—use it to compare results and accelerate early iterations while keeping your QA habits sharp.
Final thought: Converting plans to 3D isn’t a one-off task; it’s a feedback loop. Build a workflow you trust, then iterate quickly. Accuracy first, polish second.
