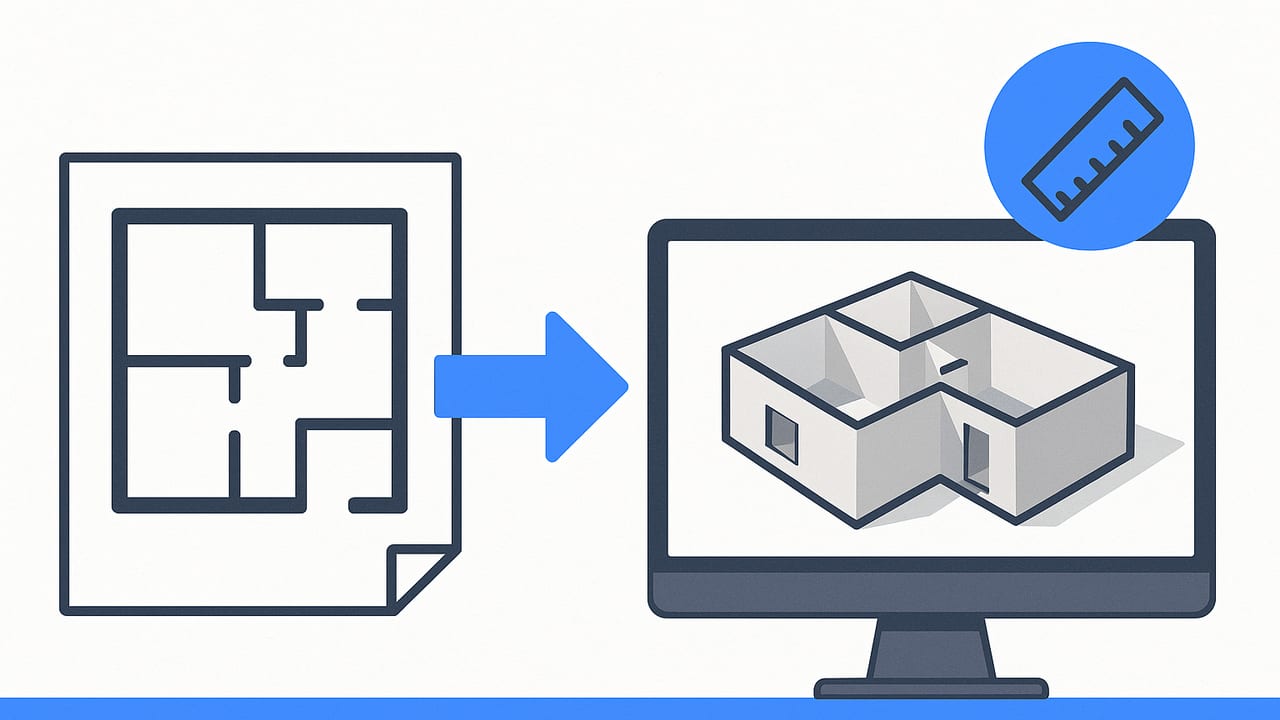
Whether you are planning a remodel, pitching a listing, or presenting a design concept, the ability to convert a 2D floor plan to a 3D render turns static lines into a spatial story. A strong workflow doesn’t just produce attractive images—it preserves scale, conveys circulation, and communicates material and lighting intent. This guide distills a practical, tool-agnostic process you can follow with most modeling, BIM, or AI-assisted tools to create accurate, presentation-ready 3D visuals.
You’ll learn how to prepare your plan, choose a conversion method, build an efficient modeling sequence, verify dimensions, and export images that look crisp on web and print. The techniques apply to scanned black-and-white drawings, PDFs, or clean vector plans.
What “accurate” means in a 3D floor plan
“Accurate” 3D renders are both visually legible and dimensionally faithful. Visuals should make walls, openings, stairs, and furniture instantly understandable; accuracy ensures the modeled spaces match the actual plan within known tolerances. For residential and light commercial interiors, practical tolerances often fall within ±1–2% for plan dimensions and ±10–20 mm for wall thickness or door widths, depending on scope. The closer you keep your model to scale—and the more you verify critical distances like room widths, corridor clearances, and appliance fits—the more useful your 3D becomes for decision-making.
Prepare your 2D plan for conversion
Good prep reduces rework and prevents scale drift. Before you import anything, ensure the source plan is readable and truly to scale.
Checklist
- Confirm a scale reference: Keep at least one dimension line (e.g., a 10' room width or 3000 mm wall).
- Clean the drawing: Remove hatch floods, heavy textures, notes unrelated to geometry, and duplicated lines that could confuse detection.
- Use high quality: Export at 300–600 DPI for raster images. Avoid camera skew; scan flat if using paper.
- Standardize symbols: Consistent door swings, window tags, and stair arrows help both manual and AI workflows.
- Separate levels: If you have multiple floors, prepare each as its own file.
- Name files clearly: e.g., Project_A_Level1_1-100.png.
Ways to convert 2D floor plan to 3D render
There’s no single right way. Choose based on timeline, budget, and the level of control you need over materials and furnishings.
| Method | Speed | Dimensional Accuracy | Cost | Skill Level | Best For |
|---|---|---|---|---|---|
| Manual modeling (SketchUp, Blender, Revit, Archicad) | Moderate | High (with careful scaling) | Low–Moderate (software time) | Intermediate–Advanced | Full control, custom materials, complex geometry |
| Semi-automated apps (AI-assisted) | Fast | High (when plan is clean) | Low–Moderate (app fee) | Beginner–Intermediate | Quick iterations, mobile capture, proposals |
| Outsourced services | Varies | High (if provider follows QA) | Moderate–High | None | Deadlines, multi-unit projects, marketing-grade visuals |
Step-by-step workflow (tool-agnostic)
- Import and scale the plan
Bring in the image or PDF. Use a known dimension—such as a labeled 12' wall—to scale the drawing. In CAD/BIM tools, set the model units first. In AI apps, confirm the detected scale or manually enter it. Tip: Avoid scaling from a diagonal; use a horizontal or vertical reference to reduce skew errors. - Trace walls and structural elements
Draw wall centerlines or edges based on your tool’s conventions. Assign correct wall thicknesses (e.g., 100–150 mm interior; 200–300 mm exterior). Add columns, beams, and structural cores early so they don’t clash with later objects. - Set wall heights, levels, and slabs
Establish floor-to-ceiling heights, slab thickness, and any step-downs. If you have multiple floors, lock each level’s elevation before modeling stairs. - Add doors, windows, and openings
Match widths and sill/head heights. Align swings to the plan; verify egress clearances. For windows, set consistent head heights across a facade to avoid misaligned exterior views. - Define room zones and finishes
Label spaces (Kitchen, Bath, Bedroom 2). Apply floor materials by zone (tile, wood, carpet) and check directionality: run wood planks along the longest dimension to reduce visual noise. - Place stairs and railings
Confirm total rise equals floor-to-floor height; set correct tread count, riser height, and handrail geometry. Follow the plan’s up/down arrow orientation. - Insert fixed casework and fixtures
Add kitchen cabinets, islands, bathroom fixtures, and built-ins to test clearances. Verify appliance openings (e.g., 36" refrigerator niche). - Furnish key spaces
Use scaled furniture to validate circulation. Maintain minimum clearances: 900 mm typical around dining tables, 750–900 mm at sides of beds, and 1,000–1,200 mm in hallways where possible. - Apply materials and textures
Keep textures at real-world scale (e.g., 2 m tile repeats are more realistic than a tiled pattern that repeats every 30 cm). Avoid overly glossy finishes indoors unless design intent requires it. - Lighting setup
Combine a daylight environment (HDRI or sun) with a few practical interior lights for depth. Add soft fill where necessary. Avoid burnout by clamping highlights or lowering exposure slightly. - Camera and composition
For floor plan perspectives or axonometric/ISO views, pick camera angles that show entries and key furniture. For marketing, a 3/4 axon often reads best; for technical clarity, use an orthographic top-down or cutaway. - Test renders and iterate
Run low-resolution tests. Check noise, fireflies (bright speckles), and material balance. Make minor adjustments before final renders.
QA: verify scale, areas, and heights
Before you call it done, verify the model’s truth to the plan. Focus on dimensions that affect fit and function.
- Plan checks: Pick 3–5 critical widths and lengths (e.g., living room span, bedroom width, corridor). Confirm each falls within ±1–2% of the plan.
- Area checks: Compare at least two room areas to the plan’s labels; small variances often signal wall thickness or finish buildup mismatches.
- Height checks: Confirm floor-to-ceiling and window head heights align with the plan and elevations, if provided.
If your plan is a raster image, compute an accurate scale factor once and apply it consistently.
# Quick scale sanity check (Python pseudo)
# Given a known real dimension and the measured pixels in the imported image:
known_real = 3000.0  # mm, e.g., labeled wall length on the plan
measured_pixels = 842.0  # pixels measured between the same endpoints
scale_mm_per_px = known_real / measured_pixels

# Check another dimension using the same scale
other_pixels = 1260.0
other_real_calc = other_pixels * scale_mm_per_px

# Compare to labeled value
target_real = 4500.0  # mm
error_percent = abs(other_real_calc - target_real) / target_real * 100.0
print(f"Error: {error_percent:.2f}%")
A consistent error across multiple checks suggests a single scale issue. Varying errors often indicate skewed scans or perspective distortion—re-scan or deskew the image.
Lighting and materials that communicate design
Because floor plan renders are read quickly, clarity beats drama. Use a neutral daylight HDRI or a single sun with soft shadows. Keep interior lights warmer (2700–3000K) against neutral walls for contrast. Maintain balanced exposure; slightly underexpose to preserve highlight detail on glossy countertops or tile. For materials, favor subtle normal maps and restrained reflections—overly reflective floors can distort scale perception and obscure furniture footprints.
Export settings: print, web, and presentations
Match export resolution to the medium to keep text and edges crisp.
| Output | Resolution / Size | Format | Notes |
|---|---|---|---|
| Web listing | 2000–3000 px wide | JPEG (high), WebP | Optimize to <1 MB for fast loading |
| Pitch deck | 1920×1080 or 2560×1440 | PNG, JPEG | Prefer PNG if text overlays are used |
| Print (letter/A4) | 300 DPI at final size | TIFF, PNG, PDF | Embed color profile; avoid heavy compression |
Use consistent naming and versioning (e.g., UnitB_Render_Axon_v03.png) and keep both full-res and web-optimized copies.
Common pitfalls and quick fixes
- Mis-scaled import: If multiple checks show uniform error, re-scale using a clear, horizontal dimension. If errors vary, deskew the image and re-import.
- Wrong wall thickness: Update wall types and re-align doors/windows; small thickness shifts can fix room area mismatches.
- Door swings reversed: Match plan swings; adjust handles to the correct latch side to prevent visual confusion.
- Stair direction flipped: Use arrows or text (“Up/Down”) from the plan to validate orientation.
- Overly glossy materials: Reduce roughness contrast; high gloss hides edges and reads as visual clutter.
- Flat lighting: Add a single directional sun and a subtle fill; enable soft shadows or ambient occlusion for depth.
Timeline and budget planning
- Single-room concept: 2–4 hours (import, modeling, basic materials, quick lighting).
- Typical 2–3 bed unit: 6–12 hours (detailed fixtures, furnishings, lighting, QA, multiple views).
- Multi-unit or phased options: Batch shared assets; automate exports to save 20–30% time.
Costs relate mainly to labor and tool licenses. AI-assisted tools reduce hands-on time; manual/BIM workflows demand more expertise but offer finer control.
FAQ
Can I convert a low-quality scan?
Yes, if you can identify at least one reliable dimension for scaling. Deskew the image and increase contrast before import. Heavily distorted scans may require manual tracing.
Do I need full construction drawings?
No. A dimensioned floor plan is enough for layout-accurate 3D. Elevations and sections help set heights, window heads, and cabinetry—use them when available.
How do I keep models lightweight?
Use proxy or low-poly furniture, reuse materials, and disable high-displacement maps. For large projects, split levels or wings into separate files and link them.
Plan twice, model once: lock scale early, verify key dimensions, then iterate visuals with confidence.
If you prefer a fast mobile workflow, an iOS app like Floor Plan to 3D can transform black-and-white 2D plans into true-to-scale 3D, with AI assistance and high-resolution exports suitable for proposals.
