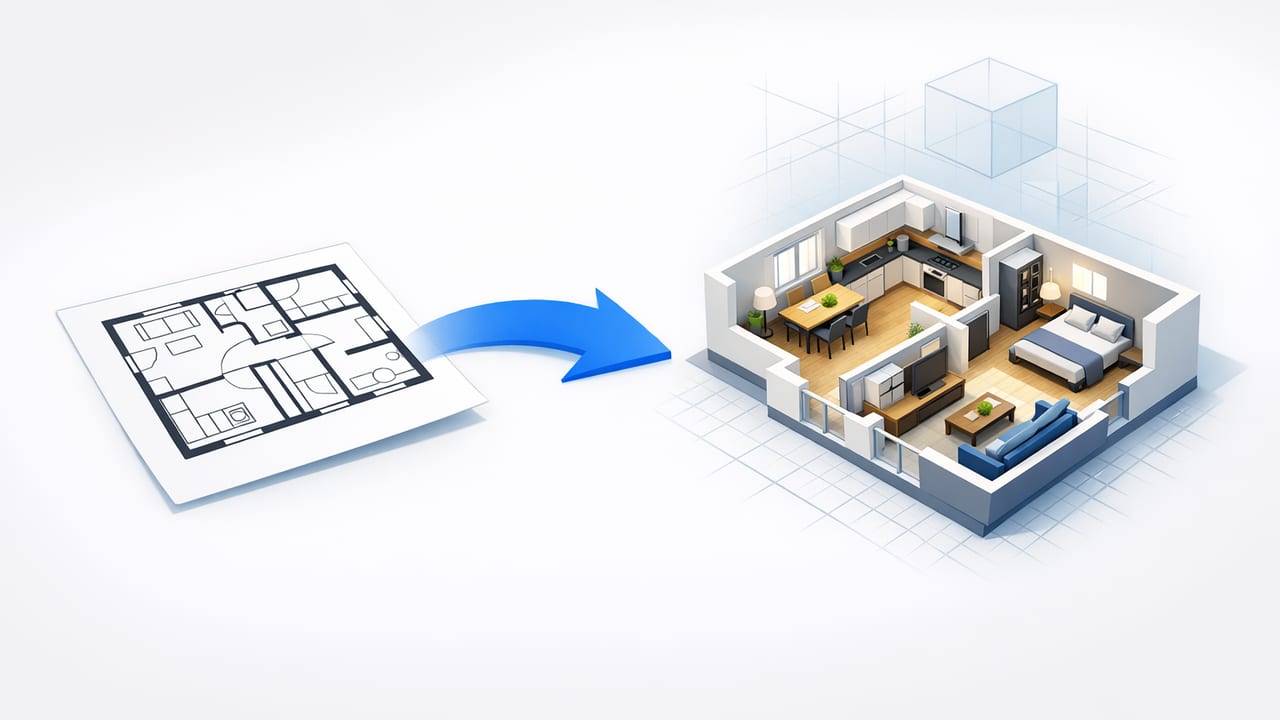
When you convert 2D floor plan to 3D, the quality of your result depends less on “fancy rendering” and more on whether the model stays faithful to the plan’s dimensions, walls, doors, and openings. AI can speed up 2D-to-3D floor plan conversion dramatically, but it still relies on clear inputs and a few smart decisions about scale, cleanup, and validation.
This guide walks through a practical, accuracy-first workflow—from photographing or scanning a plan to verifying dimensions and exporting high-resolution visuals for room planning and architectural visualization.
Why converting 2D floor plans to 3D is worth it
A 2D plan is precise, but it’s also abstract. A 3D model makes spatial relationships obvious: circulation, furniture fit, sightlines, window placement, and how rooms “feel” when you’re inside them.
- Room planning: Test furniture layouts, storage ideas, and clearance around doors and walkways.
- Architectural visualization: Communicate a concept to clients, contractors, or stakeholders without ambiguity.
- Faster iteration: Compare options (kitchen layouts, bathroom fixtures, partition tweaks) visually instead of redlining a plan repeatedly.
What AI can infer (and what it can’t)
Modern AI can recognize typical floor plan symbols and relationships—walls, room boundaries, doors, windows, and sometimes stairs. But it can’t reliably guess what isn’t clearly represented.
AI is strong at
- Detecting straight wall segments and room boundaries
- Identifying door swings and window openings (when symbols are standard and legible)
- Creating a “first pass” 3D representation quickly
AI still needs your help with
- Scale: If the plan has no readable dimension or scale bar, size accuracy will drift.
- Ambiguous linework: Thick lines, low contrast, or hand sketches can merge walls and furniture.
- Non-standard symbols: Local drafting conventions or stylized plans can confuse door/window detection.
- Multi-level logic: Split levels, lofts, and complex stair geometry often require manual confirmation.
Rule of thumb: AI can build the model quickly, but you confirm the truth of the dimensions.
Input prep: the hidden key to accurate 2D-to-3D conversion
If your goal is a dimension-true 3D render, treat input prep like you would treat surveying: the capture quality defines everything downstream.
1) Choose the cleanest source you can
Different sources produce different levels of accuracy and cleanup effort. Use this as a quick decision guide:
| Source | Best for | Watch-outs |
|---|---|---|
| Vector PDF / CAD export | Highest line clarity; easiest recognition | Layers may include furniture/hatches that confuse detection |
| Scanned blueprint | Accurate originals; consistent drafting | Skew, blur, stains, fold lines |
| Photo of a printed plan | Fast capture on-site | Perspective distortion; glare; shadowing |
| Hand sketch | Early concepts and rough planning | Inconsistent line weights; missing dimensions |
2) Photographing a plan without distortion
- Place the plan flat, well-lit, and avoid glossy glare.
- Hold the camera directly above the plan (parallel to the paper).
- Fill the frame with the plan to maximize resolution.
- If the plan is large, capture multiple overlapping photos and stitch, or use a scanning app that corrects perspective.
3) Clean up visual noise before conversion
AI detection works best when walls are unambiguous. Before you convert:
- Remove or minimize heavy hatches/pattern fills if possible.
- If furniture is drawn in bold, consider using a version of the plan without furniture.
- Increase contrast so walls stand out from annotations.
- Crop out title blocks and notes when they clutter the frame (but keep the dimension strings you need for scale).
Scale: how to keep the 3D model dimension-true
Scale is the number one reason a 3D model “looks right” but is wrong. The safest approach is to set scale using a dimension you can verify on-site (or that’s clearly labeled).
Pick one anchor dimension
- A long exterior wall dimension (less rounding error)
- A clearly labeled room width
- A door width only if it’s explicitly dimensioned (door symbols vary)
Simple scaling math (when you must do it manually)
If you’re converting an image and need to compute a pixel-to-real-world scale, you can use a single known distance.
// Given: a known real-world distance and its pixel length on the image
real_world_mm = 4200
pixel_length = 1050
mm_per_pixel = real_world_mm / pixel_length  // = 4.0

// Convert any measured pixel distance into mm
distance_mm = pixels * mm_per_pixel
In practice, many 2D-to-3D tools let you set scale by drawing a line over a known dimension and entering its value. The principle is the same: one verified measurement anchors the entire model.
A practical workflow to convert a 2D floor plan to 3D (accuracy-first)
- Start with the cleanest plan file (vector PDF > scan > photo > sketch).
- Crop and straighten so walls are horizontal/vertical where intended.
- Ensure walls are visually dominant (contrast up, clutter down).
- Set the scale using a confirmed dimension (prefer long spans).
- Run AI conversion to generate wall geometry, openings, and rooms.
- Validate critical dimensions (overall width/length, a few room sizes, door/window locations).
- Correct common detection errors (see next section).
- Assign heights and levels (ceiling height, floor thickness, multi-story alignment).
- Add basic materials and lighting for readability (not hyper-realism).
- Export the 3D renders/views needed for planning or presentations.
Common mistakes (and fixes) when converting 2D plans to 3D
Mistake 1: Using a low-resolution photo
Symptom: doors/windows misread, walls “break,” text bleeds into geometry.
Fix: recapture with better lighting, tighter crop, and higher resolution; avoid zoom blur.
Mistake 2: Scaling from an unreliable reference
Symptom: furniture doesn’t fit, clearances feel off, room sizes are inconsistent.
Fix: scale from a long labeled dimension; verify with a second dimension as a cross-check.
Mistake 3: Confusing wall thickness with cabinetry or partitions
Symptom: kitchen runs become “walls,” closets become structural thickness.
Fix: remove furniture/cabinet layers from the source if possible; otherwise simplify the plan image and re-run, or manually reclassify those lines.
Mistake 4: Ignoring plan conventions (interior vs exterior)
Symptom: exterior walls become too thin, or interior partitions become too thick.
Fix: set wall thickness defaults intentionally (or adjust after conversion) and confirm with a known structural dimension if available.
Mistake 5: Treating annotations as geometry
Symptom: dimension strings, arrows, and labels generate stray edges.
Fix: crop out dense annotation zones or use a cleaned plan that keeps only essential dimensions.
Room planning in 3D: how to test layouts without redesigning the plan
Once your 3D shell is dimension-true, you can use it for fast design exploration without accidentally changing the underlying geometry.
- Try multiple furniture sets: For example, 3-seat sofa vs sectional; queen vs king bed; desk placement for daylight.
- Check clearances: Typical targets include 800–1000 mm for comfortable walkways and enough swing clearance for doors and drawers.
- Evaluate sightlines: In open plans, small shifts to a kitchen island or dining table can change how spacious it feels.
- Test lighting scenarios: Even basic sun direction and interior lighting improves stakeholder understanding.
Exporting 3D renders that communicate clearly
For proposals and reviews, clarity beats realism. Consider exporting a small set of views that answer the most common questions:
- Top-down 3D (axonometric): best single image for overall understanding.
- Two interior perspectives per key room: show function and circulation.
- One “comparison pair”: Option A vs Option B with matching camera angle.
If you’re sharing with contractors or architects, include at least one image that reveals wall thickness and openings clearly (materials can be neutral).
Quality assurance checklist (use before you present)
- Scale locked: overall width/length matches the plan’s labeled dimensions.
- Three spot-checks: verify 2–3 room dimensions across the model.
- Openings verified: door swings and window positions match the 2D plan.
- Wall continuity: no micro-gaps where walls should meet.
- Heights set: ceiling height and levels reflect the project assumptions.
- Presentation views chosen: exported images answer layout questions quickly.
Final thoughts
To successfully convert 2D floor plan to 3D, focus on three things: clean inputs, a verified scale anchor, and a dimension check before you start decorating or rendering. With that foundation, AI becomes a fast path to trustworthy architectural visualization and practical room planning.
If you’re working from photos or scans on iPhone/iPad, an app like Floor Plan to 3D can be a convenient way to turn black-and-white 2D layouts into dimension-aware 3D renders you can export for review.
