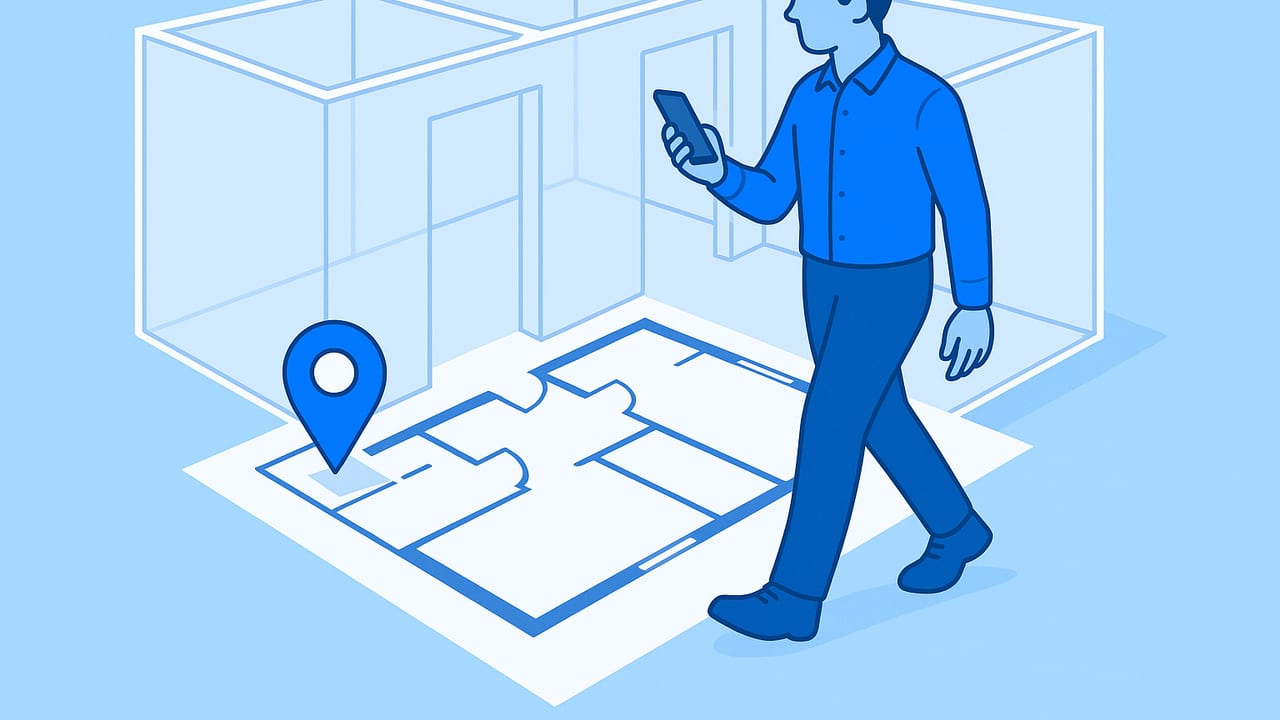
Need a contractor walkthrough from 2D plan without CAD, fast? You can deliver a clean, client-ready 3D tour using only a phone and lightweight tools. This guide shows a repeatable workflow for turning a black and white floor plan into a true scale walkthrough, without opening a traditional CAD package. The approach is ideal for general contractors, subs, real estate pros, and design build teams who need visual clarity for RFIs, change orders, or homeowner approvals.
What counts as a walkthrough in this context
Walkthrough does not have to mean a full BIM model or complex VR. For quick decision making and stakeholder sign off, any of the following deliverables classify as a walkthrough:
- Video tour: An MP4 video flythrough of the plan, exported at 1080p or 4K.
- Interactive web viewer: A shareable link to orbit and walk the space in a browser.
- 360 panoramas: A set of equirectangular renders for key rooms, viewable on mobile.
- AR preview: A lightweight model placed in the real world using a phone.
Each of these communicates layout, proportions, and sightlines far better than a static plan, without the overhead of full CAD.
Three lightweight workflows, no CAD required
The right path depends on your time, comfort with 3D, and the fidelity you need. Here is a quick comparison.
| Workflow | Tools | Time | Skill level | Typical output |
|---|---|---|---|---|
| Phone only | Mobile floor plan to 3D app | 30 to 90 minutes | Beginner | Video tour, images, sometimes AR |
| Browser based | Web plan to 3D tool | 1 to 3 hours | Beginner to intermediate | Interactive share link, video export |
| DCC lite | Free 3D app plus plan tracing | 2 to 6 hours | Intermediate | Custom materials, precise camera path |
Most contractors will finish faster using the phone only or browser based option. The DCC lite path is useful if you need more control of lighting, materials, or advanced camera moves.
Data prep: start with a clean 2D plan
Good input produces a trustworthy walkthrough. Aim for a flat, high contrast source plan and verify at least two known dimensions.
- Capture: Photograph the printed plan square on, or scan it. Avoid skew and shadows.
- Contrast: Use a black and white version. Increase contrast so walls are crisp.
- Scale: Keep a dimension line visible. Ideally show both width and depth references.
- Crop: Remove borders and legends that may confuse automatic detection.
- Annotate: If doors, windows, or stairs are unclear, mark them with a pen and rescan.
Pro tip: If you must shoot a photo on site, place the paper plan on a flat floor, stand directly above it, and use your phone gridlines to keep edges parallel. A 5 second prep here prevents a 30 minute correction later.
Set true scale without CAD
A contractor walkthrough stands or falls on scale. The good news: you can lock scale without CAD in a few steps.
- Choose two known lengths that are far apart on the plan, for example overall width and a long corridor.
- Load the plan into your chosen tool and set scale by matching those known lengths.
- Verify scale by measuring a third length, such as a bedroom width. Error under 2 percent is typically acceptable for early approvals.
Common sense checks help. If a standard 36 inch door seems far wider in 3D, your scale or wall thickness is off. For residential work, interior wall thickness often ranges from 4.5 to 5.5 inches including drywall, while exterior walls are commonly 8 to 10 inches depending on assembly.
Reconstruct rooms fast without drafting
Most plan to 3D tools can auto detect walls and openings from a high contrast plan. Where auto detection misses, trace quickly using corner to corner clicks.
- Corners first: Place accurate corner points; straight walls will align naturally.
- Doors and windows: Set widths and sill heights. Standard heights are often 80 inch for doors and 36 inch sill for many windows, but confirm from notes.
- Stairs: Count treads on the plan and set riser height. Residential risers often target roughly 7 inch; adjust to match total rise.
- Ceiling height: If unspecified, use typical 8, 9, or 10 feet per project norms and confirm with the client.
Split levels and step downs: Model level changes as separate floor plates. A 4 inch step can visually disappear if you do not model it. It matters for accessibility and casework heights.
Materials, lighting, and furniture proxies that read well
The goal is clarity, not photorealism. Use materials that communicate surfaces without distracting from layout.
- Walls: Neutral off white with slight roughness.
- Floors: One wood or concrete tone for the entire level to keep continuity.
- Cabinetry: Light grey or desaturated wood; avoid high gloss unless required.
- Fixtures: Use low poly proxies for tubs, ranges, and sinks at correct dimensions.
- Lighting: A daylight environment with soft shadows, plus a few area lights for focal zones.
Keep consistency. If you must swap materials room to room, change only one variable at a time, for example color but not roughness. This ensures the walkthrough communicates plan intent rather than style.
Create the camera path for a smooth tour
A clean, predictable camera path makes your walkthrough easy to follow and reduces motion sickness for viewers.
- Eye height: 5 feet 3 inches to 5 feet 6 inches for residential. Slightly higher for commercial.
- Speed: About 0.8 meters per second feels like a slow walk. Use brief pauses at room entries.
- Field of view: 60 to 75 degrees to avoid distortion while keeping context.
- Path order: Foyer to main living to kitchen to primary bedroom to secondary bedrooms to baths to service spaces. End with exterior or key highlight.
- Ease curves: Use ease in and ease out on turns to avoid abrupt pivots.
If your tool supports shot lists, plan them like this:
Shot 01: Foyer entry, 4 seconds, slow forward
Shot 02: Living room reveal, 6 seconds, small pan left
Shot 03: Kitchen island, 5 seconds, orbit 30 deg
Shot 04: Hall to bedrooms, 7 seconds, steady
Shot 05: Primary bath, 6 seconds, hold on vanity
Shot 06: Back to living and exit, 8 seconds, wide
Deliver both a single continuous tour and a quick 30 to 45 second highlight cut for email and messaging apps.
Export and share: formats that work everywhere
Match the export to how your client or subs will review.
- Video export: 1080p at 20 to 30 Mbps H.264 is a safe baseline. Use 4K at 40 to 60 Mbps for displays in conference rooms.
- Interactive viewer: Share a link that opens in a mobile browser. Keep model under roughly 50 to 100 MB for smooth performance.
- 360 panoramas: Export 4096 by 2048 at minimum. Provide 3 to 6 key rooms. Works well on phones without any special app.
- AR model: USDZ on iOS or glb for general use. Limit textures and keep polygon counts low.
If you need to re encode video for email or text size limits, a simple command line transcode can help:
ffmpeg -i walkthrough_4k.mp4 -vf scale=1920:-2 -c:v libx264 -crf 20 -preset veryslow -c:a aac walkthrough_1080p.mp4
The above produces a sharp 1080p file at a reasonable size while preserving quality.
Quality assurance checklist before you send
Run this 2 minute QA so your contractor walkthrough from 2D plan without CAD stays trustworthy.
- Overall size: Compare model length and width to plan. Error under 2 percent.
- Door swings and widths: Verify all egress doors and primary interior doors.
- Clearances: Check at least one appliance triangle in the kitchen and a 30 by 48 inch clear floor space at key fixtures.
- Stairs: Tread count and rise run match plan. No headroom conflicts at landings.
- Window heights: Sill heights and widths consistent with notes.
- Ceiling heights: Confirm any drops or soffits are visible.
- Furniture fit: Bed, sofa, and table proxies fit without blocking doors.
- Lighting: No blown out exposures; avoid overly dark rooms.
- Camera path: No collisions or jitter on turns.
Troubleshooting common issues
Even with good inputs, you may hit snags. Here is how to correct them fast.
- Walls look too thick or thin: You likely traced to the wrong line weight. Recheck the wall centerline and set a realistic thickness.
- Model feels narrow: Scale drift. Recalibrate using two far apart dimensions, not two that are adjacent.
- Auto detection missed a bay or nook: Add a manual wall segment and re run open detection for doors and windows in that area.
- Curved walls: Approximate with 8 to 16 short segments. For a walkthrough, the visual reads correctly without full curvature.
- Split level stairs cut through ceilings: Separate floors into distinct levels and set story heights correctly.
- Long corridors stutter in video: Reduce camera speed and use motion blur or higher frame rate export if available.
Field proven tips for clear communication
Stakeholders scan, they do not study. These small choices make your walkthrough more persuasive.
- Labels: Add minimal room labels that fade in near doors. Avoid clutter.
- Scale reference: Include a 6 foot silhouette or a standard 36 inch door in view to anchor perception.
- Space sequencing: Reveal the biggest space early; it gives immediate context for smaller rooms.
- Before and after: If showing an alteration, render a quick A and B split with a floor finish change to differentiate options.
- Callouts: Use two or three text callouts max to highlight key decisions, such as island overhang or shower width.
When simple is enough and when to escalate
A no CAD walkthrough is perfect for early feasibility, homeowner orientation, finish previews, and simple layout verification. Escalate to a CAD or BIM workflow when you must coordinate structure, MEP, or code critical dimensions with tight tolerances, or when the project will flow into construction documents.
Signs you can stay without CAD for now:
- You only need plan fidelity at the inch level rather than the eighth.
- The decisions are about layout, sightlines, and basic clearances.
- Stakeholders respond better to visuals than drawings.
Signs to move to a CAD or BIM model:
- Complex roof geometries, stair code checks, or structural transfers.
- Precise millwork or shop drawings are next.
- Trade coordination with clash detection is required.
Step by step summary
- Capture or scan a high contrast plan and crop cleanly.
- Set true scale using two distant known dimensions, then verify a third.
- Let the tool auto detect walls and openings; fix corners and stairs by hand.
- Assign neutral materials and a simple daylight environment.
- Place furniture proxies to confirm clearances.
- Build a smooth camera path with pauses at key rooms.
- Export a 1080p or 4K video plus an interactive or 360 backup.
- Run the QA checklist and share.
The most persuasive walkthroughs are the simplest ones that tell a clear story. Keep it honest to the plan, easy to watch, and fast to share.
Final note
If you prefer a phone first approach, an iOS app like Floor Plan to 3D can turn black and white floor plans into true scale 3D with minimal fuss, and it can export high resolution renders suitable for proposals and quick approvals.
