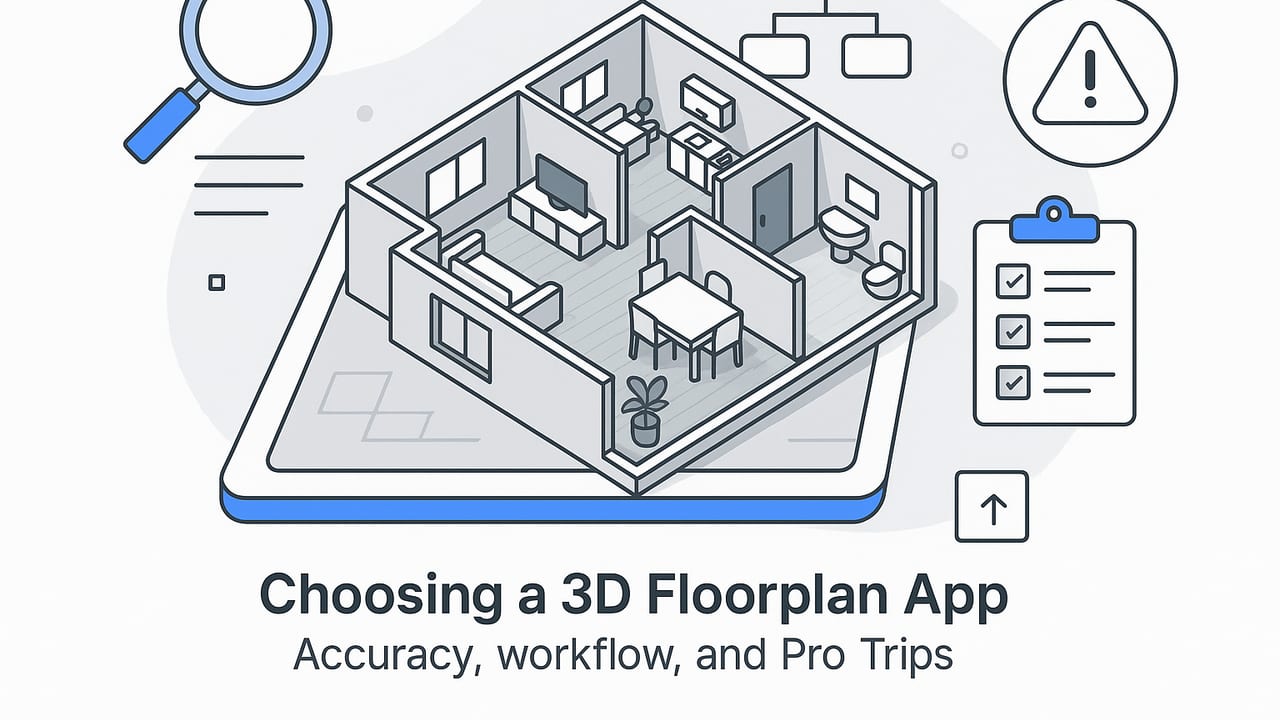
Whether you’re planning a remodel, staging a listing, or testing layout ideas, a reliable 3d floorplan app can turn a flat drawing into a spatial model you can walk, rotate, and iterate on. The best tools preserve scale, interpret walls and openings correctly, and generate clean visuals you can share with clients or contractors. This guide explains how these apps work, what to look for, how to prep your inputs for better outputs, and a fast quality assurance routine to keep your 3D results true to the plan.
What a 3D floorplan app actually does
A capable 3d floorplan app ingests a floor plan (photo, scan, PDF, or CAD), interprets geometry like walls, doors, and windows, then reconstructs a 3D model with correct proportions. Many apps use computer vision to segment black lines and symbols into structural elements and fixtures. The output may be a navigable 3D scene, stylized axonometric images, and exportable files for other tools.
Key inputs and outputs to expect:
- Inputs: JPEG/PNG scans, PDF plans, sometimes DWG/DXF or IFC for vector data.
- Outputs: On-device 3D view, rendered images, and exports like OBJ, glTF, FBX, or USDZ. Some also export dimensioned 2D layouts from the same model.
- Controls: Tools to set a scale, edit wall positions, adjust openings, assign materials, and place furniture.
Accuracy starts with scale
Most conversion errors stem from incorrect scale. A line that is one pixel wide on a scan could translate to very different real-world measures if the scale isn’t set explicitly. Before you add furniture or render, lock the model to an accurate scale using a known dimension on the plan (e.g., a labeled room width or a standard door). This ensures area totals, furniture fit, and circulation paths match reality.
Calibration workflow:
- Identify a labeled dimension on the plan (for example, 3600 mm or 12'-0").
- Use the app’s measure tool to draw that same span over the image.
- Enter the real-world length; let the app compute the scale factor.
- Verify by checking a second dimension elsewhere on the plan.
// Simple scale logic
// measured_pixels: pixel distance you drew over the plan
// real_length: the true dimension in meters or feet
scale = real_length / measured_pixels
// All model coordinates = pixel_coordinates * scale
Beyond scale, pay attention to wall thickness and openings. If walls import as single centerlines, the 3D wall may be too thin and affect room areas. If the app infers thickness from line pairs, verify it against the legend or a known standard (e.g., typical 100–150 mm interior partitions). For doors and windows, confirm swing direction and sill/head heights—especially if you plan to render interior lighting and sightlines.
Get better results with simple plan prep
Even the best 3d floorplan app benefits from clean input. If you work from a photograph or scan, straighten the image and crop out borders, title blocks you don’t need, and heavy notes that may confuse detection. Boost contrast so walls and openings are clear.
- De-skew: Align the plan so verticals are vertical. Many apps have a built-in straighten tool.
- High-contrast: Increase contrast so linework stands out, especially for faint pencil marks.
- Remove clutter: Hide furniture doodles that aren’t part of the final layout; they can be added natively later.
- One level per image: Multi-level composites make segmentation harder. Process each floor separately.
Measure twice, render once. A five-minute prep pass can save an hour of cleanup in 3D.
Feature checklist for selecting a 3d floorplan app
Use this quick comparison to evaluate your shortlist.
| Capability | Why it matters | Minimum to look for |
|---|---|---|
| Scale calibration | Locks real-world sizes | Two-point calibration + verification tool |
| Wall/door/window detection | Reduces manual tracing | Editable openings; handle swings and window heights |
| Levels and stairs | Essential for multi-story | Per-floor import; stair orientation and landing settings |
| Materials and lighting | Realistic visuals, daylight studies | Basic material library + sun/ambient control |
| Furniture and fixtures | Validate fit and circulation | Snapping, standard sizes, collision or clearance hints |
| Measurement tools | QA without leaving the app | Linear, area, and ceiling height checks |
| Export formats | Share and iterate elsewhere | High-res images + OBJ/GLTF/USDZ and 2D PDF |
| Device performance | Speed and stability | Offline previews + cloud renders as an option |
| Privacy & security | Client and project confidentiality | Local processing or encrypted uploads; clear data policy |
Performance, speed, and privacy considerations
On mobile, neural inference and real-time rendering push the device hard. A modern chip can handle segmentation and lighting quickly, but long or complex plans might queue to the cloud for heavy tasks like photorealistic rendering. If you work in the field or with confidential projects, check whether the app can process locally and what gets uploaded.
- Offline mode: Useful on job sites; ensures you can calibrate and model without signal.
- Cloud rendering: Faster finals and denoising, but read the data retention policy.
- Battery and thermals: Long sessions benefit from reduced real-time effects until final render.
Exports and collaboration
Plan how you will share. Real estate teams often need high-resolution stills, while design teams might want models to review in AR or to import into DCC tools.
- Images: Export 4K+ for brochures; include a light and dark theme if text overlays are planned.
- 3D files: glTF for web/AR compatibility; USDZ for iOS AR Quick Look; OBJ/FBX for DCC apps.
- 2D: A dimensioned PDF floor plan synchronized with the 3D model helps contractors quote accurately.
- Annotations: Look for callouts and notes that carry through to exports.
Common pitfalls and how to fix them
- Mis-scaled model: Everything looks fine until the sofa doesn’t fit. Recalibrate scale using a second dimension on another axis. If the plan is stretched, re-scan without perspective distortion.
- Thin or merged walls: Faint lines can merge in low-contrast scans. Boost contrast before import; manually set wall thickness in the editor if available.
- Doors swing the wrong way: Some auto-detection flips swings. Cross-check on the plan; set global default (left/right-hand) and override per opening.
- Missing window heights: Apps may place windows at a standard height. Add sill and head dimensions for accurate daylight and privacy studies.
- Curved or angled walls misread: If the plan includes arcs or non-orthogonal geometry, switch from snap-to-orthographic to freeform drawing for those segments.
- Stairs and multi-level links: Confirm rise/run, headroom, and landing positions. In apps that infer stairs, validate the direction and floor connections.
- Text and hatches confusing detection: Use a markup layer to mask out heavy notes or hatch patterns before processing.
Use-case tips: from quick concepts to client-ready visuals
- Real estate marketing: Use a clean material palette and daylight presets for bright, believable visuals. Export an axonometric and a few key eye-level shots; keep furniture lightweight for fast loading.
- Renovation planning: Duplicate the baseline model and create design options (existing, scheme A, scheme B). Use scene states to swap wall configurations or openings rapidly.
- Kitchen and bath design: Validate appliance clearances (dishwasher door swing, fridge hinge side) and plumbing rough-ins. Annotate counter heights and splash zones.
- Furniture layout: Rely on standard sizes and circulation rules (minimum 900 mm/36" main paths). Use collision or clearance indicators if the app supports them.
- Accessibility studies: Check turning radii (1500 mm/60"), door widths (865 mm/34" clear typical), and thresholds. Color-code compliant vs. non-compliant routes for reviews.
A 10-minute QA checklist to trust your 3D
Before sharing or ordering materials, run this quick verification pass:
- Scale check: Measure two dimensions in perpendicular directions; both should be within a few millimeters or 1/8" of the plan.
- Overall footprint: Compare exterior length/width to the title block or site plan.
- Room areas: Sum room areas and compare with listed GIA/NIA if provided; investigate any 2–3% deviation.
- Openings: Confirm all doors/windows exist, with correct widths and swings. Verify at least one egress path is not obstructed.
- Heights: Ceiling heights, window sills/heads, and stair headroom meet expectations; adjust if placeholders were used.
- Adjacency and flow: Kitchen near dining, bedrooms away from noisy zones; sightlines through key doors are reasonable.
- Fixtures and clearances: Check bath fixtures, appliance doors, and 900 mm/36" main circulation paths.
- Lighting sanity: Place a basic sun preset; make sure rooms aren’t unnaturally dark or blown out. Adjust materials with extreme reflectance.
- Export test: Generate one high-res image and one 3D file to ensure textures and scales carry correctly.
- Versioning: Save a baseline and label variants clearly (e.g., 01_Base, 02_OptionA_OpenKitchen).
Future trends to watch
3D from 2D is moving fast. Expect better on-device AI that recognizes more symbols (like MEP fixtures), procedural materials that adapt to room sizes, and stronger AR previews using lightweight formats like USDZ and glTF. We’re also seeing convergence with reality capture—mixing a plan-driven model with quick LiDAR or photo scans for accurate heights and as-built conditions.
Putting it all together
Choosing the right 3d floorplan app is about accuracy, speed, and a workflow that matches your deliverables. Calibrate scale early, prep your plan for clarity, verify geometry with a short QA routine, and export in formats your collaborators can open easily. That way, every render and layout decision reflects the real space—not a distorted guess.
If you prefer a mobile-first tool that converts black-and-white 2D plans into dimensionally faithful 3D with shareable, high-resolution renders, consider exploring Floor Plan to 3D on iOS.
