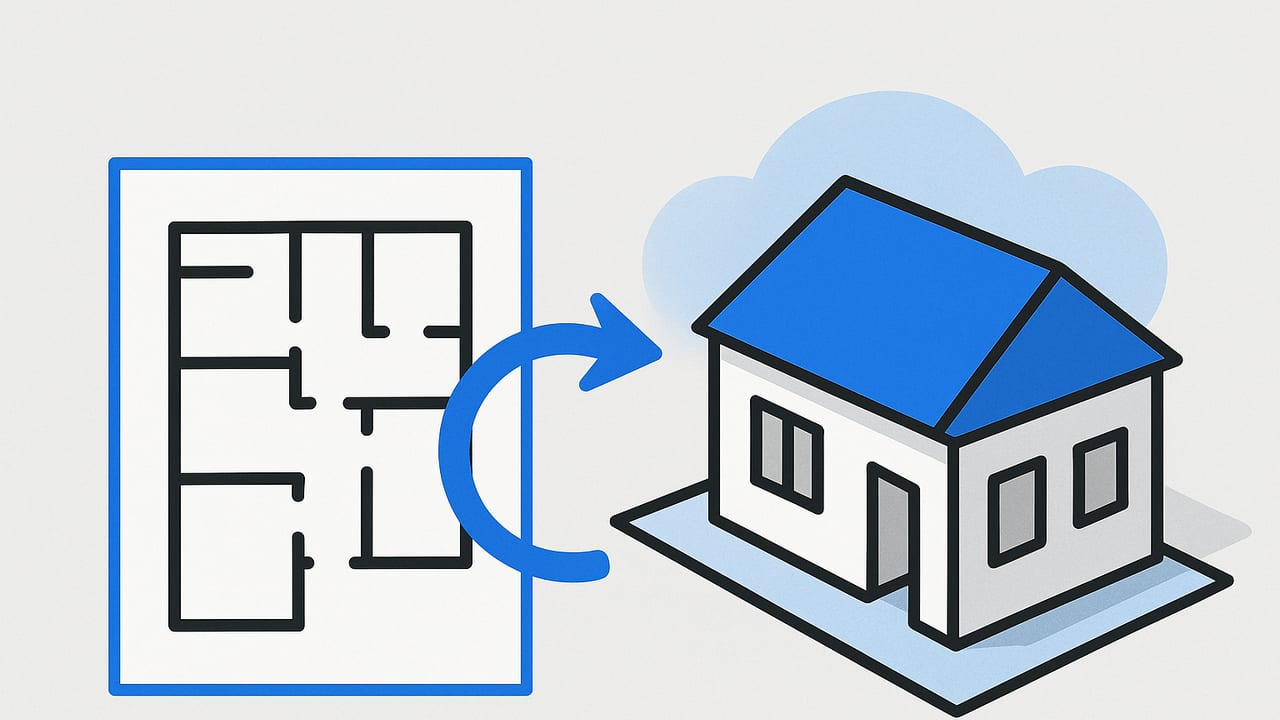
Turning a black-and-white 2D floor plan into a navigable 3D layout doesn’t have to be expensive. Whether you’re a homeowner planning a renovation, a real estate agent staging concepts, or a designer producing quick concept visuals, there are practical, low-cost routes that preserve scale and clarity. If you’re searching for a cheap way to turn floor plan 3d, this guide covers the tools, steps, costs, and quality checks that keep your visuals believable without breaking the budget.
What Actually Drives Cost in 3D Floor Plans
Price often scales with three variables. Understanding them helps you choose the cheapest approach that still meets your goals:
- Accuracy and scale: The more precisely you preserve measurements, the more time and tooling it can take. But with the right workflow, you can keep true scale cheaply.
- Automation vs. manual work: Automated tools reduce labor. Manual modeling can be very cheap in cash terms but costs more time and requires skill.
- Level of detail: High-end materials, realistic lighting, and custom furniture increase effort. Concept-level outputs are faster and cheaper.
Budget Options at a Glance
Here’s a quick comparison of affordable paths to convert 2D plans to 3D:
| Option | Typical Cost | Speed | Skill Level | Accuracy (Scale) | Best For |
|---|---|---|---|---|---|
| SketchUp Free (web) | $0 | 1–4 hours | Beginner–Intermediate | High if scaled correctly | DIY concept layouts, quick iterations |
| Blender + Add-ons | $0 | 2–6 hours | Intermediate | High with careful setup | Detailed visuals on a tight budget |
| Mobile 3D floor plan apps | $0–$20/mo | 10–60 minutes | Beginner | High when using scale anchors | Fast results for proposals |
| Freelancer (entry-level) | $25–$150/project | 24–72 hours | None | Varies by provider | If your time is more valuable than the fee |
| CAD + pro renderer | $0–$300+ software, or higher | 4–20 hours | Advanced | Very high | Permit-level fidelity, photoreal deliverables |
A Low-Cost, True-Scale Workflow (Step by Step)
This workflow uses free or nearly-free tools and keeps accuracy under control. It assumes you have a black-and-white plan with at least one known dimension (e.g., room width).
1) Capture and clean the plan
- Scan or photograph the plan with even lighting. Avoid skew. Hold the camera parallel to the paper.
- Correct perspective (free tools like GIMP, Photopea, or your phone’s photo editor). Straighten edges so lines are orthogonal.
- Increase contrast so walls are crisp and readable.
2) Extract lines (optional but helpful)
Vectorizing a raster plan makes import and scaling easier:
- Use free tools like Inkscape to trace bitmap lines into vector paths.
- Clean stray lines and ensure doors/windows are distinguishable.
3) Set scale—the most important step
Regardless of software, lock in true scale first:
- Import the image or vector into your 3D tool (SketchUp Free or Blender).
- Pick a known dimension on the plan (e.g., a 12 ft wall).
- Use the scale tool to match that distance precisely. In SketchUp, measure with the Tape Measure tool, type the exact length, and confirm scaling the model. In Blender, set units to Metric/Imperial and scale the reference plane until the edge matches your known measurement.
Once set, all subsequent modeling inherits accurate proportions.
4) Build walls quickly
- SketchUp Free: Trace wall centerlines with the Line tool. Use Offset to get wall thickness (e.g., 0.1 m or 4 in). Then Push/Pull to extrude to wall height (e.g., 2.7 m or 9 ft).
- Blender: Convert traced curves to meshes or use a plane per room. Extrude edges to wall thickness, then extrude upward for height. Keep walls as separate objects or one manifold mesh for simplicity.
5) Add doors, windows, and openings
- Doors: Use components/instances so one edit updates all similar doors.
- Windows: Cut openings at exact sill and head heights. If time is short, use simple rectangular cutouts.
- Stairs: Model as a block with correct total rise and run. Detail treads later if needed.
6) Drop in basic furniture at true scale
Even simple blocks help communicate flow:
- Use free component libraries (SketchUp 3D Warehouse) to drop in couches, beds, tables.
- Keep an eye on scale—many online assets are mislabeled. Measure each asset against known dimensions (e.g., a queen bed ≈ 60 in × 80 in).
7) Apply light materials and basic lighting
For cheap yet clear visuals, avoid photoreal complexity:
- Use flat, neutral materials so the layout reads clearly.
- Place a few area lights or rely on an environment light for clarity.
8) Export views
- Save top-down axonometric or perspective views with consistent field of view.
- Export PNG/JPG at high resolution for sharing.
How to Keep Scale Accurate (QA Checklist)
Accuracy is what separates a “pretty picture” from a plan you can trust. Use this quick QA checklist:
- Two-distance check: Validate at least two dimensions in opposite corners of the plan. If both match, scaling is consistent.
- Wall thickness control: Confirm interior and exterior wall thicknesses are realistic (e.g., 3.5–4.5 in typical interior wood stud walls; 6–8 in for exterior walls in many builds).
- Door swings and clearances: Standard interior doors are often 28–36 in. Ensure swing arcs don’t collide with furniture.
- Ceiling heights: Verify common heights (8–10 ft typical) and stair headroom (≥ 6 ft 8 in in many jurisdictions; check local code).
- Furniture scale sanity check: Use a tape measure in the software to spot-check a sofa, bed, and dining table.
Hidden Costs to Avoid
- Modeling from a skewed photo: If the source image isn’t corrected, your whole model will be off. Fix perspective first.
- Skipping a scale anchor: Don’t rely on “assumed” sizes. Always scale to a known dimension or the drawing’s scale bar.
- Over-detailing early: Add materials and intricate furniture only after core geometry passes QA, or you’ll rework assets.
- Asset license surprises: Some furniture models have restrictive licenses. Stick to permissive libraries for budget work.
Fastest Cheap Workflow: Smartphone + Web Tool
If you need quick results for minimal cost:
- Photograph the floor plan with even light and square framing.
- Correct perspective and boost contrast on your phone.
- Import into SketchUp Free (web). Scale using one known wall dimension.
- Trace walls and openings; extrude to height.
- Drop in a few key furniture blocks at true scale.
- Export a clean axonometric and one perspective view.
Time: 45–120 minutes for a single-story plan with moderate complexity.
When Is It Worth Paying a Bit More?
You can stay cheap, but a small budget bump can save hours:
- Multiple iterations expected: A semi-automated app or a basic freelancer package can cut turnaround time for revisions.
- Client-facing proposals: Clean lighting and consistent styling matter; a low-cost renderer or app output may be worth it.
- Tight deadlines: Paying $25–$100 for a quick model can be cheaper than spending your entire evening learning hotkeys.
Costs by Path (Realistic Ranges)
| Path | Upfront Cost | Typical Total Cost | Notes |
|---|---|---|---|
| DIY (SketchUp Free) | $0 | $0–$10 (optional add-ons) | Time cost is the main factor |
| DIY (Blender) | $0 | $0–$20 (add-ons/asset packs) | More complex but powerful |
| Mobile App | $0–$20/mo | $0–$40 | Fast, guided, usually accurate |
| Freelancer | $0 | $25–$150 | Specify scale, supply clean plan |
Example: Two-Hour Budget Build
Scenario: 900 sq ft apartment, single story, one bathroom, known wall dimension of 15 ft.
- 10 minutes: Photograph plan, fix perspective, crop.
- 10 minutes: Import into SketchUp Free; scale to 15 ft reference wall.
- 30 minutes: Trace walls, offset thickness, extrude to 9 ft.
- 20 minutes: Cut doors/windows; add a basic stair block if needed.
- 30 minutes: Drop in scaled furniture: sofa, TV console, queen bed, dining table, desk.
- 20 minutes: Assign simple materials, add shadows, export top-down and perspective images.
Deliverables: Two to four PNGs at 2000–3000 px width. Sufficient for planning, early-stage proposals, and conversations with contractors or clients.
FAQ: Cheap 2D-to-3D Conversions
How do I guarantee true scale without fancy software?
Always scale your reference image to a known dimension before modeling. Confirm with a second measurement in another part of the plan. Use consistent units throughout.
Can I convert a blueprint photo directly to 3D?
Yes, but clean the image first and correct perspective. Automated tools may speed this up, but even manual tracing is fast if the image is crisp.
What if my plan has no dimensions?
Look for a door width or standard bath fixture as a proxy. Later, verify by measuring the actual space or asking for one dimension to anchor the model.
Do I need photoreal rendering?
Not for layout and circulation decisions. Keep materials simple; focus on scale and furniture placement. Photoreal visuals are optional and can be added later.
How do I keep costs low across multiple revisions?
Model with components and layers/tags. Save “scenes” for standard camera views. Revisions then become small, controlled edits.
Pro Tips for Maximum Value on a Minimal Budget
- Start with the shell: Exterior walls and core structure first; don’t detail until the shell passes QA.
- Use consistent naming: Label rooms and components so navigation is fast.
- Limit materials: 3–5 neutral materials keep files small and visuals clear.
- Batch exports: Save preset camera angles to update images in seconds after changes.
- Version control: Duplicate files before major edits to avoid rework if something breaks.
A Gentle Note on iPhone-Friendly Workflows
If you want a budget workflow that stays on your phone and prioritizes accuracy from a 2D layout, the Floor Plan to 3D iOS app converts black-and-white plans into true-scale 3D, preserves proportions, and exports high-resolution images suitable for proposals.
Bottom Line
The cheapest way to turn a 2D floor plan into a believable 3D layout is to pair a clean, scaled reference image with a lightweight modeling tool and a disciplined QA process. For many projects, a free web-based model and a few scaled furniture blocks are all you need to make confident decisions about flow, clearance, and layout. If speed or presentation polish matters more than time spent learning software, consider a low-cost app or an entry-level freelancer. Either way, prioritize scale, keep details simple, and iterate quickly—the hallmark of a smart, budget-conscious 3D workflow.
