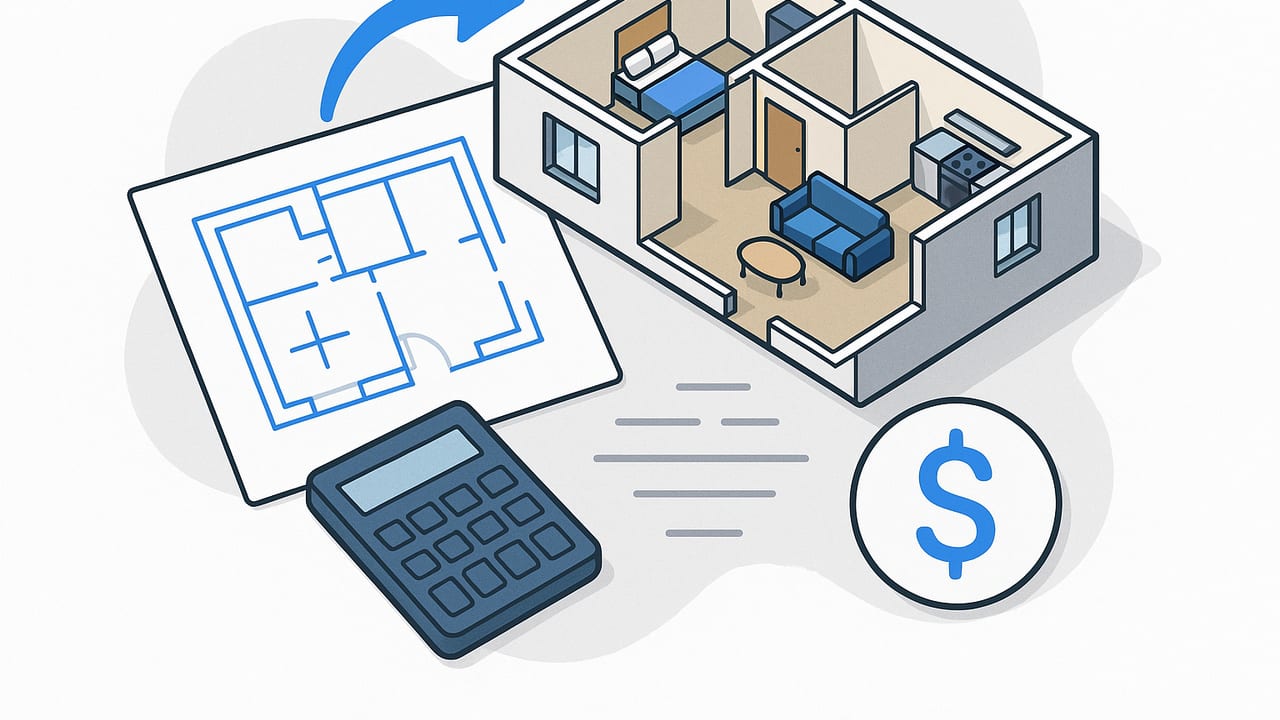
Turning a black-and-white floor plan into a convincing 3D space doesn’t have to be expensive or complicated. Whether you’re planning a remodel, presenting a listing, or testing design ideas, budget friendly 3d floor plan visualization is achievable when you match your goals to the right tools, level of detail, and workflow. This guide breaks down costs, compares approaches, and shares practical methods to get accurate, presentation-ready 3D results without overspending.
What “Budget-Friendly” Really Means in 3D Floor Plans
“Budget-friendly” is less about picking the absolute cheapest option and more about paying only for the detail and polish you need. A small apartment layout for planning furniture placement has different requirements than a high-end listing that needs cinematic renderings. Use the table below to gauge typical budget ranges and trade-offs.
| Approach | Typical Cost per Plan | Turnaround | Accuracy | Best For |
|---|---|---|---|---|
| Mobile app (scan/upload 2D to 3D) | $0–$30 | Minutes to hours | High if scale preserved | Homeowners, students, quick iterations |
| Web-based 3D floor plan software | $10–$50 | Hours | Medium–high | Real estate, DIY design |
| Desktop pro software (DIY) | $0–$80 (per plan equivalent) | Half day–2 days | High with experience | Design enthusiasts, pros-in-training |
| Freelancer/marketplace | $50–$250 | 1–3 days | Medium–high (variable) | One-off marketing visuals |
| Pro 3D studio/architect | $250–$1,200+ | 3–10 days | Very high | Premium marketing, investor decks |
For many practical needs—layout planning, early concept reviews, quick real estate visuals—mobile and web options deliver excellent value. The biggest cost savers are accurate scale from the start and choosing the right level of detail.
Choose the Right Level of Detail (LOD)
Level of Detail is your main budget lever. Decide what must be accurate versus what can be simplified:
- Critical geometry: walls, windows, doors, stairs, structural columns. These determine circulation and furniture fit.
- Functional fixtures: kitchen/bath layouts, appliances, built-ins. Keep true to dimensions and clearances.
- Optional polish: decorative objects, complex millwork, high-fidelity materials, photoreal lighting.
Real Estate Marketing
Focus on clean, accurate room sizes, door swings, and major fixtures. Use neutral materials and a small set of contemporary furniture assets to convey scale. Photoreal lighting is optional; clear composition and legible labels often convert better.
Renovation Planning
Prioritize precise dimensions and appliance/fixture footprints. Materials can be placeholders. Allocate time to verify measurement parity with the floor plan and ensure corridors and clearances meet code or ergonomics targets.
Classroom/Studio Work
Keep geometry simple; use low-poly furniture and default daylight. Emphasize spatial relationships and circulation diagrams over photoreal textures.
A Practical Workflow: From 2D Plan to Clean 3D on a Budget
Follow this streamlined workflow to minimize rework and keep costs down.
- Start with the best 2D source you have. A crisp black‑and‑white plan with a scale bar or a known dimension accelerates tracing and reduces errors.
- Capture at high resolution. If you’re photographing a paper plan, flatten it, shoot perpendicular in good light, and crop margins. Avoid perspective skew.
- Lock the scale. Immediately set scale in your tool using a known dimension (e.g., wall-to-wall bedroom width). This ensures all subsequent geometry and furniture fits.
- Trace primary geometry first. Walls, openings, structural elements. Add levels/floors if needed. Ignore furniture until the shell and circulation are correct.
- Add fixtures and stairs with clearances. Place kitchen/bath fixtures and stairs next. Respect code-adjacent clearances (e.g., 36 in counter aisles, 30 in min around toilets).
- Place essential furniture only. Use a minimal library to demonstrate scale—bed, sofa, dining set, desk. Avoid time sinks like detailed decor.
- Apply simple materials and lighting. Use clean, non-distracting materials. For lighting, rely on daylight and a few area lights; avoid complex GI tweaked endlessly.
- Compose exports for clarity. Choose 2–4 camera angles that communicate layout: an orthographic top-down, a 45° axon, and 1–2 hero views. Export at the target resolution for your presentation or listing.
# One-Page Brief Template (paste into your project notes)
Project: [Address/Unit]
Goal: [Marketing / Planning / Concept]
Must-have accuracy: [Walls, doors, kitchen, bath]
Known dimensions to lock scale: [e.g., Living room 12' 0"]
Level of detail: [Essential furniture only / Neutral materials]
Outputs: [Top-down, axon, 2 hero views at 3000 px]
Deadline & budget: [Date, $]
Cost-Saving Tips Without Sacrificing Accuracy
- Front-load scale checks. Catching a scale error early saves hours compared to reworking furniture and fixtures later.
- Use asset libraries wisely. A small, consistent set of furniture models keeps scenes lightweight and cohesive.
- Standardize materials. Create or reuse a neutral palette (white walls, oak floor, grey counters). Fewer materials = faster previews.
- Batch exports. Queue renders or use real-time screenshots; avoid iterative high-res re-renders for minor tweaks.
- Limit camera count. Four strong views outperform a dozen similar angles. Think like a storyteller, not a completist.
- Automate repetitive tasks. Templates for room types and saved camera presets reduce setup time across projects.
- Document assumptions. If the plan lacks window heights or swing directions, note your assumptions and proceed; revisiting later is cheaper with clear notes.
Rule of thumb: lock the shell and scale before assets. Every minute invested up front saves five minutes of rework later.
Common Mistakes That Inflate Costs (and How to Avoid Them)
- Skipping the scale step: Always calibrate with a known dimension. Without it, everything from furniture to stair treads can be off.
- Over-modeling early: Detailed furniture and materials before finalizing the layout leads to heavy revisions.
- Chasing photoreal lighting: For planning and most marketing use-cases, simple daylight and soft fills are enough.
- Too many viewpoints: Focus on a top-down plan, a 3D axon, and 1–2 carefully chosen eye-level shots.
- No export plan: Decide required resolution and aspect ratio first (web listing, print flyer, deck). Render only what you need.
Example Budgets and Timeframes
Use these quick scenarios to calibrate expectations. Your numbers may vary by tool, complexity, and experience, but the proportions hold.
| Scenario | Scope | Time | Estimated Cost |
|---|---|---|---|
| 1‑bed condo for planning | Walls, doors, kitchen/bath, essential furniture, neutral materials | 1–2 hours | $0–$30 (mobile/web) |
| 2‑bed listing visuals | Accurate shell, fixtures, 2–4 curated views, branded colors | 2–4 hours | $20–$80 (DIY) or $80–$200 (freelancer) |
| Townhouse concept study | Multi-level layout, stairs, simple daylight, top-down + axon | 4–6 hours | $30–$120 (DIY) or $150–$400 (freelancer) |
In all cases, accurate scale and a restrained palette are the biggest levers to keep time and costs down while maintaining clarity.
Choosing Tools That Fit Your Budget and Platform
When evaluating software for cost-effective 3D floor plans, prioritize these capabilities:
- Scale preservation: Ability to set or detect true dimensions from a plan photo or PDF.
- Fast wall and opening creation: Trace tools or AI that recognize walls, doors, and windows save hours.
- Asset library basics: Beds, sofas, tables, cabinets, appliances in standard sizes. Too many variants can slow you down; fewer, accurate models are better.
- Simple materials and lighting: Defaults that look clean out of the box help you avoid render tweaking.
- Export control: Set resolution and aspect ratio, and save camera presets for consistent outputs.
- Pricing model: If you have sporadic needs, pay‑per‑export or low monthly tiers beat high up-front licenses.
- Device preference: Mobile apps excel at quick capture from plan photos; desktop tools suit complex multi-floor edits.
FAQs on Affordable 3D Floor Plan Workflows
How accurate can low-cost 3D floor plans be?
Very accurate, provided you lock scale early using a known dimension and trace cleanly. Many budget-friendly tools preserve wall lengths and room sizes well enough for planning furniture and circulation, and often rival higher-end workflows for basic layouts.
Do I need photoreal renders for listings?
Not necessarily. Clear top-down and axonometric views with legible furniture often convert better than super-photoreal images because they communicate layout quickly. Reserve photoreal for premium listings or when material finishes are the selling point.
What’s the fastest way to go from a paper plan to 3D?
Capture a perpendicular, high-res photo of the plan in good light, crop borders, import into a tool that can set scale from a known dimension, and trace primary geometry first. Avoid placing furniture until walls, doors, and openings are correct.
How do I keep file sizes small on mobile or web tools?
Use a minimal asset set, keep materials simple, limit the number of lights, and avoid high-resolution textures. Export only the views you need at the resolution your deliverable requires.
Final Thoughts
Budget-friendly 3D floor plan visualization is about disciplined scope, reliable scale, and a clean, repeatable workflow. Start from a clear brief, lock dimensions early, keep assets minimal, and export just the views that tell your story. If you work on iPhone or iPad, an option like Floor Plan to 3D can convert black‑and‑white plans into scaled 3D scenes suitable for rapid planning and presentation.
