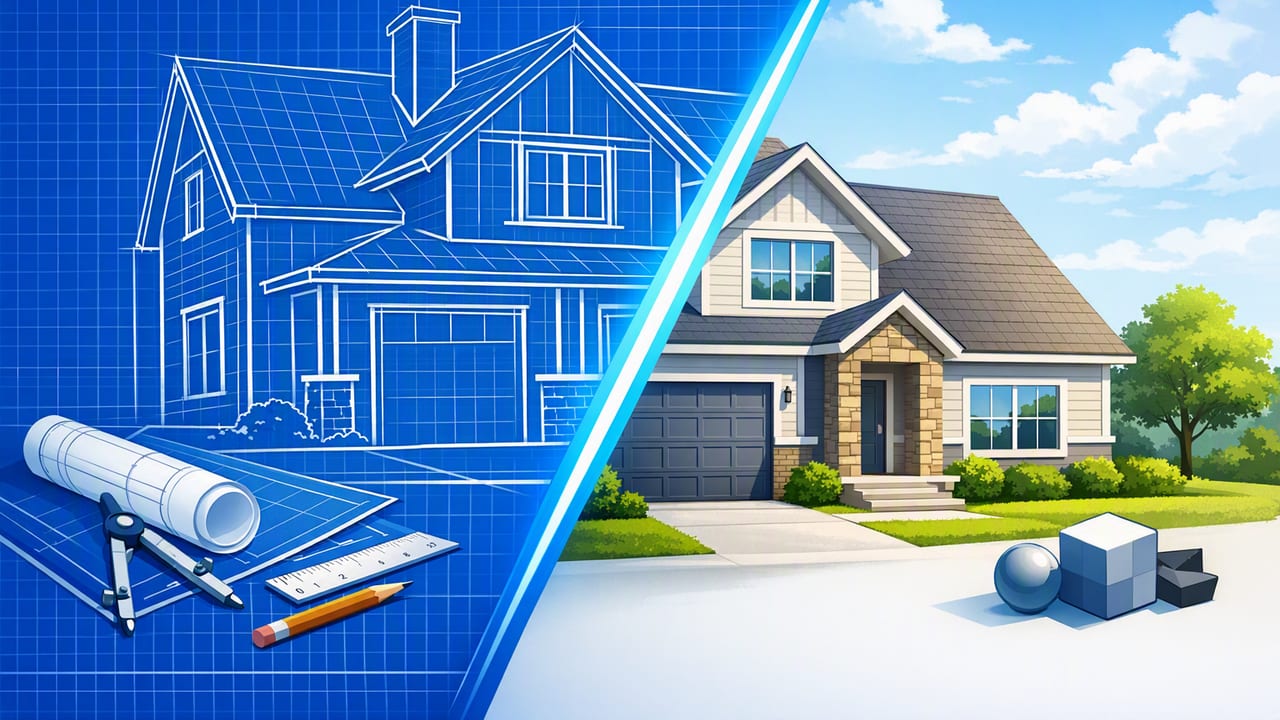
When you turn blueprint into 3d render, the goal isn’t just a “nice picture.” The real value is making decisions faster—layout, furniture fit, circulation, lighting, and renovation feasibility—while keeping the plan’s dimensions and proportions trustworthy. A clean 3D render helps homeowners, designers, and contractors align early, before money is spent on materials or labor.
This guide walks through an accuracy-first workflow you can use whether you’re working from a scanned paper blueprint, a PDF floor plan, or a simple black-and-white layout. You’ll get a practical checklist, common pitfalls, and a quality-control routine so your 3D result stays faithful to the original plan.
Why accuracy matters more than realism
Photorealism is useful, but accuracy is the foundation. If a wall shifts by even a few inches, a kitchen run might not fit, a door could swing into a cabinet, or a sofa that “looked fine” in 3D becomes impossible in the real room.
Rule of thumb: If you can’t confidently pull a measurement from your 3D model, you’re looking at a mood board—not a renovation preview.
Before you convert: prepare your blueprint for a clean import
Most conversion errors start with the source. Spend a few minutes preparing the plan and you’ll save hours later.
Source checklist (paper, PDF, or image)
- Confirm the plan type: Is it a marketing floor plan, a construction blueprint, or an as-built? Marketing plans often simplify walls and omit structural details.
- Look for a scale reference: dimensions, a scale bar, or a known measurement (e.g., a standard 36-inch door).
- Check revision notes: A blueprint may have multiple revisions; make sure you’re converting the latest version.
- Ensure legibility: Labels (room names), wall thickness, openings, and dimension strings should be readable at 100% zoom.
Scanning/photographing tips for better floor plan conversion
- Use even lighting: Avoid shadows and glare that can confuse edge detection.
- Keep the camera parallel: Perspective skew creates scale drift across the plan.
- Capture at high resolution: Crisp lines improve wall detection and preserve labels.
- Crop tightly: Remove borders, legends, and unrelated sheets so the converter focuses on the plan geometry.
Three ways to turn a blueprint into a 3D render (and when to use each)
Your best approach depends on your timeline, budget, and how precise the output needs to be.
| Method | Best for | Pros | Trade-offs |
|---|---|---|---|
| Manual CAD-to-3D workflow | Construction-level documentation | Maximum control, detailed layers, high precision | Slow, steep learning curve, heavier software |
| Desktop 3D modeling (semi-manual) | Design exploration + presentations | Good visuals, libraries, lighting controls | Still time-consuming; scale mistakes easy to miss |
| AI-assisted floor plan conversion | Fast renovation previews and layout testing | Quick conversion, easier iterations, shareable renders | Needs QC; complex plans may require cleanup |
The accuracy-first workflow: step-by-step checklist
Use this sequence to minimize rework. Even if your tool automates parts of the process, the same checkpoints apply.
1) Set the scale before you do anything else
Scaling is where most conversions quietly go wrong. Use a known dimension on the plan (a labeled wall length is best). If you don’t have labeled dimensions, use a standard reference cautiously (e.g., door width), but confirm later.
- Preferred: two labeled dimensions far apart (reduces rounding errors)
- Verify: measure a second wall to confirm the scale holds
- Watch for: “Not to scale” notes on marketing plans
2) Identify structural vs. non-structural walls
In 3D, it’s tempting to treat all walls equally. For renovation previews, flag structural walls, columns, and shear walls early so you don’t design an impossible removal.
- Differentiate exterior walls (often thicker) from interior partitions
- Mark load-bearing candidates (especially on older homes)
- Keep a note for “confirm on site” items
3) Clean up wall lines and corners (the hidden time sink)
Wall detection can produce gaps, overlaps, or doubled lines—especially in scanned blueprints. Before furnishing, make sure the geometry is clean.
- Close gaps: tiny breaks create open corners and odd room boundaries
- Remove duplicates: doubled walls inflate thickness and shrink rooms
- Square key rooms: kitchens and bathrooms often need tighter accuracy
4) Add openings: doors, windows, and stairs
Openings are what make a 3D preview feel “real,” but they’re also critical for circulation and furniture placement. Confirm:
- Door swings and clearances (avoid clashes with cabinets)
- Window placement for daylight planning and exterior elevation coherence
- Stair direction and landing sizes
5) Set heights: ceilings, soffits, and floor-to-floor
A 3D render becomes misleading if heights are guessed. If the blueprint doesn’t specify ceiling height, choose a conservative default and label it as assumed.
- Ceiling height: verify per level (basements and attics differ)
- Door height: ensure it matches the chosen ceiling
- Soffits/bulkheads: include them if they affect cabinetry or lighting
6) Apply materials strategically (don’t overdo it)
Materials help stakeholders understand intent, but too much realism can hide layout problems. Prioritize materials that communicate renovation scope:
- Flooring zones (tile vs. wood) to show transitions
- Cabinet blocks for kitchen planning
- Exterior cladding/paint for an exterior refresh concept
7) Use an AI room planner for layout alternatives
Once the shell is accurate, an AI room planner can generate multiple furniture arrangements and style directions quickly. Treat these as options, not final answers. Your job is to evaluate them against constraints:
- Walkway widths and turning clearances
- TV viewing distance and glare from windows
- Dining chair pull-back space
- Kitchen work triangle and appliance clearance
8) Run a 3-point quality check before exporting
Do this every time you iterate:
- Dimension check: verify at least 3 measurements (overall width, a key room, and one opening).
- Collision check: confirm doors open, paths are clear, and furniture isn’t clipping walls.
- Consistency check: labels match rooms, and the plan orientation (north/entry) is correct.
Common mistakes (and how to avoid them)
Mistake #1: trusting a single measurement
Blueprints can be stretched by scanning, or photos can be skewed. Always validate scale with multiple checks. If measurements disagree, you may need to re-scan or correct perspective before conversion.
Mistake #2: ignoring wall thickness
Thin-line marketing plans often hide wall thickness. If you model walls too thin, you’ll “gain” fake square footage and your cabinetry and door placement can drift.
Mistake #3: placing furniture before the shell is correct
Furnishing too early creates attachment to a layout that later proves impossible. Lock in the shell geometry first, then furnish.
Mistake #4: mixing assumed and verified dimensions
If some heights or dimensions are unknown, label them as assumptions. This keeps your 3D render honest and prevents miscommunication during renovation planning.
A practical mini-example: converting a typical open-plan main level
Imagine a main level blueprint with a combined kitchen/dining/living space, a powder room, and an entry hall. After importing and scaling, you:
- Validate the overall exterior width and the kitchen wall run that will hold cabinetry.
- Confirm the powder room door swing doesn’t collide with a vanity.
- Place a kitchen island as a simple block first, then test aisle clearances (commonly 36–42 inches depending on needs).
- Generate 2–3 AI room planner options for the living area to compare sofa orientation, TV wall, and window glare.
- Export two views: a top-down 3D overview for layout and an eye-level view for feel.
Exporting: how to make your 3D renders easy to share and review
A great render that’s hard to review slows decisions. Export with a consistent naming system and include the key views stakeholders need.
Recommended export set
- Top-down 3D plan view: quickest for layout approval
- Two eye-level interior views: one toward daylight, one toward cabinetry/feature wall
- Optional exterior angle: if you’re exploring facade or color changes
Simple versioning convention (copy/paste)
project-name_level_view_option_version.ext

Example:
maple-st_1f_livingroom_optionB_v03.png
maple-st_1f_kitchen_optionB_v03.png
maple-st_exterior_front_optionA_v02.png
When to stop iterating and move forward
3D makes iteration easy, which can become a trap. A good stopping point is when:
- Key dimensions are verified (or clearly marked as assumed)
- Layout options have been narrowed to 1–2 winners
- Stakeholders agree on scope (what changes vs. what stays)
- The render answers the decision at hand (not every detail)
Final takeaway
To turn blueprint into 3d render effectively, focus on scale, clean geometry, and repeatable quality checks. Once the shell is accurate, 3D renders become a powerful way to compare renovation directions, test furniture layouts, and preview interior design and exterior refresh concepts—without committing to heavy modeling tools.
If you’re working on iPhone and want a streamlined floor plan conversion plus AI-guided redesign ideas, an app like Floor Plan to 3D & Home Redesign can help you generate clean 3D previews and export high-resolution images for sharing.
