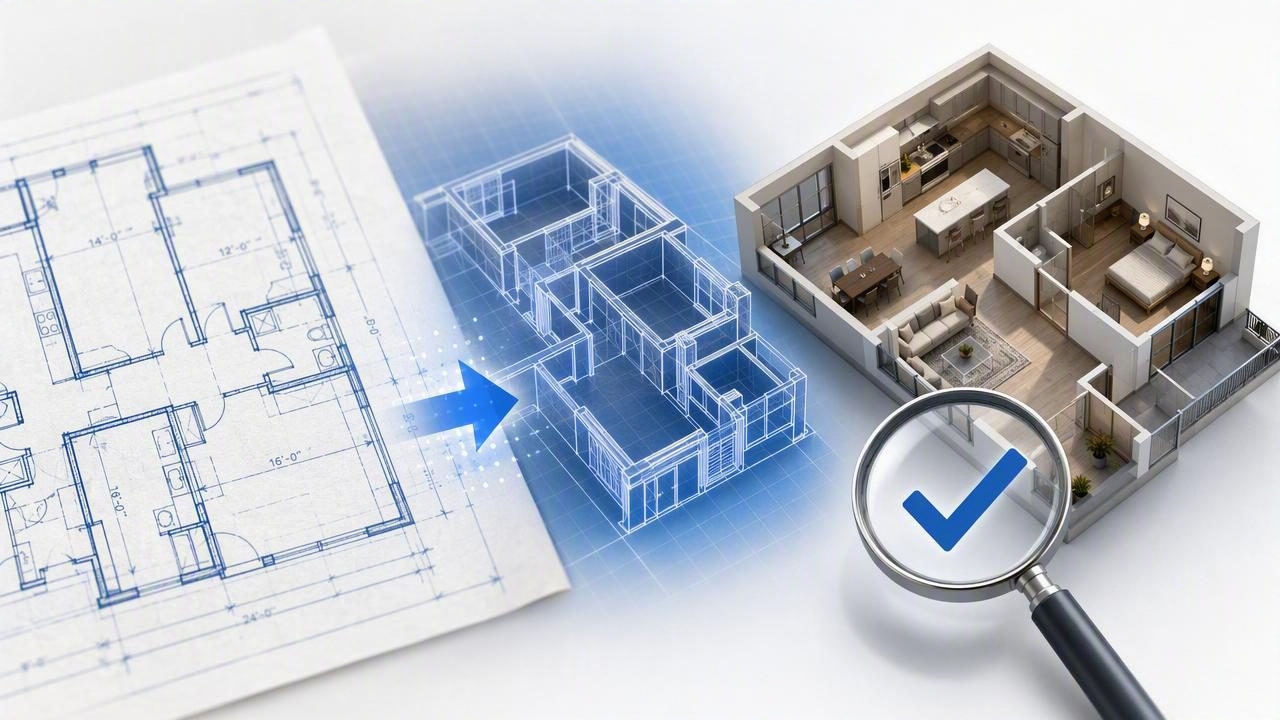
A blueprint to 3D converter can turn a technical drawing into a visual space that is easier to understand, discuss, and refine. Instead of interpreting walls, symbols, dimensions, and room labels from a flat plan, homeowners and design professionals can review a three-dimensional version of the layout before committing to renovation work.
However, a polished image is not automatically an accurate one. The most useful 3D renders preserve the information that matters in the original plan: room proportions, wall placement, openings, circulation routes, labels, and key dimensions. Knowing how to assess these details helps you use floor plan conversion tools with more confidence and avoid making decisions based on a visually appealing but misleading model.
This guide explains what a blueprint to 3D converter does, which plan details need verification, and how to build a practical workflow for renovation previews, interior design presentations, and early-stage home redesign planning.
What Does a Blueprint to 3D Converter Do?
A blueprint to 3D converter is a tool that interprets a two-dimensional floor plan, blueprint, or scanned drawing and creates a visual 3D representation of the property. Depending on the source material and tool, the output may include walls, rooms, doors, windows, furniture, finishes, exterior elements, and lighting.
The goal is not simply to make a plan look more attractive. A well-produced conversion makes scale and relationships easier to see. For example, it can reveal whether a dining table blocks a pathway, whether a proposed island leaves enough clearance, or whether a room feels narrow once realistic wall height and furnishings are added.
Most conversions begin with a black-and-white plan or blueprint. The system identifies graphic elements, maps the layout, estimates spatial relationships, and generates a 3D scene. AI-assisted tools can speed up this process, but the quality of the final result still depends on the clarity of the input and the review process that follows.
Why Accuracy Matters More Than Visual Style
Modern 3D renders can add attractive finishes, furniture, daylight, landscaping, and decor in seconds. Those features are valuable for communicating a design direction, but they should not distract from the underlying geometry. If the base layout is wrong, even the most realistic render may lead to incorrect renovation choices.
Accuracy is especially important when a render will be used for:
- Comparing renovation layouts before requesting contractor estimates
- Planning furniture placement and checking walking clearances
- Presenting an interior design concept to clients or stakeholders
- Reviewing a kitchen, bathroom, extension, or room reconfiguration
- Creating marketing visuals for a property, development, or renovation proposal
- Testing an exterior refresh alongside changes to the home layout
A 3D visual should be treated as a communication and planning aid. It is not a replacement for architectural drawings, code review, site measurement, engineering input, or contractor verification. Still, it can make those professional conversations much clearer by showing the spatial intent behind the plan.
Start With a Clean, Readable Blueprint
The quality of a floor plan conversion begins before the rendering stage. A sharp, complete source image gives a blueprint to 3D converter a better chance of recognizing walls, door swings, window symbols, labels, and dimensions correctly.
Prepare the source file before uploading
- Use the highest-resolution plan available. Blurry photos can hide thin walls, measurements, and small symbols.
- Capture the entire page. Avoid cropped edges that remove dimensions, legends, room names, or scale notes.
- Keep the page flat and straight. Perspective distortion from a camera photo can alter apparent proportions.
- Improve contrast if needed. Faint pencil marks and gray scans may be difficult to interpret.
- Remove unrelated annotations. Sticky notes, marks from previous revisions, and overlapping sketches can create confusion.
- Include a scale reference. Visible dimensions are one of the strongest checks against proportion errors.
If the blueprint contains several levels, upload or process each floor separately unless the tool specifically supports a multi-level workflow. Keeping plan files organized also makes it easier to compare the resulting 3D renders with the original documents.
The Essential Accuracy Checks After Conversion
Once a 3D model is generated, take time to compare it systematically with the original plan. Avoid judging it only from one attractive camera angle. Review the model from above and from inside individual rooms.
| Plan Element | What to Verify | Why It Matters |
|---|---|---|
| Exterior walls | Building outline, corners, extensions, and wall thicknesses | Sets the footprint for every room and exterior view |
| Interior walls | Locations, partitions, alcoves, and openings | Affects usable area, privacy, and furniture placement |
| Doors | Position, width, and swing direction where shown | Prevents circulation conflicts and blocked furniture layouts |
| Windows | Location, size, and orientation | Influences daylight, ventilation, and exterior appearance |
| Room labels | Names and intended functions of spaces | Helps avoid furnishing a room for the wrong purpose |
| Dimensions | At least several key measurements across the plan | Confirms that the 3D model follows the intended scale |
Start with the exterior footprint. If the perimeter is inaccurate, there is little value in reviewing furniture or finishes yet. Next, check the major interior walls and room boundaries. Then inspect doors, windows, and circulation routes. Finally, compare a few known dimensions, such as the width of a living room, the length of a kitchen wall, or the opening between two spaces.
Use Dimensions to Check Proportions
Dimensions are the strongest evidence that a 3D floor plan reflects the source blueprint. Even if a conversion tool does not display every measurement directly in the render, you can assess proportional accuracy by comparing several reference points.
For example, imagine a plan shows a living room that is 18 feet long and 12 feet wide. Its length-to-width relationship should look noticeably rectangular in the 3D model. If it appears nearly square, the proportions may have shifted. Similarly, a narrow hallway should remain narrow relative to adjacent rooms, not become a broad passageway because of a rendering assumption.
Practical rule: Verify at least three dimensions that are far apart on the plan. Checking only one room may not reveal an error that affects another section of the layout.
When a drawing lacks clear dimensions, use known reference objects cautiously. A standard door opening, staircase, or appliance symbol may help provide context, but it should not be treated as a precise measurement unless confirmed on site.
Review Doors, Windows, and Flow Before Choosing Furniture
Many people jump straight to interior design ideas after seeing a 3D render. It is more effective to confirm movement through the home first. Doors and windows are small plan elements with a large impact on functionality.
Ask the following questions while navigating the 3D space:
- Can each door open without striking a cabinet, bed, sofa, or another door?
- Is there a clear route from the entry to the main living areas?
- Does the kitchen have practical clearance around counters, islands, and appliances?
- Do window positions match the expected daylight direction and usable wall space?
- Are there pinch points around stairs, hallways, bathrooms, and dining areas?
This step is where an AI room planner becomes particularly helpful. Once the shell is accurate, you can test alternative furniture arrangements without redrawing the entire floor plan. Try multiple layouts, but keep the architectural details fixed unless the goal is to explore a structural renovation option.
Separate Layout Decisions From Design Decisions
A common mistake in home redesign is making layout and style choices at the same time. A room may look excellent with a certain color palette or furniture style, yet still have an impractical circulation path. Separating the process creates better decisions and faster feedback.
A simple two-stage workflow
- Validate the shell. Confirm walls, dimensions, openings, room functions, and overall proportions.
- Test functional layouts. Place key furniture, storage, appliances, and fixtures while checking clearance.
- Explore finishes. Compare flooring, wall colors, cabinetry, lighting, and decor after the layout works.
- Create renovation previews. Produce options for discussions with family members, clients, or contractors.
- Export the preferred concept. Save high-resolution 3D renders for a proposal, mood board, or planning meeting.
This approach also makes revisions easier. If a stakeholder dislikes the color of a kitchen, you can change finishes without accidentally losing the approved cabinet arrangement. If the room needs a larger dining area, you can revisit the furniture plan before investing time in styling.
Common Blueprint Conversion Errors and How to Catch Them
Even a capable blueprint to 3D converter can encounter ambiguous drawings. Recognizing common errors helps you correct them early.
- Missing interior walls: Check thin partitions, closets, utility rooms, and small bathroom divisions.
- Incorrect door interpretation: A door swing arc can be mistaken for a curved wall or omitted entirely.
- Window placement errors: Verify window symbols along exterior walls, especially in older or low-contrast plans.
- Misread room labels: Ensure labels have not shifted to neighboring rooms during conversion.
- Unrealistic ceiling assumptions: Confirm whether a vaulted, sloped, or double-height space needs special treatment.
- Overfurnished rooms: Attractive staging can conceal that a room is too small for the selected pieces.
If you find a mismatch, return to the original drawing and identify whether the issue comes from an unclear input, a missing dimension, or an interpretation choice. Documenting corrections is useful when several people are reviewing the same renovation concept.
Using 3D Renders for Better Renovation Conversations
A 3D render is often most valuable because it reduces misunderstandings. A contractor may read a plan quickly, while a homeowner may find a visual walkthrough easier to interpret. Designers can use the same model to explain design intent, compare alternatives, and collect feedback before finalizing a direction.
For productive meetings, prepare two or three focused views instead of presenting dozens of unrelated images. One overhead view can explain the layout, one eye-level view can show the experience of the main room, and one close-up can communicate a key renovation feature such as a kitchen island, bathroom storage wall, or exterior entry update.
Label each option clearly: for example, “existing layout,” “open-plan option,” and “storage-focused option.” This makes feedback specific and prevents comments about finishes from being confused with comments about the floor plan.
Final Checklist Before You Share a 3D Plan
- Compare the exterior footprint with the original blueprint.
- Confirm major room dimensions and proportions.
- Check all interior partitions, doors, and windows.
- Review furniture clearances and walking paths.
- Make sure room labels reflect the intended use of each space.
- Separate conceptual styling from construction-ready specifications.
- Export high-resolution views only after the layout has been reviewed.
A blueprint to 3D converter can make technical plans more accessible and help teams explore ideas earlier. The best results come from pairing fast visualization with careful verification. Once the plan is accurate, 3D renders become a practical foundation for interior design, exterior refresh concepts, furniture planning, and clearer renovation discussions.
For homeowners and professionals seeking a mobile workflow, Floor Plan to 3D & Home Redesign offers a way to convert plans into visual concepts while preserving important layout details for review.
Put the workflow into practice
Use the floor plan to 3d guide as a review checklist: compare room count, openings and proportions with the source before sharing a render. Keep the measured plan alongside the AI concept.
See AI Home Planner & Room Design on the App Store for current availability and details.
