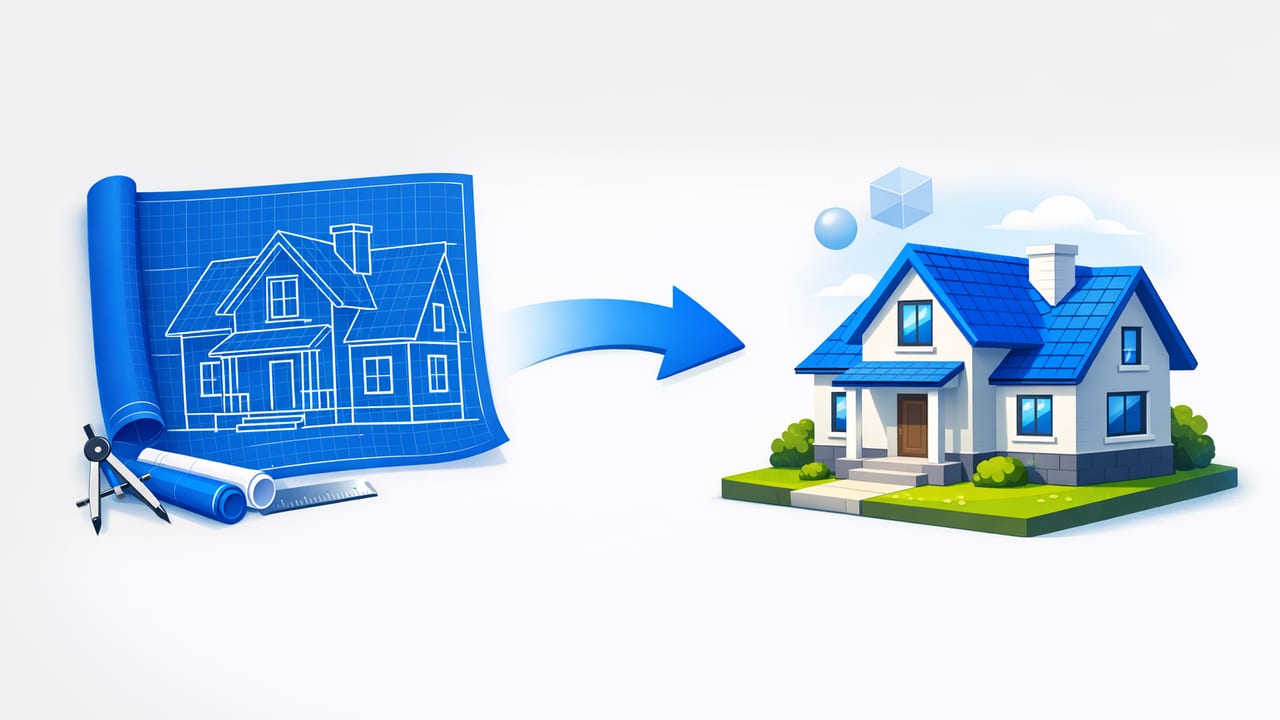
Turning a paper plan into a space you can actually visualize is one of the fastest ways to reduce remodeling mistakes. A blueprint to 3D workflow helps homeowners, designers, and real estate teams test layout ideas, validate room proportions, and present concepts clearly—without getting stuck in heavy CAD tooling or ambiguous 2D drawings.
This guide walks through a practical, accuracy-first process to convert a blueprint into a clean 3D view, preserve critical information (dimensions, labels, proportions), and iterate on interior and exterior redesign options. The goal isn’t “pretty pictures first.” It’s decision-ready 3D.
Why convert a blueprint to 3D before you renovate?
2D plans are excellent for documentation, but they’re not always intuitive for decision-making. 3D previews bridge that gap by making layout consequences obvious.
- Catch layout conflicts early: door swings, tight hallways, awkward furniture clearances.
- Validate proportions: room sizes may look fine on paper but feel cramped in 3D.
- Communicate faster: contractors, partners, and clients can align on a shared visual.
- Iterate design options: compare finishes, staging, or exterior refresh concepts quickly.
Rule of thumb: If a decision affects budget, structure, or flow, preview it in 3D before committing.
What you need for a clean conversion
Your results depend less on “render quality” and more on how well the source blueprint can be interpreted.
Best source inputs
- High-resolution scan (300 DPI or higher) of a black-and-white blueprint
- PDF export from the original plan set (ideal if vector-based)
- Photo of a plan (works if shot straight-on, evenly lit, minimal shadow)
Key details to preserve
- Scale and dimensions: at least one reliable reference measurement
- Room labels: “Kitchen,” “Bedroom,” “Bath,” etc.
- Wall thickness assumptions: especially for older plans or renovations
- Openings: door widths, window placement, and swing direction (when shown)
Step-by-step: blueprint to 3D conversion workflow
Use this sequence whether you’re working with an AI room planner, a floor plan conversion tool, or a hybrid approach.
Step 1: Clean up the blueprint image (5–10 minutes)
A few small fixes can dramatically improve recognition and accuracy.
- Crop to the specific floor you’re converting (remove title blocks if not needed).
- Increase contrast so walls and text are readable.
- Correct perspective if the plan was photographed (make lines square).
- Remove visual noise (fold creases, shadows, coffee stains) when possible.
Step 2: Confirm scale using one “trusted” dimension
Even if a blueprint lists many dimensions, choose one that’s least ambiguous—like an overall exterior width or a clearly marked wall segment.
Best practice: Validate scale before you decorate. A beautiful 3D render at the wrong size is a fast path to wrong furniture, wrong cabinet runs, and wrong expectations.
Step 3: Identify structural vs. non-structural walls
Not every wall should be treated the same in 3D. For renovation previews, you want to distinguish between:
- Likely structural: exterior walls, core load-bearing walls, beams/columns.
- Likely partitions: closets, non-load interior dividers.
If your blueprint doesn’t specify, you can still model the layout in 3D—just keep notes about uncertainty for any demolition-related decision.
Step 4: Convert to 3D and review the first draft
When you generate the initial 3D model, your first job is not styling—it’s verification. Walk through the model and compare it to the blueprint:
- Do room shapes match the 2D plan?
- Are door and window locations consistent?
- Do labels align with the right areas?
- Are any walls missing, merged, or duplicated?
Step 5: Fix common conversion errors (the “accuracy pass”)
Most blueprint-to-3D issues fall into a handful of categories. Correct these before you experiment with finishes.
| Issue | What it looks like | How to fix |
|---|---|---|
| Scale drift | Rooms feel too small/large vs. listed dimensions | Re-apply a trusted dimension; check if the scan/photo was stretched |
| Wall gaps | Open corners or “leaking” rooms | Close endpoints; ensure continuous wall lines |
| Openings misread | Doors become windows (or vanish) | Manually set openings based on blueprint symbols |
| Text confusion | Labels appear as geometry artifacts | Use cleaner crop/contrast; remove overlapping notes where possible |
| Wall thickness wrong | Exterior walls look too thin/thick | Set wall thickness presets appropriate to the building type |
Step 6: Add room planning logic (flow and clearance checks)
This is where an AI room planner or guided layout tool can help—especially for furniture placement and circulation. Even without automation, you can apply simple rules:
- Main walkways: aim for comfortable clear paths (commonly ~36 in / 90 cm, but vary by context).
- Door clearance: ensure doors open without hitting furniture.
- Kitchen work zones: keep sink–cooktop–fridge relationships practical.
- Bathroom usability: confirm fixture spacing feels realistic in 3D.
Step 7: Run design variations (interior, exterior, and empty-room staging)
Once geometry is correct, iterate quickly. A good practice is to create two to four variations rather than endlessly tweaking one.
- Interior design options: wall color + flooring + key furniture style.
- Renovation preview options: remove a wall, widen an opening, re-route a hallway.
- Exterior refresh options: siding/paint palette, entry emphasis, landscaping massing.
- Virtual staging options: furnish an empty room to show scale and function.
Step 8: Export and share in a decision-friendly format
For stakeholders, exports should answer: “What changes?” and “How will it feel?” Consider creating a small set:
- One overview image per floor (wide angle, readable)
- Two to three key viewpoints (kitchen, living, primary suite)
- One comparison sheet showing Option A vs. Option B
Choosing an approach: manual modeling vs. AI conversion
There’s no single best method. The right fit depends on time, accuracy needs, and how often you iterate.
| Approach | Best for | Trade-offs |
|---|---|---|
| Manual CAD/3D modeling | Construction-ready detail and full control | Slow; steep learning curve; expensive tools |
| Hybrid (convert, then edit) | Fast start with control for corrections | Requires review and cleanup discipline |
| AI conversion + room planner | Rapid previews, multiple concepts, non-technical users | Quality depends on blueprint clarity; still needs verification |
A simple “scale check” you can apply (even without CAD)
If your blueprint includes at least one dimension (say a wall labeled 12' 0"), use it to sanity-check the 3D result. Here’s a small pseudocode example you can apply to any tool that reports measured distances:
// Pseudocode: scale verification
expected = 12.0   // feet (from blueprint label)
measured = getDistance(pointA, pointB) // from your 3D model
error = abs(measured - expected) / expected

if (error > 0.02) {
  print("Scale warning: model differs by more than 2%")
} else {
  print("Scale looks consistent")
}
A 1–2% mismatch might be acceptable for early design exploration, but it’s a red flag if you’re about to order materials or commit to built-ins.
Blueprint-to-3D checklist (use this before you trust the render)
- Scale confirmed with at least one reliable dimension
- All rooms enclosed (no wall gaps or overlaps)
- Openings verified (doors/windows placed correctly)
- Labels preserved (or re-added) for clear communication
- Heights noted (ceiling height assumptions documented)
- Stairs aligned (if applicable) with correct direction and landing
- Export set prepared (overview + key views + options)
Common pitfalls (and how to avoid them)
1) Treating decoration as “proof”
Furniture and textures can disguise geometry problems. Always complete the accuracy pass first.
2) Ignoring wall thickness and window depth
Even basic 3D realism depends on plausible wall assemblies—especially for exterior refresh previews.
3) Converting the wrong plan version
Renovations often have multiple revisions. Make sure the blueprint you convert is the latest (or label it clearly as “as-built,” “concept,” or “permit set”).
4) Overconfidence in ambiguous symbols
If a door swing isn’t shown, don’t guess silently. Note the assumption so it can be confirmed later.
FAQ: blueprint to 3D conversions
How accurate can blueprint-to-3D conversion be?
It can be highly accurate when the source blueprint is clean and dimensioned. The biggest determinant is scale reliability (a trusted dimension) and a careful review of openings and room boundaries.
Do I need a full 3D model for renovation planning?
Not always. For many decisions, a simplified 3D layout with correct walls, openings, and basic furniture blocks is enough to validate flow and proportions.
What if my blueprint is old or low quality?
Start by scanning at higher resolution or re-photographing in even light. If dimensions are missing, measure one or two real-world references (like an exterior wall) to anchor scale.
Wrap-up: make 3D a decision tool, not just a visualization
A strong blueprint to 3D workflow isn’t about chasing photorealism first—it’s about building trust in the layout, then using that foundation to explore redesign options efficiently. Clean input, verified scale, and a structured review are what separate “nice renders” from renovation previews that actually prevent costly mistakes.
If you prefer an iPhone/iPad-first approach for converting floor plans into 3D and exploring AI-guided redesign options, Floor Plan to 3D & Home Redesign is one example of an app designed for that kind of accuracy-focused iteration.
