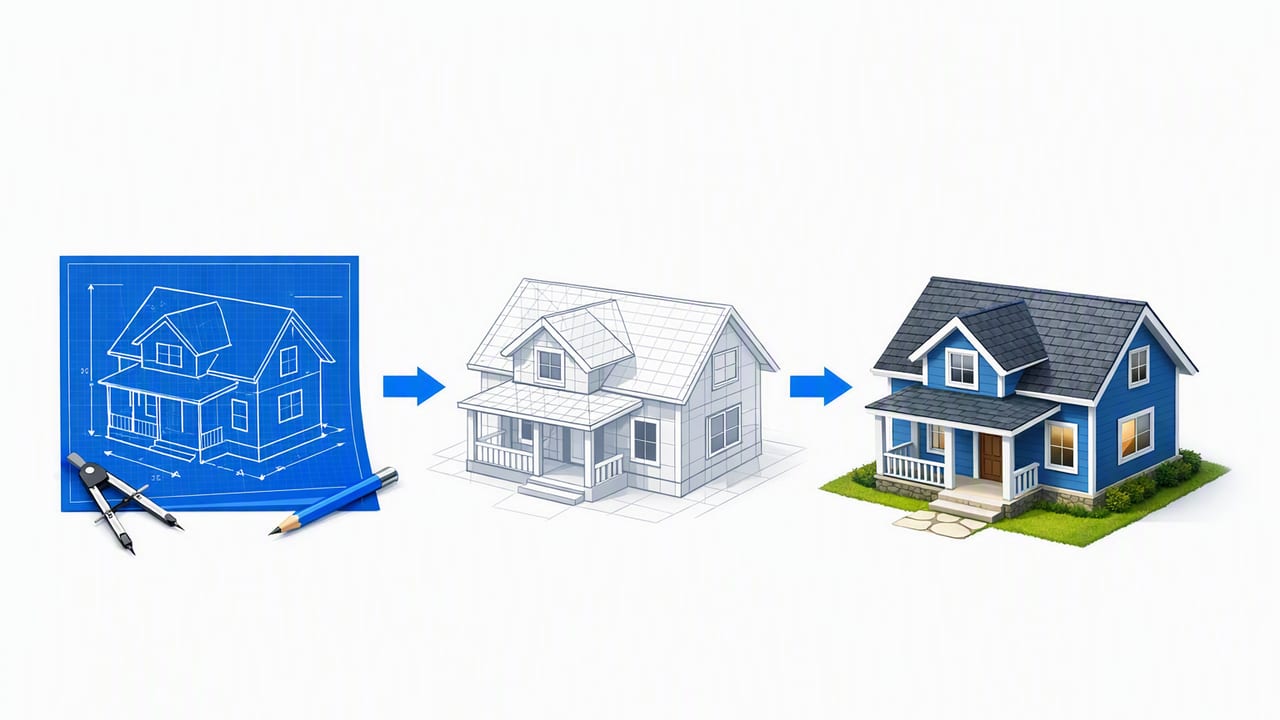
Turning a 2D blueprint into a usable 3D model is no longer reserved for CAD specialists. With modern floor plan conversion and AI room planner tools, you can create renovation previews, test layout ideas, and generate presentation-ready 3D renders in a fraction of the time. The challenge is accuracy: if the scale is off, a doorway shifts, or wall thickness is misread, your “preview” can become misleading.
This guide walks through a practical blueprint to 3d workflow that prioritizes fidelity to the original plan—dimensions, labels, proportions—while still moving fast enough for real design decisions. Whether you’re a homeowner planning a remodel, a real estate professional staging an empty room, or a contractor preparing a concept, the steps below help you produce 3D results you can trust.
What “blueprint to 3D” really means (and what it doesn’t)
In most home projects, “blueprint to 3D” means creating a visual and dimensional model based on an existing 2D plan—often a scanned black-and-white drawing, a PDF, or a photo of a printed blueprint. The goal is usually:
- Spatial understanding (room sizes, circulation, sightlines)
- Renovation previews (walls removed, kitchens reconfigured, additions)
- Design testing (furniture layouts, finish and color changes)
- Communication (clear visuals for family, clients, or trades)
It typically does not mean a construction-ready BIM model with full MEP coordination. You can still get highly accurate dimensions and realistic renders—just keep the deliverable aligned with the decision you’re trying to make.
Step 1: Start with the cleanest blueprint you can
Conversion quality is heavily influenced by input quality. Before importing a plan into any converter, do a quick “blueprint hygiene” pass:
Checklist for a conversion-friendly blueprint
- High resolution: 200–300 DPI for scans; avoid blurry phone photos.
- Flat perspective: If photographing, shoot directly overhead to reduce distortion.
- High contrast: Dark lines on a light background convert best.
- Complete boundary lines: Broken walls can be misread as openings.
- Readable dimensions and labels: Even partial dimensioning helps validate scale.
If you must use a photo, crop tightly to the plan area and remove shadows. A clean input reduces time spent correcting walls, doors, and room boundaries later.
Step 2: Confirm scale and one “source of truth” measurement
The fastest way to derail a blueprint to 3D conversion is to skip scale validation. Even if the plan includes dimensions, scans and PDFs can be resized during printing or exporting.
Pick one measurement you trust and use it as your calibration anchor. Good candidates:
- A clearly labeled exterior wall length
- A room dimension (e.g., 12' x 14')
- A standard element you can verify on-site (e.g., a 36" door)
Rule of thumb: Validate scale before you make design decisions. A 3% scaling error can visibly distort cabinetry runs, aisle clearances, and furniture spacing.
Step 3: Preserve the layout “signals” that matter most
Blueprints contain both geometry (walls, openings) and meaning (labels, dimensions, annotations). When converting to 3D, accuracy improves if you deliberately preserve the signals that drive interpretation:
- Room labels: “Kitchen,” “Bath,” “WIC,” “Garage” clarify intent and typical fixtures.
- Door swings: Indicate hinge side and circulation conflicts.
- Window breaks: Affect daylight, furniture placement, and exterior elevations.
- Stairs: Define floor-to-floor relationships and headroom constraints.
- Dimensions: Keep at least major spans to validate conversion outputs.
If your blueprint is missing labels or dimensions, you can still convert it, but expect extra manual verification—especially for multi-room areas with similar geometry.
Step 4: Generate the initial 3D model, then do an “accuracy pass”
Most tools will produce a first-pass model quickly. Treat that output as a draft, then run an accuracy pass focused on the most error-prone items:
Common conversion errors (and quick fixes)
- Wall thickness guessed incorrectly: Adjust to match typical interior/exterior values used in the plan set.
- Openings misread: Ensure door/window widths match the blueprint and swings align with circulation.
- Room boundaries merged: Check for missing partition walls where lines were faint or broken.
- Stairs simplified: Verify run direction, landing placement, and approximate rise/run.
- Dimension drift: Re-check key spans against your calibration measurement.
Accuracy passes are fast when you focus on a small set of “anchor constraints” (major exterior dimensions, key interior spans, and opening widths). You don’t need to validate every inch—just the elements that would change a design decision.
Step 5: Add context with an AI room planner (without losing fidelity)
Once the shell is correct, an AI room planner can speed up layout exploration—furniture placement, kitchen work triangles, bedroom circulation, and staging options. The key is to keep AI suggestions bounded by your validated model.
Use AI for options, not for measurement
AI is excellent at proposing configurations and styles, but it may not inherently know your local code requirements or the constraints of your existing structure. Use AI to generate alternatives, then verify:
- Clearances: walkways, door swings, appliance openings
- Functional zones: cooking, prep, cleaning; sleeping, storage, work
- Focal points: windows, fireplaces, TV walls
- Proportions: furniture sizes relative to room dimensions
If you want a repeatable way to request AI layout ideas, you can use a prompt template like the one below.
Prompt template (copy/paste and customize)

Room: [Kitchen / Living room / Bedroom]
Known dimensions: [e.g., 12' x 14', 8' ceiling]
Fixed elements: [windows on north wall, door on east wall, plumbing on west wall]
Goals: [more storage, seating for 6, open sightlines]
Constraints: [keep island max 7', maintain 36" clear paths]
Style: [modern, warm minimalist, traditional]
Deliver: 3 layout options + pros/cons + recommended option
Step 6: Create renovation previews that answer one decision at a time
The best blueprint to 3D outcomes are decision-driven. Rather than modeling every possible change, build a set of targeted previews that each answer a single question, such as:
- Should we open this wall? Compare existing vs. proposed with identical camera angles.
- Which kitchen layout works best? Galley vs. L-shape vs. island; test aisle widths.
- How will finishes feel together? Flooring + wall color + cabinetry in consistent lighting.
- Will the staged room photograph well? Furniture scale, negative space, and focal point.
This approach keeps your 3D work efficient and reduces the risk of “over-rendering” details that don’t affect the decision.
Step 7: Use a simple QA table before exporting renders
Before you export high-resolution 3D renders for a proposal or presentation, run a quick QA check. The table below is designed for fast validation without getting stuck in perfectionism.
| QA Item | What to check | Why it matters |
|---|---|---|
| Scale calibration | One trusted dimension matches exactly | Prevents cumulative sizing errors |
| Exterior footprint | Overall length/width and key offsets | Ensures room sizes and proportions are right |
| Openings | Door/window widths + swing direction | Affects circulation and furniture layouts |
| Room labels | Kitchen/bath/closets identified correctly | Improves AI planning and design assumptions |
| Ceiling height assumption | 8', 9', vaulted, or as noted on plan | Changes perceived space and window proportions |
| Camera consistency | Same viewpoint across options | Makes comparisons fair and persuasive |
Step 8: Export renders that communicate clearly (not just beautifully)
For stakeholder buy-in, clarity beats cinematic realism. Export a small set of views that tell the story:
- One “orientation” view: shows the whole room layout at a glance.
- One “decision” view: highlights the change (e.g., new opening, island size).
- One “material” view: focuses on finishes under consistent lighting.
If you’re presenting multiple options, keep lighting and camera angles consistent and label each option plainly (Option A / B / C). This reduces subjective debate and keeps feedback anchored to the actual change.
Blueprint to 3D workflow recap
To summarize, a reliable blueprint to 3D process looks like this:
- Clean input (sharp, high contrast, minimal distortion)
- Calibrate scale using one trusted measurement
- Preserve key signals (labels, openings, dimensions)
- Generate the draft model then run an accuracy pass
- Use AI room planning for options within verified constraints
- Build decision-driven previews rather than modeling everything
- QA before export to avoid presentation-grade mistakes
When you might need more than a basic conversion
There are cases where a lightweight conversion isn’t enough. Consider stepping up your modeling rigor (or involving a pro) when:
- You’re moving structural walls or adding a second story
- You need code-sensitive layouts (egress, stairs, accessibility)
- Your blueprint set has conflicting dimensions or revisions
- You’re coordinating cabinetry, appliances, and plumbing rough-ins precisely
Even then, a fast 3D conversion is still useful early on—helping you narrow to a concept worth detailing.
Gentle tool note: If you prefer doing this on iPhone or iPad, an app like Floor Plan to 3D & Home Redesign can help convert black-and-white floor plans into clean 3D renders and generate redesign ideas while preserving key layout details.
