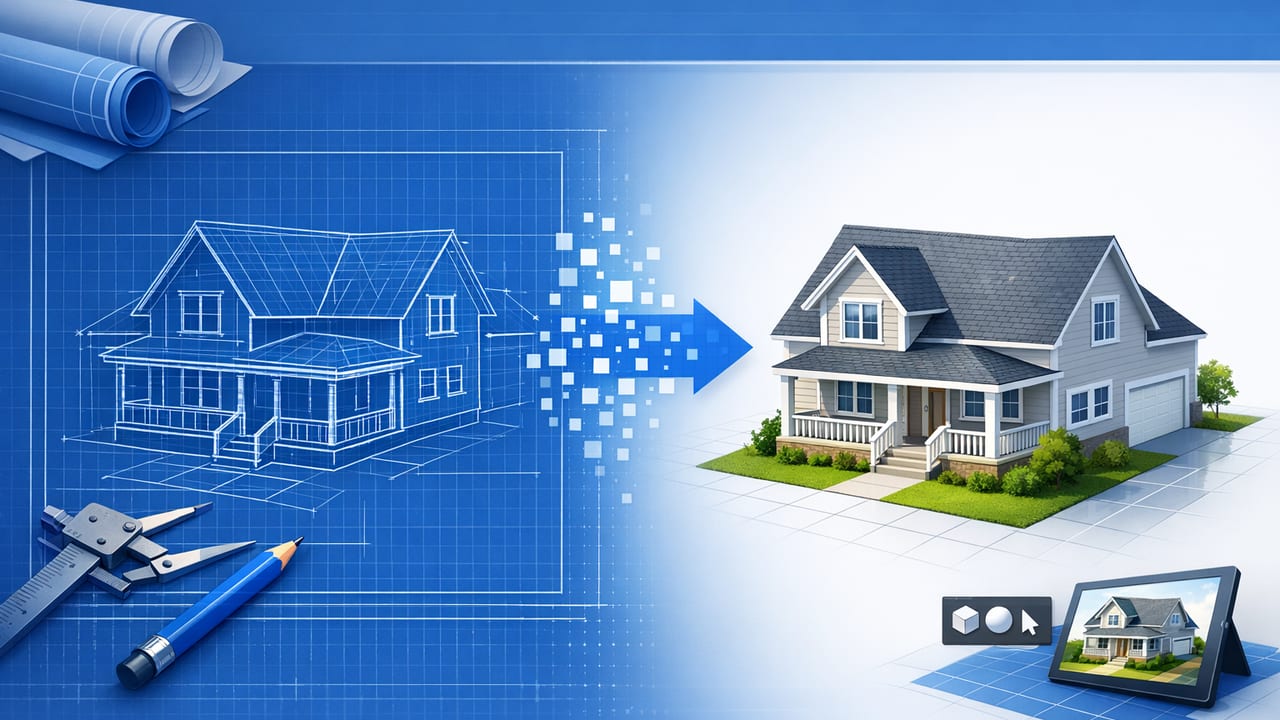
Turning a scanned blueprint into a usable 3D view used to mean hiring CAD help or rebuilding the plan from scratch. Today, a strong blueprint to 3D workflow can get you from a black-and-white plan to a clean, presentation-ready 3D render quickly—if you treat accuracy as a process rather than a button.
This guide explains a repeatable method to convert floor plans and blueprints into reliable 3D renders for renovation previews, interior design decisions, exterior refresh concepts, or empty-room staging. The focus is practical: what to prepare, what to verify, and how to avoid the most common mistakes that cause “almost right” models to become expensive in real life.
What “blueprint to 3D” really means (and what it doesn’t)
A blueprint-to-3D conversion aims to preserve the plan’s structure: wall locations, room proportions, openings, and key labels/dimensions. A good conversion produces a 3D layout you can use to:
- Test furniture layouts and circulation (walkways, door swings, clearances)
- Preview renovation ideas (moving a wall, widening a doorway, adding built-ins)
- Communicate intent (client approvals, contractor conversations, listing visuals)
It usually does not replace construction drawings. Many blueprints are missing critical details (structure, MEP, exact window heights), and 3D previews can’t guarantee field conditions. Think of it as a decision tool that reduces uncertainty before you spend on design hours or demolition.
The accuracy-first blueprint to 3D workflow
Use the workflow below whether you’re converting a clean PDF blueprint, a photographed plan, or a scanned floor plan from an older set of documents.
1) Start with the cleanest input you can
Conversion quality is heavily influenced by input quality. Before you import, do a quick “document hygiene” pass:
- Prefer PDFs or high-resolution scans over photos.
- If you must use a photo, capture it square-on (no perspective tilt) with even lighting.
- Ensure walls and symbols are high-contrast (dark lines on light background).
- Crop out title blocks and notes if they confuse detection, but keep any dimension strings visible.
Rule of thumb: If you can’t clearly read dimension numbers at 100% zoom, the converter will struggle too.
2) Identify a “scale anchor” dimension
Every blueprint to 3D workflow needs one verified measurement to establish scale. Choose a dimension that is:
- Clearly labeled (e.g., overall building width, a long wall, or a grid dimension)
- Unlikely to be rounded or schematic (avoid “approx.”)
- Easy to re-check later (ideally an exterior overall dimension)
If the blueprint includes a scale bar, use it—but still validate with at least one written dimension to avoid printing/scanning distortions.
3) Normalize orientation and straighten the plan
Small skew angles can cause compounding errors: walls that should be parallel become slightly off, rooms don’t “close,” and openings shift. Before conversion, make sure:
- The plan is rotated so main walls are horizontal/vertical.
- Perspective distortion is corrected if you used a photo.
- Non-plan elements (fold lines, smudges, stamps) are minimized.
4) Confirm wall thickness conventions
Blueprints vary: some show finish-to-finish, others show structural core, and some are inconsistent between interior and exterior walls. In 3D, wall thickness impacts room sizes, furniture fit, and even window placement.
Before you trust the model, decide:
- Are the dimensions measured to wall faces or to centerlines?
- Do exterior walls appear thicker (common in many plans)?
- Are there chase walls, columns, or fireplaces that break the thickness pattern?
5) Validate the layout with a “closure test”
After conversion, do a quick integrity check. Pick one or two rooms and verify:
- The room perimeter closes (no gaps/overlaps at corners).
- Opposite walls that should be parallel are parallel.
- Key room dimensions match the blueprint within a reasonable tolerance.
For remodeling previews, a practical tolerance is often within 1–2% for overall dimensions (tighter if you’re planning custom cabinetry or built-ins).
6) Place and verify openings: doors, windows, stairs
Openings are where 3D previews become truly useful—and where many conversions fail subtly. Confirm:
- Door swings align with adjacent walls and don’t collide with fixtures.
- Window widths match the plan and sit in the correct wall segment.
- Stair direction and landing shapes are correct (especially in split-levels).
If the plan doesn’t specify window head heights or sill heights, treat the 3D as a conceptual placement unless you have elevations.
7) Add fixed elements before furniture
For AI room planner and redesign use, place “immovable” items first:
- Kitchen and bath plumbing locations (sink, toilet, shower)
- Major appliances, fireplaces, built-in wardrobes
- Radiators, structural columns, and electrical panels
Then layer furniture layouts and circulation tests on top. This order prevents you from designing around a sofa placement that ignores a plumbing wall or a required clearance.
Common conversion issues (and how to fix them)
| Issue | Why it happens | Fix |
|---|---|---|
| Rooms look slightly “stretched” | Scan/print distortion or wrong scale anchor | Recalibrate using a longer verified dimension; avoid short anchors like door widths |
| Walls are broken or doubled | Noisy lines, low contrast, or overlapping annotations | Clean the image (contrast/threshold), crop margins, remove stamps, straighten the plan |
| Doors/windows mis-detected | Symbol style differs across blueprint sets | Manually confirm openings; use the plan’s dimension strings to place precisely |
| Room labels missing or wrong | Text is too small or blended with background | Increase resolution; keep labels unobstructed; add labels manually if needed |
| Exterior walls not aligned | Plan includes offsets, bays, or porches not clearly delineated | Trace perimeter carefully; separate porch/overhang lines from wall lines |
Clearances checklist: quick tests that prevent bad layouts
Once you have a credible 3D shell, use it to test real-life movement. These checks work for most residential spaces:
- Walkways: keep primary paths about 36 in / 90 cm where possible.
- Dining: allow ~36 in / 90 cm from table edge to wall/furniture for chairs and passage.
- Kitchen aisles: aim for ~42–48 in / 105–120 cm depending on traffic and whether multiple cooks share the space.
- Doors: confirm swings don’t hit vanities, bedsides, or appliances.
- Stairs: verify headroom zones and that landings aren’t blocked by door swings.
These aren’t universal code requirements; they’re practical planning defaults. If you’re changing walls or egress paths, consult local codes and a professional.
A simple way to compute scale from a known dimension
If your conversion tool asks you to set scale (or you want to sanity-check it), you can compute a scale factor from one known measurement. Conceptually:
// Inputs
known_real_length = 120.0  // inches (e.g., exterior wall length from blueprint)
measured_plan_length = 96.0 // arbitrary units from the imported plan (pixels, points, etc.)

// Scale factor converts plan units to real units
scale_factor = known_real_length / measured_plan_length

// Example: convert any other measured plan length to real length
other_plan_length = 30.0
other_real_length = other_plan_length * scale_factor
The key is to measure plan_length consistently in the same units. Using a long known length reduces error.
Using 3D renders for renovation previews (without overcommitting)
Once your blueprint to 3D model is scaled and validated, you can safely explore design directions. A strong approach is to create option sets rather than a single “perfect” design:
- Baseline: current layout with minimal styling (for comparison).
- Option A: furniture/layout changes only (no construction).
- Option B: light renovation (opening a doorway, built-ins, kitchen tweak).
- Option C: heavier change (wall move, new bath layout, exterior refresh concept).
For each option, export 2–4 key views (kitchen looking to dining, entry to living, primary bedroom corner) so you can compare tradeoffs visually.
Interior design: what to decide in 3D vs. what to decide later
- Good 3D decisions: layout, furniture scale, sightlines, storage placement, general style direction.
- Defer until later: exact material specs, lighting plans, and construction details (unless you have elevations and finish schedules).
Exterior refresh: how to keep it grounded
Exterior concepts are especially sensitive to camera angle and proportions. To keep your preview credible:
- Use a front elevation or a straight-on photo as reference.
- Keep major masses (roofline, window positions) consistent with the blueprint.
- Change one category at a time: siding color, trim width, porch detailing, then landscaping.
Exporting and presenting: make the render useful
A render helps decision-making only if viewers understand what they’re seeing. When exporting images for proposals or presentations:
- Add labels (Option A/B/C) and keep camera angles consistent across options.
- Include at least one top-down 3D and one eye-level view per space.
- Keep lighting realistic and avoid extreme wide-angle distortion.
- If you share with contractors, add a page showing the key dimensions you validated.
Blueprint to 3D: a quick pre-flight checklist
- Input is clean, high-contrast, and straightened
- Scale is set using a long, verified dimension
- At least two rooms pass the closure test
- Openings (doors/windows/stairs) are confirmed
- Fixed elements are placed before furniture
- Clearances are tested with realistic furniture sizes
- Exports use consistent views for option comparison
Final thoughts
A dependable blueprint to 3D conversion isn’t about chasing photorealism first—it’s about building a scaled, trustworthy model that helps you choose layouts and renovation directions with less risk. If you treat conversion like a validation workflow (clean input → set scale → verify → then design), your 3D renders become a practical planning tool instead of a pretty guess.
If you’re looking for an iOS workflow that combines floor plan conversion with AI-guided room planning and redesign ideas, Floor Plan to 3D & Home Redesign is one option to explore.
