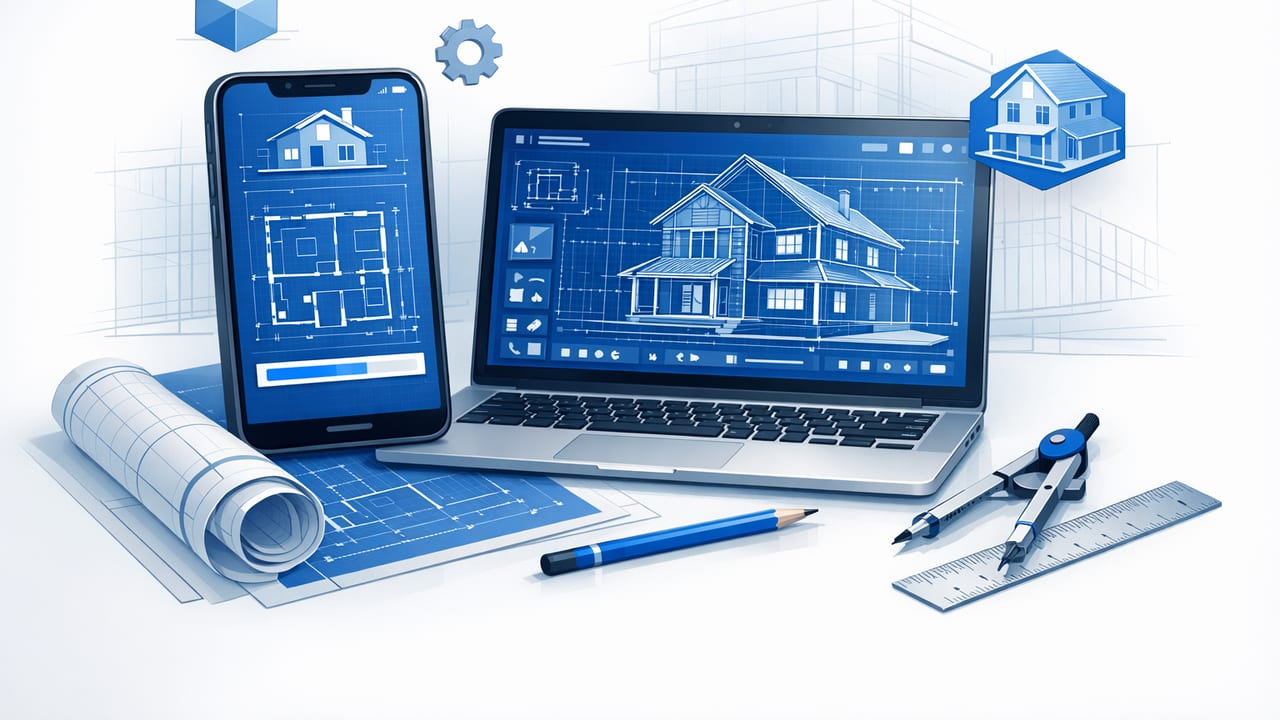
A blueprint rendering app can take a black-and-white plan (or a scanned blueprint) and turn it into a clean 3D view you can actually make decisions from. Instead of interpreting symbols, notes, and dimensions in your head, you can test layout changes, preview remodel options, and create presentation-ready visuals—without heavy CAD or full-scale 3D software.
This guide explains how blueprint-to-3D conversion typically works, what to prepare before you upload a plan, and how to evaluate accuracy so your 3D render stays faithful to the original layout.
What a blueprint rendering app should do (and what it shouldn’t)
At its best, a blueprint rendering workflow does two things at once:
- Preserve intent: walls, openings, and room proportions match the plan so the 3D model is usable for planning.
- Improve readability: it turns dense linework into understandable spaces, surfaces, and volumes.
But it’s important to keep expectations realistic. A blueprint rendering app is usually designed for design exploration and communication (renovation previews, interior layout testing, staging concepts, exterior refresh ideas), not for stamped construction documents. Treat the output as a decision-making and presentation layer that still benefits from verification.
How blueprint-to-3D conversion works (in plain language)
Most apps follow a similar pipeline, even if the UI feels different:
- Input normalization: you import a photo/scan/PDF, and the app straightens perspective, boosts contrast, and removes background noise.
- Line and symbol interpretation: the system identifies walls, openings, room boundaries, and sometimes text labels or dimensions.
- Scale inference: the model is scaled from known dimensions, a scale bar, or user-confirmed reference lengths.
- 3D extrusion: walls become height; floors and ceilings become surfaces; openings cut through walls.
- Material + lighting layer: you apply finishes, furniture, and lighting presets to generate clear 3D renders.
Tip: The most time-consuming part is rarely “making it 3D.” It’s confirming scale and openings so the render reflects what you can actually build.
Before you import: a quick plan-prep checklist
Small improvements in your input plan can dramatically improve conversion quality.
1) Use the cleanest source you have
- Best: PDF export from the architect/designer or a high-resolution scan.
- Okay: a photo taken directly overhead in good lighting.
- Risky: angled photos, shadowy prints, or low-resolution screenshots.
2) Make at least one dimension easy to confirm
Even if the plan includes many dimensions, pick one reliable reference (e.g., overall building width, a clearly labeled room size, or a standard door width). You’ll use it to validate scale after conversion.
3) Remove distractions if possible
If you can, crop margins, title blocks, and overlapping notes. If you can’t, no problem—just expect more manual cleanup or corrections.
Accuracy first: the 6 checks that prevent bad 3D decisions
When people get misleading 3D results, it’s often because one of these elements drifted. Run these checks right after conversion.
| Accuracy Check | What to Verify | Why It Matters |
|---|---|---|
| Scale | Confirm at least one known length (overall width, room dimension) | Wrong scale makes furniture, clearances, and costs feel “off” |
| Wall thickness | Interior vs exterior thickness, any structural walls | Affects room sizes and whether openings “fit” |
| Openings | Door swings, window widths, sliding doors | Controls circulation, furniture placement, and sightlines |
| Room boundaries | Closets, alcoves, pantries, hallways | Minor boundary errors compound into major layout issues |
| Stairs | Stair direction, landing size, headroom zones | Critical for feasibility and realistic 3D volumes |
| Ceiling heights | Default height vs sloped/stepped ceilings | Strongly changes how “spacious” a render looks |
Using an AI room planner layer: faster layout decisions (with guardrails)
Many blueprint rendering tools now include an AI room planner layer that proposes furniture layouts and circulation paths. This can be extremely helpful for quickly exploring alternatives—especially for awkward rooms or open-plan areas.
Use AI layout suggestions effectively by applying a few guardrails:
- Start with constraints: lock in immovable items first (stairs, structural walls, plumbing stacks, large windows).
- Test circulation: ensure comfortable walk paths around sofas, islands, and beds before you judge style.
- Check functional clearances: doors need swing space; dining chairs need pull-back room; kitchens need working aisles.
- Keep a “buildable” mindset: if a layout depends on shrinking walls or moving plumbing, label it as a “major renovation” option.
Common clearance targets to sanity-check
- Hallway / circulation: aim for comfortable pathways (often ~36 in / 900 mm or more in many homes, but local norms vary).
- Kitchen aisles: ensure adequate space between counters and islands.
- Dining: allow room to pull chairs out and walk behind seated guests.
Note: Exact requirements can vary by region, accessibility needs, and building codes. Use these as practical checks, not legal standards.
Renovation previews: how to compare design options without losing the original plan
The most useful blueprint rendering workflow isn’t a single render—it’s a set of comparable options. To keep comparisons fair, keep the base model consistent and only change what you’re testing.
Option sets that work well in 3D
- Kitchen: keep plumbing wall fixed; compare island vs peninsula; test cabinet color + backsplash combinations.
- Living room: compare TV wall positions and seating layouts while maintaining the same circulation routes.
- Bathroom: test shower footprint changes and vanity sizes, then re-check door swings and towel-clearances.
- Exterior refresh: compare siding color, trim contrast, and entry door style before considering structural changes.
Output quality: what makes a 3D render “presentation-ready”
Presentation-ready doesn’t have to mean photorealistic. It means the image communicates layout, proportions, and intent clearly. A few practical settings help:
- Use consistent camera angles across options (same corner, same height) so differences are obvious.
- Prefer neutral lighting for decision-making; use dramatic lighting only for marketing-style shots.
- Choose materials that match reality (matte vs glossy, warm vs cool) to avoid misleading impressions.
- Export high resolution if the render will be used in proposals, listings, or design decks.
A simple naming system for exported renders
If you’re sharing multiple options with a client or contractor, consistent filenames prevent confusion. Here’s a lightweight approach you can adapt:
project_name/
  01_base-model/
    A_living-room_cam1.png
    A_kitchen_cam1.png
  02_option-set-kitchen/
    B1_island_white-oak_cam1.png
    B2_peninsula_walnut_cam1.png
  03_option-set-exterior/
    C1_siding-light_trim-dark_cam2.png
    C2_siding-dark_trim-light_cam2.png
Choosing a blueprint rendering app: a practical feature checklist
If you’re evaluating tools, prioritize capabilities that reduce rework and protect accuracy:
- Strong floor plan conversion: reliable wall detection, easy correction tools, and clean room boundaries.
- Dimension/label awareness: supports importing plans with room labels and dimensions (and preserves them where possible).
- Fast iteration: quick toggles for finishes, furniture, and layout variations.
- AI room planner assistance: useful suggestions without locking you into unrealistic placements.
- Export options: high-resolution images and share-friendly formats for proposals and presentations.
- Low friction workflow: minimal setup, especially on mobile, so you can test ideas in minutes.
Troubleshooting: why your render doesn’t match the blueprint
Problem: rooms look stretched or compressed
Likely cause: scale was inferred incorrectly from a low-confidence dimension.
Fix: set scale using the most reliable reference (overall exterior dimension or a clearly labeled interior span), then re-check a second dimension to confirm.
Problem: doors/windows appear in the wrong place
Likely cause: the plan has light lineweights, overlapping annotations, or symbols that confuse detection.
Fix: manually adjust openings; prioritize correctness for circulation and furniture placement.
Problem: wall thickness is inconsistent
Likely cause: mixed lineweights or multiple wall types on the plan.
Fix: assign exterior vs interior walls explicitly if the app allows it; verify room sizes after changes.
Putting it all together: a repeatable 20-minute workflow
- Import the cleanest plan source you have.
- Confirm scale using one trustworthy dimension.
- Correct boundaries (closets, hallways, alcoves) and openings (doors/windows).
- Set default heights and adjust special ceiling areas if needed.
- Generate a base 3D view and save it as Option A.
- Create 2–3 option sets (layout, finishes, exterior palette), changing one variable at a time.
- Export consistent camera views at high resolution for side-by-side comparison.
Conclusion
A blueprint rendering app is most valuable when it helps you move from “guessing from lines” to testing real choices: furniture fit, flow, renovation scope, and visual direction. If you focus on scale, openings, and room boundaries first, you’ll get 3D renders that are not only attractive but also trustworthy enough to guide planning and communication.
If you’re looking for a mobile workflow that combines floor plan conversion, 3D renders, and AI-guided redesign exploration, you can explore Floor Plan to 3D & Home Redesign as one option among many.
