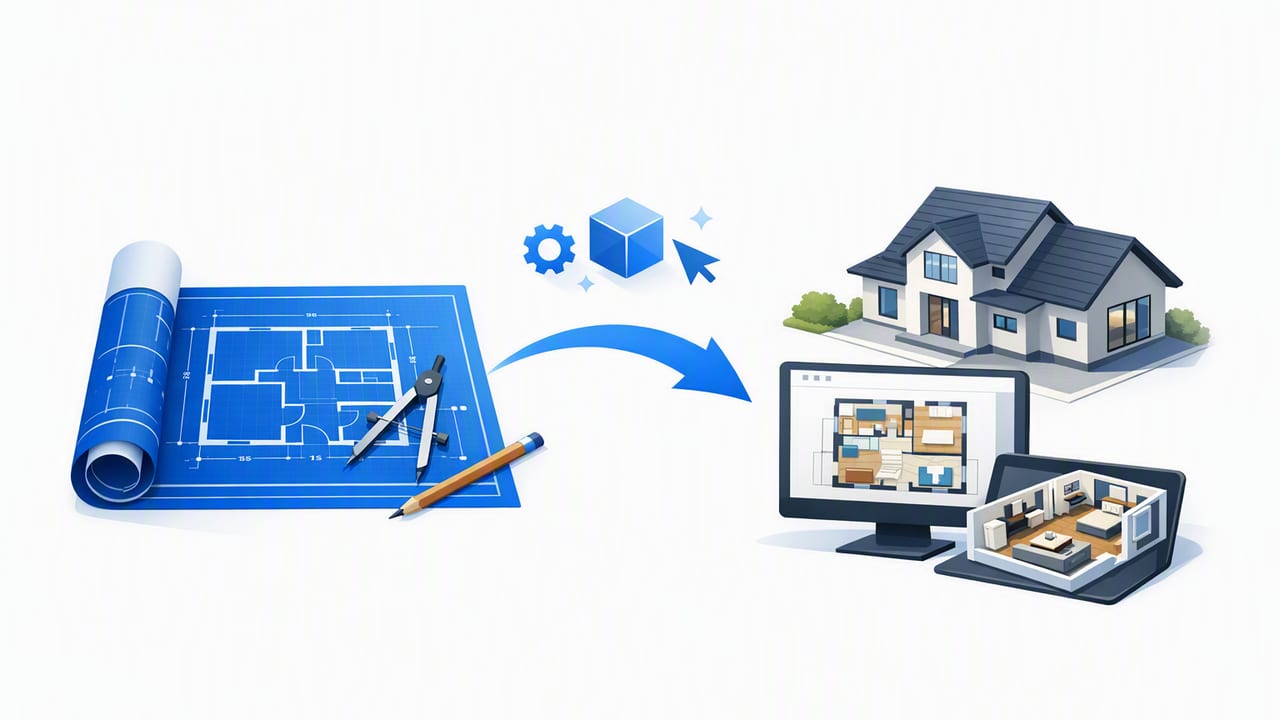
A good blueprint converter does more than “trace” walls. It translates a flat, black-and-white plan into a usable 3D model or render while preserving the details that make the plan trustworthy: wall thickness, room labels, door swings, window placement, and (most importantly) correct scale. When you’re planning a remodel, staging an empty space, or testing layout ideas, that accuracy is what turns a pretty picture into a decision-making tool.
This guide explains what blueprint conversion actually involves, how to prepare your plan for the cleanest results, which accuracy checks matter most, and how to use 3D previews to speed up interior design and renovation planning.
What a Blueprint Converter Does (and What It Should Preserve)
In practical terms, a blueprint converter takes a 2D floor plan—often a scan, PDF, or photo—and creates a structured representation that can be rendered in 3D. Some tools output a full 3D model; others create high-quality 3D images you can export for proposals or presentations.
When evaluating any blueprint converter workflow, ask whether it reliably preserves:
- Scale and proportions (rooms should not “drift” larger/smaller across the plan)
- Dimensions (if shown on the plan) and measurement fidelity
- Labels (room names, notes, and sometimes fixtures)
- Openings (door locations, swings, window width and placement)
- Wall thickness (important for cabinetry, circulation, and furniture fit)
Accuracy is not an aesthetic feature—it’s the foundation for every downstream decision, from furniture clearances to budget estimates.
Common Input Types: PDF, Scan, Photo, or Blueprint Image
Blueprint conversion usually starts with one of these inputs:
- Vector PDF: Often the cleanest. Lines and text are crisp, and scaling can be more reliable.
- Scanned paper plan: Can be excellent if scanned flat at high resolution, but may include skew or faded lines.
- Phone photo: Convenient, but perspective distortion and shadows can reduce conversion accuracy.
- Old blueprint print: Blue-tinted or aged prints may require extra cleanup and contrast adjustments.
Best practice: start with the cleanest plan you can
If you can choose, prioritize a crisp PDF or a flatbed scan. If you must use a photo, take it straight-on, in even lighting, and ensure the full plan is visible with no curl at the edges.
Pre-Conversion Checklist: Prepare Your Plan for Better 3D Results
Most conversion errors come from the input, not the 3D engine. Before you run a blueprint converter, do a quick prep pass:
- Confirm the scale reference: Look for a dimension string (e.g., “12'-6\"”) or a scale bar.
- Remove visual noise: If possible, crop out title blocks, legal text, or unrelated sheets.
- Boost contrast: Make walls and openings stand out from background textures.
- Fix skew: Straighten the plan so walls are aligned horizontally/vertically where intended.
- Check completeness: Ensure all rooms and exterior boundaries are visible (missing edges create guesswork).
If you’re working from a photo, even a small perspective correction can reduce “wavy wall” artifacts and misread openings.
How Blueprint Conversion Works: A Simple Mental Model
Different tools implement this differently, but a typical blueprint converter pipeline looks like:
- Image processing: denoise, threshold/contrast, edge detection
- Feature recognition: identify walls, doors, windows, room boundaries, text
- Vectorization: convert raster pixels into scalable lines and shapes
- Scaling: map the plan to real-world units using dimensions or a user-set reference
- 3D generation: extrude walls, place openings, and generate a camera-ready scene
For non-technical users, the key takeaway is that scale calibration and opening detection are the two steps most likely to affect whether a 3D preview is “close enough” or confidently accurate.
Optional: a lightweight validation script (conceptual)
If you manage plan files for a team, you can build a basic “dimension sanity check” process. Here’s a conceptual example that checks whether a measured pixel distance matches an expected dimension within tolerance:
# Pseudocode: validate plan scaling
expected_inches = 150  # e.g., 12'-6" = 150 inches
measured_pixels = 842  # pixel distance between two known points
pixels_per_inch = measured_pixels / expected_inches

# Later: verify another known distance
expected2_inches = 96
measured2_pixels = 541
error = abs(measured2_pixels / pixels_per_inch - expected2_inches)

if error <= 1.0:
    print("Scale looks consistent")
else:
    print("Possible skew or incorrect scale reference")
You don’t need to code to benefit from this idea: always verify scale using at least two known distances on the plan.
Accuracy First: The 6 Checks That Prevent Expensive Mistakes
After conversion, run quick checks before you trust the 3D result for decisions:
- Overall footprint: Does the exterior perimeter match the plan’s main dimensions?
- Room proportions: Do long rooms look long, and small rooms look small?
- Door swings and widths: Do doors collide with fixtures or each other?
- Window placement: Are windows on the correct walls and aligned reasonably with the plan?
- Wall thickness: Does it reflect interior vs exterior walls (where indicated)?
- Circulation paths: Can you “walk” typical routes without pinch points?
These checks are fast and catch most issues before you waste time iterating on finishes, furniture, or staging.
Blueprint Converter vs. Traditional 3D Modeling: A Practical Comparison
| Approach | Best For | Tradeoffs |
|---|---|---|
| Blueprint converter + 3D renders | Fast renovation previews, layout experiments, client presentations | May require cleanup/validation; complex multi-level details can need manual review |
| Manual 3D modeling (CAD/BIM) | Construction documentation, complex structures, engineering coordination | High learning curve; slower iteration for early-stage ideas |
| Hire a renderer/modeler | Polished marketing visuals, high-end presentations | Costly; turnaround time limits rapid testing of multiple options |
For early-stage remodeling and design exploration, a blueprint converter often hits the best balance: fast enough to iterate, accurate enough to choose a direction—provided you validate scale and openings.
Using 3D Renders for Smarter Redesign Decisions
Once you’ve converted your plan, 3D previews become a practical sandbox for:
- AI room planner layout tests: Try furniture configurations that respect walkways and door clearance.
- Renovation option comparisons: Quickly compare “remove wall” vs “widen opening” concepts.
- Empty-room staging: Visualize how scale, furniture, and lighting affect perception.
- Finish exploration: Swap flooring and wall colors to see how they play with daylight.
- Exterior refresh concepts: Preview facade color palettes and material changes before committing.
A quick example: choosing between two kitchen layouts
In 2D, a kitchen often looks “fine” until you see it in 3D. With an accurate conversion, you can check:
- Whether the refrigerator door blocks a main path
- Whether island seating intrudes into a walkway
- Whether the sink-to-range distance supports your cooking workflow
- How upper cabinets affect sightlines into adjacent rooms
These aren’t just design preferences—they can affect comfort, functionality, and sometimes code compliance. (Always confirm requirements locally.)
Blueprint Converter Pitfalls (and How to Avoid Them)
1) Plans with inconsistent or missing dimensions
If dimensions are missing, the converter must infer scale from something else. Use at least one known measurement (e.g., a standard door width) as a reference, then verify against another known distance.
2) Thick lineweights hiding openings
Some scans have walls so dark that doors/windows blend in. Increase contrast and zoom in to confirm openings are visible.
3) Multi-level or split-level drawings
If multiple floors are present on one sheet, isolate each level into its own clean image before conversion.
4) Curved walls and angled geometry
Many tools handle right angles best. For angled walls, validate key distances and ensure the perimeter hasn’t “snapped” incorrectly.
5) Legends, hatches, and furniture symbols
Dense hatch patterns can confuse detection. Cropping or simplifying the drawing reduces false positives.
Workflow: From Plan to Presentation-Ready 3D
Here’s a repeatable workflow you can use for most remodel or staging projects:
- Acquire a clean plan (PDF preferred; scan/photo if needed)
- Prep the image (crop, straighten, increase contrast)
- Convert with a blueprint converter
- Set or confirm scale using at least two reference measurements
- Validate openings and wall thickness
- Generate 3D renders from multiple camera angles
- Iterate with an AI room planner for layout options
- Export high-resolution images for sharing and feedback
This approach keeps you from over-investing in finishes or decor before the layout is proven.
FAQ: Blueprint Converter Questions People Ask Before Remodeling
Do I need a perfect plan for accurate 3D renders?
No, but you need a reliable scale reference and a clear perimeter. The messier the input, the more important it is to validate key dimensions after conversion.
Can a blueprint converter keep room labels and dimensions?
Many workflows can preserve labels and dimension text, especially when the plan is high-contrast and not overly compressed. If labels matter for presentations, prioritize clean input and verify legibility.
Is a 3D render “accurate enough” for construction?
3D previews are excellent for design decisions and stakeholder alignment, but construction typically requires detailed documentation. Treat renders as a planning and communication tool, then confirm with professional drawings where needed.
What resolution should I use for scans?
Aim for a scan that keeps thin lines and text crisp when you zoom in. If you can read small dimensions clearly, you’re usually in good shape.
Putting It Into Practice
An effective blueprint converter workflow helps you move from “I think this will work” to “I can see it working” with far less time and cost than traditional 3D modeling—especially during the early stages of home redesign. Focus on input quality, confirm scale twice, validate openings, and then use 3D renders to test layouts, staging, and renovation options with confidence.
If you’re looking for an iOS option that combines blueprint conversion with AI-guided planning and exportable 3D images, Floor Plan to 3D & Home Redesign is one tool you can explore.
