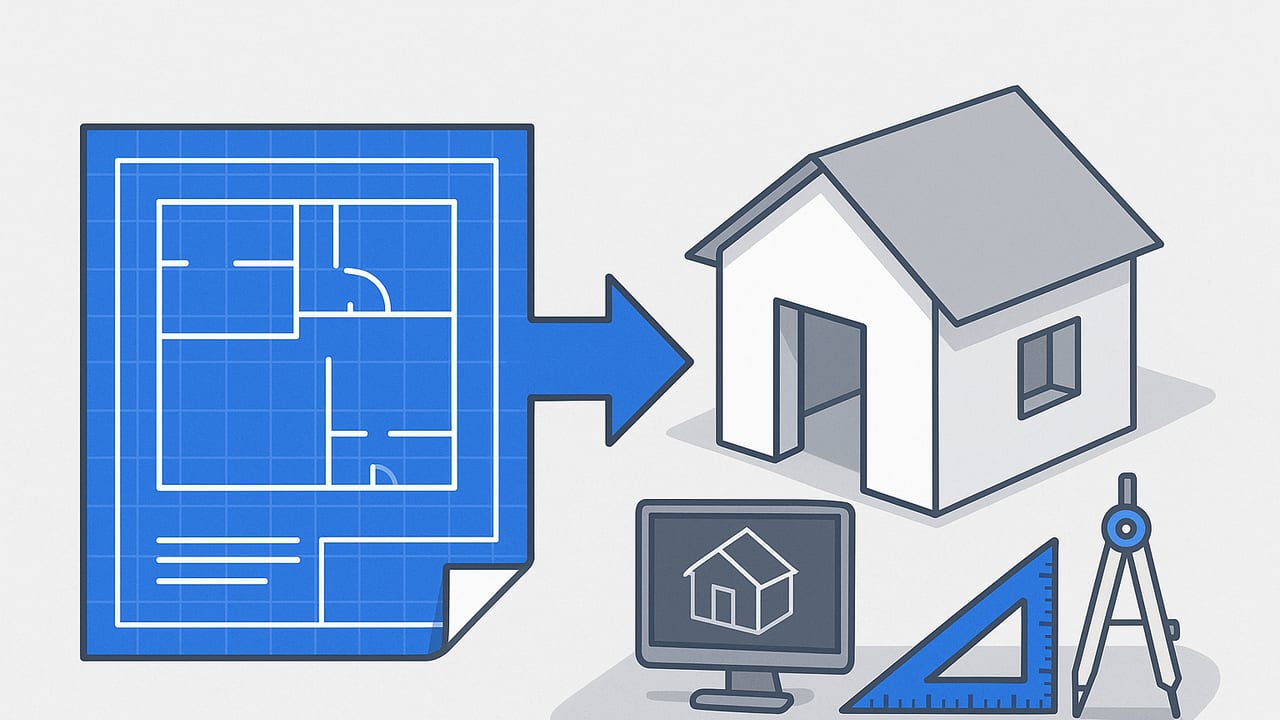
If you’ve ever tried to visualize a renovation, present a property, or validate a layout from a static drawing, you’ve probably wondered how to turn a plan into a convincing 3D scene—without losing measurements. This guide explains how a blueprint converter 3D workflow works, how to keep scale honest, and which tools suit different projects. Whether you’re a homeowner, student, agent, or contractor, you’ll learn practical methods to transform flat blueprints into true-to-scale 3D rooms and floor plans.
What a “Blueprint Converter 3D” Really Does
In practice, a blueprint converter 3D pipeline takes a 2D layout—often a PDF, PNG/JPEG scan, or a photo of a printed plan—and produces a 3D model you can navigate, furnish, and export as images. The best results come from clean, high-contrast drawings with clear walls, windows, doors, and dimensions.
Inputs you can convert:
- Vector floor plans (PDFs exported from CAD/BIM)
- Raster images (scanned, photographed, or sketched plans)
- Black‑and‑white line drawings with scale bars or dimension notes
Outputs you’ll typically get:
- True-scale 3D rooms and floor plans with real dimensions
- Camera views and lighting for realistic renders
- Exportable images for proposals and presentations
Key success factors: readable walls and openings, preserved proportions, and a consistent method for scale calibration. The phrase “blueprint converter 3D” doesn’t mean magic—accuracy depends on the quality of the plan and your workflow discipline.
How a Blueprint Converter 3D Workflow Works
Most tools follow a similar pattern:
- Import the floor plan (image or PDF) and set units (metric or imperial).
- Calibrate scale using a known dimension or scale bar to map pixels to real-world units.
- Detect or trace walls, doors, and windows—either automatically via AI or manually.
- Extrude to 3D, assigning wall heights, slab thicknesses, and ceiling levels.
- Add details like stairs, fixtures, furniture, and lighting.
- Validate core dimensions and room areas before exporting renders.
Many modern solutions use AI to segment walls and openings from black-and-white plans. Manual correction remains important; even with AI, tight corners, complex hatches, or faint lines can cause misreads. A careful review is part of any reliable 3D conversion.
Choosing Your Blueprint-to-3D Approach
Different projects call for different tools. Below is a comparison of common approaches you’ll encounter in a blueprint converter 3D workflow.
| Approach | Best For | Accuracy | Speed | Learning Curve | Notes |
|---|---|---|---|---|---|
| Mobile app (AI-assisted) | Home planning, quick iterations, on-site checks | High if you calibrate scale and review openings | Fast | Low | Great for rapid, true-scale visualization and sharing images |
| Web-based converter | One-off conversions, remote collaboration | Varies by tool and input quality | Fast | Low–Medium | Convenient; watch upload limits and image resolution |
| Desktop CAD/BIM | Complex projects, documentation, multi-floor | Very high with disciplined modeling | Moderate | Medium–High | Best for detailed construction sets and BIM data |
Tip: Whichever route you take, plan for 10–15 minutes of accuracy checks. That time protects your design decisions and prevents costly rework later.
Step-by-Step: Converting a Blueprint to Accurate 3D
1) Prepare your plan
- Use the clearest source available. Vector PDF is ideal; otherwise, scan at 300 dpi with high contrast.
- Remove stains, folds, and tilt. Straighten the image so walls are horizontal/vertical where intended.
- Ensure at least one known dimension (e.g., “Living Room 4200 mm”). If none, add a measurement on-site.
2) Calibrate the scale (the non-negotiable step)
Scale ties pixels to real units. In a blueprint converter 3D workflow, this single step determines whether furniture fits in real life. Use a dimension line or a scale bar as your reference.
Pro rule: Set scale first, build later. If you trace before scale, you’ll rebuild twice.
If your tool doesn’t offer built-in scale helpers, you can approximate the pixel-to-meter ratio using a known length measured in pixels:
# Pixel-to-real-world scale helper (Python-like pseudocode)
known_length_real = 4.2   # meters, from plan dimension (e.g., 4200 mm)
measured_pixels    = 896   # pixels, measured between the dimension ticks

meters_per_pixel = known_length_real / measured_pixels
# Use meters_per_pixel to convert any on-screen pixel measurement to meters
3) Detect or trace walls
- If AI detection is available, run it—but inspect corners and junctions.
- For manual tracing, snap to corners, trace centerlines or wall faces consistently, and assign wall thicknesses (e.g., 100–150 mm for interior, 200–300 mm for exterior, depending on region).
4) Add doors, windows, and openings
- Use the plan’s symbols to place openings at the right locations.
- Set sill heights and head heights if known; otherwise, use typical defaults and adjust later.
5) Set wall and floor heights
- Common residential ceiling heights are 2.4–2.7 m; verify against the plan if specified.
- If the plan notes drop ceilings or double-height spaces, model those separations now.
6) Apply room semantics and surfaces
- Label rooms (Kitchen, Bedroom, Bath) to auto-calc areas.
- Assign temporary materials and colors to verify orientation and distinguish spaces.
7) Place key fixtures and furniture
- Insert appliances, plumbing fixtures, and core furniture at true scale to validate circulation.
- Respect clearances: e.g., 900 mm minimum walkway in kitchens; 750–900 mm for dining chair pull-back; 760–810 mm for residential doors in some regions.
8) Check scale with three quick tests
- Dimension pairs: Compare two known dimensions in 3D against the plan.
- Door sanity check: A standard door should match local norms (e.g., ~0.81 m x 2.03 m in many markets).
- Room area: Calculated 3D area should be within 1–2% of the plan’s labeled area.
9) Light and camera
- Add ambient lighting or sunlight for legible renders. Use one-point perspective for depth.
- Frame shots that communicate layout: entries, living room overviews, kitchen work triangle.
10) Export
- Export at high resolution (e.g., 3000 px wide) for proposals or listings.
- Include a scale note or key dimensions in your deliverables when accuracy matters.
Keeping Scale Honest: Practical Accuracy Targets
Even with AI assistance, trust but verify. Recommended tolerances for everyday planning:
- Linear dimensions: within ±1% over a 5 m run (that’s ±50 mm).
- Room areas: within ±2% of labeled area.
- Door/window placement: centerline offsets within ±25–40 mm of plan positions.
Where discrepancies arise, re-check the initial scale. If you calibrated from a photo, lens distortion might skew measurements—crop to the center and avoid wide-angle shots. If the plan has no reliable dimension, measure an on-site anchor (e.g., width of a window opening) and recalibrate.
Common Pitfalls (and How to Fix Them)
- Fuzzy scans: Increase contrast, remove noise, and rescan at 300 dpi. Thin walls can disappear; make them bold in an image editor before detection.
- Off-axis photos: Use a straight-on shot. If that’s impossible, de-skew with a perspective correction tool before import.
- Mismatched units: Confirm metric vs imperial early. Watch out for drawings labeled in millimeters but discussed in meters.
- Open corners/gaps: Gaps in traced walls can break extrusion. Zoom in and snap endpoints precisely.
- Furniture scale drift: If a sofa “looks” too big, measure it. Visual intuition often fails without a tape measure or object properties.
Where a Blueprint Converter 3D Adds Value
- Homeowners and renters: Validate whether a sectional fits, test bed orientations, or plan a kitchen island without guessing.
- Real estate agents: Produce quick, high-resolution 3D visuals that help buyers understand flow and scale from day one.
- Contractors and trades: Communicate layouts to clients and subs; clarify door swings, appliance clearances, and fixture spacing.
- Students and early-career designers: Move from 2D concepts to spatial thinking fast; iterate furniture studies and daylighting options.
Best Practices for a Blueprint Converter 3D Workflow
- Start with scale. It cannot be overstated: calibrate before modeling.
- Model the envelope first. Walls, slabs, and openings precede furniture and finishes.
- Validate early, validate often. A 30‑second check after each major step beats a 30‑minute rework.
- Use consistent levels. For multi-floor projects, standardize floor heights and storey definitions.
- Mark assumptions. If a sill height or wall thickness is unknown, note it on your deliverable for transparency.
FAQ: Blueprint Converter 3D
What file types work best for a blueprint converter 3D workflow?
Vector PDFs are ideal because lines are crisp and scalable. High-resolution PNG or JPEG also works if the scan is clean and aligned. Avoid low-res screenshots and angled photos unless you can correct perspective and boost contrast.
How do I ensure the 3D model is truly to scale?
Calibrate using a known dimension or scale bar, then verify at least two additional dimensions and one room area. If your model passes all three checks within 1–2% tolerance, you can proceed with confidence.
Can AI read doors and windows from black-and-white plans?
Yes, many tools recognize standard symbols. Always review results—thin lines, mirrored symbols, or complex hatching may require manual correction. The fastest path blends AI detection with a careful human pass.
What’s the difference between a 3D floor plan and a BIM model?
A 3D floor plan is primarily for visualization—accurate walls, openings, and furniture for renders. BIM adds structured data (materials, assemblies, schedules) suitable for documentation and construction. Choose based on your deliverable needs.
Do I need professional CAD skills to use a blueprint converter 3D?
No. Many mobile and web tools are designed for non-specialists. For complex multi-story projects, CAD/BIM experience helps—but it isn’t required for everyday room planning or real estate visuals.
A Quick Accuracy Checklist You Can Reuse
- Scaled import completed with one known dimension
- Two cross-check dimensions confirmed in 3D
- Room area calculated within ±2% of plan label
- Door width and swing verified against local standards
- At least one path-of-travel checked for clearance
Conclusion
Turning a 2D plan into a believable, true-to-scale 3D scene is no longer reserved for specialists. With a disciplined blueprint converter 3D workflow—calibrate scale, build the envelope, validate early, and export cleanly—you can move from lines on paper to compelling, decision-ready visuals in minutes. If you prefer a mobile-first approach on iPhone, the Floor Plan to 3D app converts black‑and‑white layouts into accurate 3D renders while preserving proportions, making it easy to visualize and share high-resolution images for proposals.
