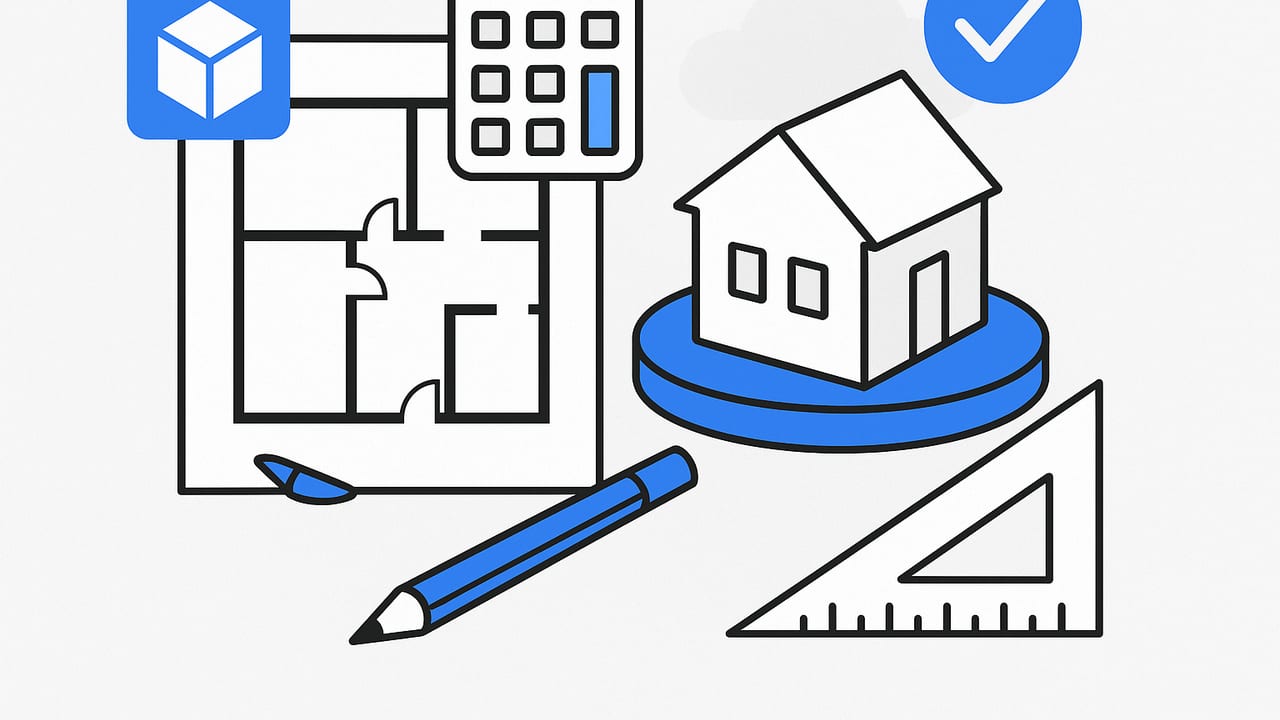
Converting a black and white floor plan to 3D is one of the fastest ways to communicate spatial intent, test furniture layouts, and prepare persuasive visuals without redrawing the entire project from scratch. Whether you’re an interior designer, agent, or homeowner planning a remodel, the right workflow turns static lines into interactive, scaled spaces you can walk through, annotate, and render.
This guide distills a practical, professional approach to go from black-and-white plan to verified 3D. You’ll learn how to prepare your source image, choose the right conversion method, lock in scale and wall thickness, automate what you can, and quality-check the final model for accuracy.
Why black-and-white plans convert so well
Clean, monochrome plans are ideal input for computer vision and modeling because the linework has high contrast. Walls, doors, and windows are recognizable patterns; dimensions and symbols can be parsed or traced; and there’s typically minimal shading that confuses edge detection. In short, a crisp black and white floor plan to 3D pipeline offers both speed and fidelity when you follow best practices.
- High contrast: Easier thresholding and edge detection.
- Consistent symbols: Doors, windows, stairs are standardized.
- Clear dimensions: Scale bars and annotations guide accurate modeling.
Prep your plan: scan, clean, and normalize
Good inputs yield good outputs. Before any conversion, ensure your black-and-white plan is legible and distortion-free:
- Resolution: Scan or photograph at 300–600 DPI. For phone shots, fill the frame and enable the grid to align edges.
- Lighting: Even, diffused light. Avoid glare and shadows that break line continuity.
- Perspective: Shoot straight-on; correct skew with a document scanner app or image editor.
- Contrast: Increase contrast and apply a mild sharpen so lines are crisp, not fuzzy.
- Crop: Remove margins and unrelated notes. Keep the entire plan, scale bar, and any dimension strings.
- File format: Use PNG or high-quality JPEG; avoid heavy compression.
Choose a conversion method
There are several ways to transform a black-and-white floor plan to 3D. Your choice depends on speed, budget, and skill level.
| Method | How it works | Speed | Accuracy | Best for | Cost |
|---|---|---|---|---|---|
| Manual modeling (3D software) | Import plan as reference; trace walls; extrude; add openings and fixtures | Slow | High (depends on skill) | Pros, custom details | Software license + time |
| CAD trace + extrude | Trace in CAD for precise polylines; extrude to 3D in BIM/3D tool | Medium | Very high | As-built, technical docs | Moderate |
| AI converter app | Upload image; AI detects walls/doors; auto-builds scaled 3D | Very fast | High (verify scale) | Concepts, quick visuals | Low–Moderate |
| Hybrid (AI + manual edits) | AI for base geometry; manual QA and refinements | Fast | Very high | Speed + reliability | Low–Moderate |
Lock scale and wall thickness early
Accuracy begins with scale. If the plan lists a scale (e.g., 1/4" = 1'-0") or includes a scale bar, use it. Otherwise, pick a labeled dimension on the plan (e.g., a 10' wall) and compute the pixel-to-unit ratio. Apply that ratio before you extrude.
- Measure pixels: Count pixels between two endpoints of a known dimension.
- Compute ratio: scale_factor = real_length / pixel_length.
- Apply globally: Uniformly scale the entire drawing; verify with a second known dimension.
Wall thickness matters for door/window placement and usable clearances. Most residential interior partitions are about 4.5"–5.5" thick (stud + drywall), while exterior walls vary (often 7.5"–12" or more). If the plan shows wall thickness, measure it and set default extrusion offsets accordingly.
# Example: pixel-to-feet scaling in Python
px_len = 842  # measured pixels between dimension endpoints
real_ft = 10.0
scale = real_ft / px_len  # feet per pixel
# Convert any other measured pixel distance to feet: feet = px * scale
Step-by-step: from black and white floor plan to 3D
Here’s a reliable, tool-agnostic workflow you can adapt to most software or AI apps.
- Import and align: Bring in the cleaned plan, set it to 100% scale using the computed ratio, and align to world axes. Lock the image layer to prevent accidental moves.
- Detect/trace walls: Use automatic line detection or trace polylines along wall centerlines. Offset by half the wall thickness on both sides; convert to solid walls via extrusion.
- Doors and windows: Detect symbols (door arcs, window breaks). Insert parametric openings at the correct width and sill/head heights. Verify swing direction and clearances.
- Rooms and floors: Close loops to define rooms. Generate floors/ceilings; assign room labels and finish types if supported.
- Stairs and level changes: Identify stair arrows or notations. Set riser count, tread depth, and total rise; confirm alignment to the next level.
- Fixtures and built-ins: Place kitchen/bath fixtures, closets, and casework as indicated. Use accurate block families to maintain scale.
- Heights and structure: Set story height, slab thickness, and roof or ceiling pitch if provided in notes or sections.
- Materials, lighting, cameras: Assign basic materials; add a sun/sky system for daylight; place cameras for walkthroughs and renders.
Lightweight automation with OpenCV (optional)
If you’re preprocessing a black-and-white plan programmatically before feeding it to a modeling tool or AI service, basic thresholding and morphology can clean lines and eliminate noise:
import cv2
import numpy as np

img = cv2.imread('plan.png', cv2.IMREAD_GRAYSCALE)
# Binarize
_, bw = cv2.threshold(img, 0, 255, cv2.THRESH_BINARY + cv2.THRESH_OTSU)
# Invert so walls are white (if needed)
bw = 255 - bw
# Morphological close to connect broken lines
kernel = cv2.getStructuringElement(cv2.MORPH_RECT, (3, 3))
closed = cv2.morphologyEx(bw, cv2.MORPH_CLOSE, kernel, iterations=2)
# Optional: skeletonize to simplify to 1-pixel centerlines
size = np.size(closed)
skel = np.zeros(closed.shape, np.uint8)

element = cv2.getStructuringElement(cv2.MORPH_CROSS, (3, 3))
while True:
    eroded = cv2.erode(closed, element)
    temp = cv2.dilate(eroded, element)
    temp = cv2.subtract(closed, temp)
    skel = cv2.bitwise_or(skel, temp)
    closed[:] = eroded[:]
    if cv2.countNonZero(closed) == 0:
        break

cv2.imwrite('plan_prepped.png', skel)
This preprocessing step often improves auto-detection of walls and openings, resulting in a more accurate base model when converting from a black and white floor plan to 3D.
QA checklist: verify what matters
After conversion, run a fast, focused quality assurance pass. Small mistakes compound when you render or plan furniture.
- Scale and dimensions: Re-measure at least three distances from the plan in 3D; target tolerance within 1–2%.
- Wall alignment: Ensure parallel walls are truly parallel; check offsets around shafts and columns.
- Door swings: Confirm arcs and swing directions; verify clearances behind doors.
- Window heights: Check sill and head heights are consistent per the plan’s notes.
- Stairs: Count risers; confirm total rise matches floor-to-floor height.
- Room areas: Compare calculated areas to plan schedules if available.
- Ceiling heights: Validate any dropped ceilings or soffits.
- Openings and structural conflicts: Look for windows placed into corners, doors intersecting with casework, etc.
Pro tip: “Trust, but verify.” Even the best AI conversion benefits from a 5–10 minute human QA pass.
Rendering that communicates
Once your model is accurate, presentation polish is straightforward:
- Materials: Use lightweight PBR materials with correct scale (e.g., 6" planks look like 6"). Prioritize floors, walls, and millwork.
- Lighting: Add a sun/sky rig. For interiors, use a few area lights to mimic natural bounce; avoid overexposure.
- Cameras: 24–35mm equivalent focal length for interiors; place cameras at ~5'6" height for human-eye perspective.
- Composition: Show circulation paths and key sightlines; avoid cluttered scenes.
- Exports: Produce 4K stills for print and 1080p for quick reviews; generate 360° panoramas for immersive shares when supported.
Common pitfalls (and quick fixes)
- Skewed scale: Caused by perspective in the source photo. Fix by re-scanning or deskewing before scaling.
- Broken walls after thresholding: Increase contrast, apply morphological close, or trace manually where needed.
- Misread doors/windows: Some symbols vary by region. Create a small symbol key and map them consistently.
- Missing thickness: If the plan omits wall thickness, adopt local construction norms and note the assumption.
- Heavy models: Keep assets lightweight. Limit high-poly furniture; bake lighting where possible.
Speed vs. control: picking your stack
If you’re producing frequent conceptual visuals, an AI-enabled mobile or desktop app provides the fastest path from black-and-white floor plan to 3D, especially when you can adjust scale and correct openings directly on-device. For bespoke or construction-level detail, a CAD/BIM trace with parametric walls and families will deliver maximum control, at the cost of time. A hybrid approach—AI for the base shell, manual for the refinements—often wins for design teams balancing speed and accuracy.
Deliverables clients and teams understand
Make the outcome consumable by the people who need it:
- Sales/marketing: Hero renders, 360° tours, and annotated floor visuals.
- Design iteration: Editable 3D scenes with movable furniture and finish schemes.
- Stakeholder reviews: Lightweight web viewers for easy sharing and comments.
- Documentation: Scaled 2D exports and room schedules cross-checked to the model.
Mini workflow template you can reuse
- Scan plan at 300–600 DPI; deskew and boost contrast.
- Compute pixel-to-unit scale using a known dimension; verify with a second dimension.
- Auto-detect walls or trace polylines; set wall thickness and extrude.
- Insert doors/windows by symbol; validate sizes and elevations.
- Define rooms, floors, and stairs; set level heights.
- Add essential materials and a sun/sky lighting rig.
- Run the QA checklist; correct any conflicts.
- Export stills, 360s, or share a lightweight viewer link.
Next steps
Turning a black and white floor plan to 3D doesn’t have to be slow or complicated. Start with a clean input, nail the scale, automate where possible, and always reserve a few minutes for QA. If you prefer a streamlined, on-the-go workflow on iPhone that respects dimensions and lets you export high-resolution images for presentations, consider trying an app like Floor Plan to 3D for a fast base model you can then refine as needed.
