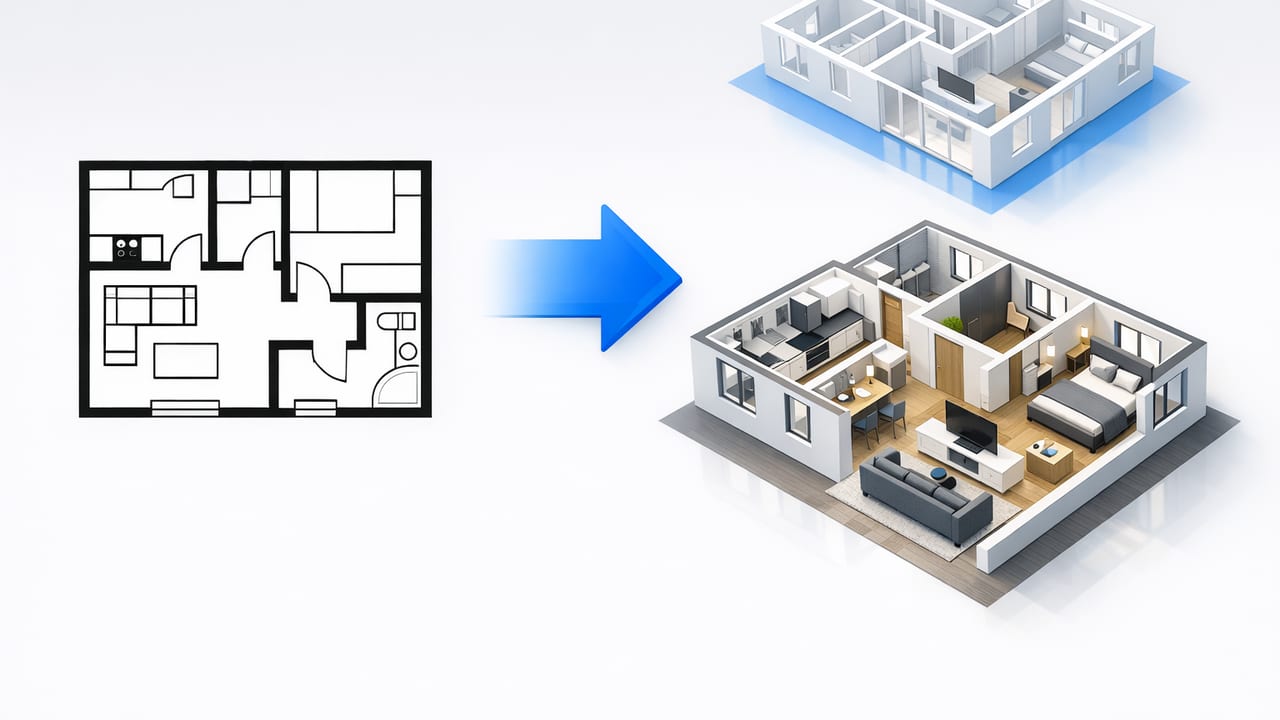
Converting a black and white floor plan to 3D is one of the fastest ways to understand a space before you renovate, stage, or redesign it. A clean 3D view makes it easier to spot circulation issues, test furniture layouts, preview wall changes, and communicate ideas to contractors or clients—without the learning curve of heavy CAD tools.
But black-and-white plans come with quirks: thick wall lines, faint dimensions, photocopy noise, skewed scans, and symbols that are obvious to architects but confusing to software. This guide walks through a practical, accuracy-first workflow to get reliable 3D results, plus a few AI room-planning tactics that help you move from “lines on paper” to “a plan you can act on.”
Why black-and-white plans can be tricky for 3D conversion
Most converters (including AI-based tools) try to infer walls, doors, windows, and room boundaries from pixels. In a crisp plan, those features are easy to detect; in a messy plan, the software may guess incorrectly. Common challenges include:
- Low contrast (gray background, faded lines)
- Line weight ambiguity (furniture lines as dark as walls)
- Skew and perspective (phone photo taken at an angle)
- Overprints (notes overlapping dimensions or walls)
- Nonstandard symbols (older drafting conventions)
The good news: a few minutes of cleanup and a consistent export approach can dramatically improve how accurately a black and white floor plan to 3D conversion turns out.
Step 1: Choose the best source (scan vs. photo vs. PDF)
Your output quality often starts with the input. Use this order of preference:
- Original PDF (vector if available): typically the cleanest lines and text.
- Flatbed scan: good for printed plans; keep it straight and evenly lit.
- Phone photo: works, but needs extra correction for skew and shadows.
Recommended capture settings
- Resolution: aim for 300 DPI (or a photo that results in at least ~2500 px on the long edge).
- Lighting: avoid overhead glare; use even ambient light.
- Alignment: keep the camera parallel to the page; use a document scan mode if available.
- File type: PNG is ideal for crisp lines; high-quality JPG is acceptable.
Step 2: Clean the image so walls and openings are unambiguous
When converting a black and white floor plan to 3D, the goal of cleanup is not to make it “pretty”—it’s to make walls, doors, and windows visually dominant and continuous.
Quick cleanup checklist (non-technical)
- Crop tightly to the plan (remove title blocks if they add clutter).
- Deskew so horizontal/vertical lines are truly straight.
- Boost contrast so walls are clearly darker than background noise.
- Remove shadows and paper wrinkles (common in phone captures).
- Make line breaks continuous if walls are dashed or faded.
Technical option: simple thresholding (example)
If you’re comfortable with basic image processing, binarizing the plan (turning it into clean black lines on a white background) often improves detection. Here’s a minimal OpenCV example you can adapt:
import cv2

img = cv2.imread("plan.jpg")
gray = cv2.cvtColor(img, cv2.COLOR_BGR2GRAY)

# Reduce noise, then convert to pure black/white
blur = cv2.GaussianBlur(gray, (5, 5), 0)
bw = cv2.adaptiveThreshold(
    blur, 255,
    cv2.ADAPTIVE_THRESH_GAUSSIAN_C,
    cv2.THRESH_BINARY,
    31, 8
)

cv2.imwrite("plan_clean.png", bw)
Tip: If dimension text becomes too bold and competes with wall lines, try adjusting the block size (31) and constant (8), or crop out dense annotation areas before processing.
Step 3: Preserve scale—because “looks right” can still be wrong
3D previews are only useful when they reflect real proportions. Even if you don’t need construction-level accuracy, you do need the layout to be consistent (door swings, corridor widths, furniture clearances). Before you convert, identify at least one reliable measurement:
- An overall building width/length
- A clearly labeled room dimension
- A standard element (e.g., a 32–36 inch interior door) as a last resort
Then verify the conversion tool allows you to confirm scale, adjust wall thickness, or validate dimensions. A strong black and white floor plan to 3D workflow always includes a quick scale check after the initial model is generated.
Rule of thumb: If you only validate one thing, validate the distance between two far-apart exterior corners. Small percentage errors become obvious (and painful) at full-house scale.
Step 4: Understand what software “sees” in a black-and-white plan
Most floor plan conversion systems look for patterns like:
- Parallel thick lines → walls
- Gaps in walls → doors/windows/openings
- Arc symbols → door swing direction
- Repeated thin lines → furniture or cabinetry (may be ignored or misread)
This is why heavy furniture drawings can confuse detection: a dark sectional can resemble a wall. If you have the option, export a plan layer that shows just architectural elements (walls, openings, stairs) to improve results.
Common conversion problems (and how to fix them)
| Problem | Why it happens | Fix |
|---|---|---|
| Walls merge or “blob” together | Over-thresholding or low-res scan | Use higher resolution; reduce threshold strength; ensure wall lines are distinct |
| Doors/windows missing | Openings not clearly drawn; symbols obscured | Increase contrast; manually mark openings; remove overlapping notes |
| Room boundaries incorrect | Open-plan areas or faint interior partitions | Add light guide lines; verify partitions; confirm with one reference dimension |
| Text labels become geometry noise | OCR-like confusion between letters and lines | Crop label-heavy margins; clean with selective eraser; export a “no annotations” version |
| Stairs interpreted as walls | Dense parallel lines resemble partitions | Clarify stair outline; simplify stair hatching before conversion |
Step 5: Generate the 3D model, then do a fast “reality pass”
After conversion, do a quick validation before you start redesigning:
- Check scale: confirm one known dimension.
- Verify exterior footprint: do corners and offsets match the plan?
- Count openings: number of exterior windows/doors should be consistent.
- Walk the circulation: can you move from entry → kitchen → living without passing through walls?
- Confirm “pinch points”: hallways, stair landings, and bathroom clearances.
This reality pass is what separates a nice-looking render from a dependable renovation preview.
Using AI room planning on top of your converted model
Once your black and white floor plan to 3D conversion is accurate, AI room planning becomes far more useful—because the suggestions are constrained by real geometry. Here are three practical ways to use AI guidance without losing control of the outcome.
1) Layout exploration (furniture + circulation)
Ask the AI to propose two or three layouts with different priorities: “maximize seating,” “add a desk,” “improve walkway to patio door.” Then evaluate each option against clearances you care about (e.g., 36" primary paths, 18" side-table clearance, dining chair pull-out space).
2) Renovation previews (walls, openings, and focal points)
For remodel ideation, AI is best at generating options, not final answers. Use it to create variants like:
- Kitchen: peninsula vs. island vs. galley optimization
- Living room: built-in storage wall vs. media wall vs. fireplace focal point
- Exterior: lighter siding palette + black window frames vs. warmer wood accents
Then sanity-check feasibility (structure, plumbing, code) before you fall in love with a concept.
3) Empty-room staging for marketing and presentations
If the goal is to communicate potential, staged 3D renders can help viewers understand scale and lifestyle. Keep staging honest by matching furniture size to room dimensions and avoiding “too-perfect” proportions that will disappoint in real life.
Accuracy tips that pay off the most (in under 15 minutes)
- Remove distractions: delete legends, north arrows, and dense notes if they confuse detection.
- Make walls continuous: patch tiny gaps caused by fading or fold marks.
- Standardize openings: ensure doors/windows look like clear breaks in walls.
- Confirm one dimension: scale errors silently ruin everything that follows.
- Export high-res renders: use larger image sizes for proposals so edges and corners stay sharp.
FAQ: black-and-white floor plan to 3D conversions
Do I need a “perfect” plan for a good 3D model?
No—but the plan must be consistent. If walls and openings are readable and scale is verifiable, you can get a dependable model even if the plan is old, scanned, or slightly noisy.
What if my plan has no dimensions?
Use one reliable reference if possible (an exterior wall length from a listing, a survey, or a measured room). If you have no references at all, treat the 3D result as conceptual and avoid making purchasing decisions (like cabinetry) from it.
Why do doors sometimes appear in the wrong place?
Door symbols vary widely. If the arc is faint or overlaps text, software may detect the opening but not the hinge side. Clarifying the doorway gap (the “hole” in the wall) is often more important than the swing arc.
Putting it all together
The fastest path from a scanned drawing to a trustworthy model is: capture cleanly → boost contrast → preserve scale → convert → validate → iterate. When you treat conversion as a workflow (not a one-click event), you get 3D renders that are not only attractive, but also reliable for planning furniture, testing renovation ideas, and presenting options.
If you’re looking for an iOS tool that combines black and white floor plan to 3D conversion with AI-guided room planning and exportable 3D renders, you can explore Floor Plan to 3D & Home Redesign as one option among many.
