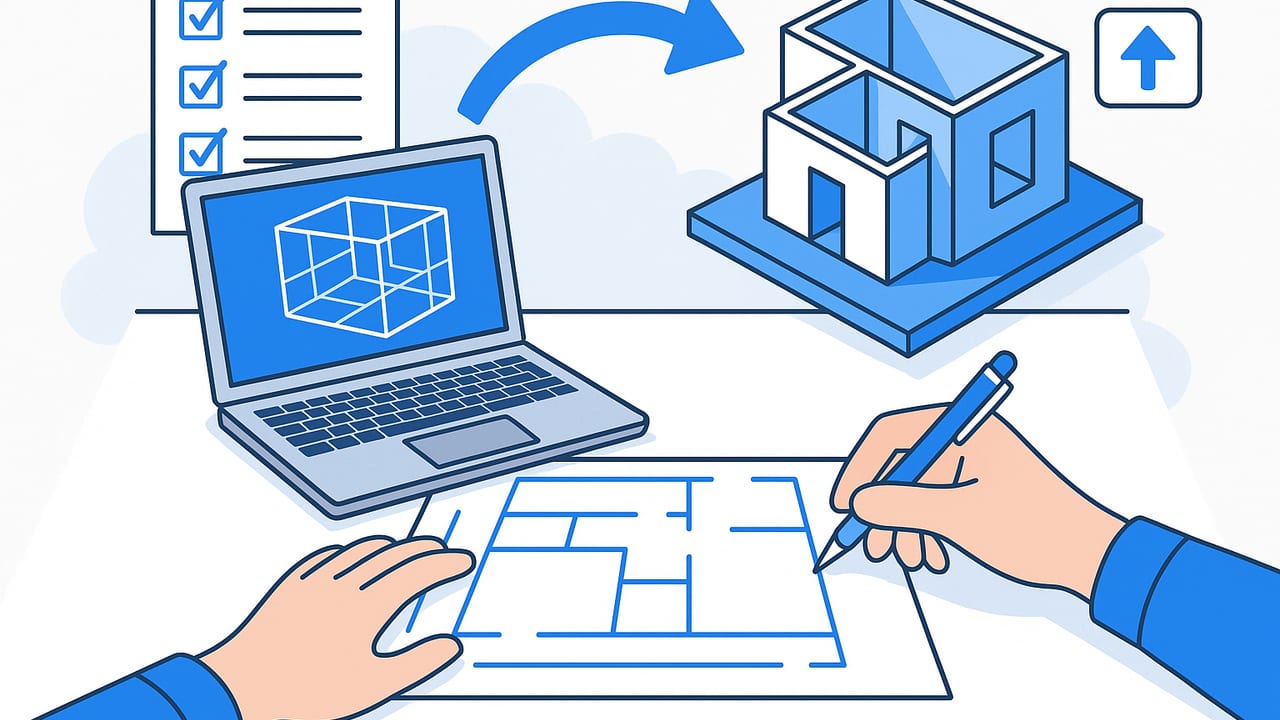
If you need to convert floor plan drawings into accurate 3D models, the right workflow will save hours and reduce costly revisions. Whether you start with a black-and-white plan, a scanned sketch, or a CAD export, this guide explains the practical methods, accuracy rules, and QA checklists to reliably turn 2D lines into clear, credible 3D spaces.
Why convert a floor plan into 3D
- Spatial verification: 3D helps validate proportions, clearances, and circulation that are hard to judge in 2D.
- Faster decision making: Clients and stakeholders grasp layouts faster when they see them as rooms with height, light, and furniture.
- Design iteration: You can virtually test furniture arrangements, door swings, and kitchen workflows before committing.
- Presentation ready: High-resolution renders and simple walkthroughs strengthen proposals and approvals.
Primary methods to convert floor plan drawings
There are three common paths people use to convert floor plan images into 3D models. Choose the one that fits your deadline, accuracy requirements, and comfort with modeling tools.
| Method | Speed | Accuracy potential | Learning curve | Best for |
|---|---|---|---|---|
| Manual modeling in SketchUp, Blender, or Revit | Medium to slow | High, with careful setup | Moderate to steep | Custom details, complex geometry, BIM handoff |
| AI-assisted conversion apps | Fast | High for typical residential plans | Low | Quick visualization, concept validation, client previews |
| Hybrid workflow (AI base + manual refinements) | Fast to medium | Very high | Moderate | Speed plus accuracy; best ROI for most teams |
Prepare your plan before you convert
Preparation determines 80 percent of the accuracy you will see in 3D. Before you convert floor plan files or images, clean and annotate the source.
- Confirm scale: Identify at least one known dimension on the plan, ideally a long interior wall. Note units: mm, cm, or inches.
- Scan or photograph cleanly: Shoot overhead, squared to the paper, with even lighting. Avoid lens distortion by stepping back and zooming in slightly.
- Remove noise: Crop notes that are not needed, erase stains or folds, and boost contrast so walls and openings read clearly.
- Mark critical heights: Ceiling heights per room, window sill and head heights, and slab steps if any.
- Note door swings and thickness: This prevents collisions with furniture in the 3D layout.
- List structural elements: Load-bearing walls, columns, beams, and shafts should be flagged.
- Collect reference photos: If modeling an existing space, capture wall finishes, flooring, and window types for later material assignments.
How to convert floor plan drawings into 3D in 10 steps
The following steps are tool-agnostic. They apply whether you use SketchUp, Blender, Revit, or an AI-driven converter and then refine in a modeler.
- Import the plan as an image: Place it on a locked reference layer. Align it with the origin and primary axes.
- Set the scale: Use a known dimension to scale the image so one unit in the scene equals one unit in the real world. Check a second dimension to verify parity.
- Trace structural walls: Use a wall tool or extrude from polylines. Apply true wall thicknesses and keep corners snapped to grid when possible.
- Cut openings: Insert doors and windows with accurate widths, heights, and sill heights. Confirm swings and clearances.
- Model stairs and level changes: Respect riser and tread rules. For split levels, set correct Z offsets.
- Add floors and ceilings: Assign room-by-room ceiling heights. Add soffits and dropped ceilings where noted.
- Place fixtures and built-ins: Kitchens, baths, wardrobes, and utility runs establish real constraints for furniture.
- Assign materials: Start with realistic values for roughness and reflectance. Even neutral materials help light behave naturally.
- Light the scene: Add daylight portals or HDRI for sun exposure and a few practical fixtures for night renders.
- Set cameras and export tests: Frame key rooms and circulation paths. Render low-resolution tests to catch scale or collision errors early.
Quick tip: precise image scaling in Blender
In Blender, use a simple approach to set scale against a known dimension. The snippet below assumes you drew a measuring edge aligned with a wall on your imported plan.
# Blender Python console (example)
import bpy
from mathutils import Vector

# Select two vertices that represent a measured segment on the plan
obj = bpy.context.object
mesh = obj.data
v1 = mesh.vertices[0].co
v2 = mesh.vertices[1].co
current_length = (v2 - v1).length  # scene units

real_world_length = 4.200  # meters, example known wall length
scale_factor = real_world_length / current_length

# Apply uniform scaling to the plan image object
obj.scale = (obj.scale.x * scale_factor, obj.scale.y * scale_factor, obj.scale.z)
Always confirm with a second known dimension. If both match within tolerance, you can proceed with confidence.
Accuracy rules, tolerances, and QA
To reliably convert floor plan layouts into 3D, define tolerances up front and verify them at key milestones.
- Global tolerance: Aim for area error under 2 percent per room compared with the plan.
- Wall thickness: Typical interior walls are 89 to 100 mm or about 3.5 to 4 inches. Keep consistent within each construction type.
- Door and window rough openings: Different regions vary; ensure modeled widths match the plan callouts.
- Circulation: Maintain realistic corridor widths and turning radii. Check clearances at corners and near door swings.
- Verticals: Ceiling heights drive perceived scale. A mismatch of even 50 mm or 2 inches is noticeable in 3D.
Room-by-room QA checklist
- Measure the longest and shortest walls in each room; compare to the plan.
- Verify all door swings and clearances against adjacent furniture.
- Check window sill and head heights for consistent daylighting.
- Confirm stair rise, run, and headroom.
- Render quick orthographic top views to confirm wall alignment and thickness.
Materials and lighting that make plans read like spaces
Accurate geometry is essential, but lighting and materials communicate the design. Keep them believable and restrained for clarity.
- Neutral base palette: Use mid-gray paint, light wood floors, and white ceilings to reduce glare and artifacts.
- PBR materials with correct scale: Wood planks, tile grout, and fabric textures must be scaled realistically or the eye will sense something is off.
- Daylight first: A balanced HDRI or sun and sky model helps assess light falloff and glare.
- Practical fixtures for night: Add a few warm sources to simulate lived-in conditions without overexposing.
- Clamp highlights and lift shadows: Use gentle tone mapping to maintain detail in both bright and dark areas.
Exporting, sharing, and keeping fidelity
Once you convert floor plan drawings to 3D and finish materials and lighting, prepare deliverables your audience can use.
- Resolution and aspect ratios: For proposals, 3000 to 4000 px on the long edge works well for screens. For print, target 300 dpi at final size.
- File formats: PNG for lossless stills; JPEG when file size matters. For 3D sharing, consider GLB/GLTF and USDZ for lightweight viewing.
- Orthographic exports: Include a clean top view and a few elevations to cross-check with the original plan.
- View naming: Name cameras by room and viewpoint, for example: KIT_v1_isometric, LIV_v2_eye-level.
Simple versioning scheme
ProjectName/Models/
  01_Source/
  02_Converted/
    2024-08-15_AiBase/
    2024-08-16_ManualRefine/
  03_Exports/
    Renders/
    Orthos/
    Walkthroughs/
Keep each milestone in a dated folder so you can roll back if a modeling decision introduces drift from the original plan.
Common pitfalls and how to fix them
- Plan image is skewed: If your photo is off-axis, run a perspective correction in your image editor or use your 3D tool's image warp controls before scaling.
- Scale drift after import: Recheck at least two distances after any rotation or image transform. Lock the reference layer.
- Door or window collisions: Toggle a hinge swing overlay or use a dynamic component to visualize clearances and adjust furniture.
- Lighting looks flat: Add a sun with a defined azimuth and altitude or use an HDRI with a clear directional light source.
- Materials look artificial: Increase roughness slightly, reduce normal map strength, and ensure texture scale is believable.
Choosing the right tool for your context
There is no universal best tool to convert floor plan drawings; it depends on your workflow.
- Concept phase: AI-assisted converters are ideal. They get you a believable 3D base in minutes and allow quick furniture and material experiments.
- Design development: Hybrid is optimal. Convert automatically, then refine with precise wall thicknesses, openings, and fixtures in a modeler.
- Construction documentation: Full manual or BIM workflows offer the control needed for schedules, details, and coordination.
SEO-minded summary: how to convert floor plan reliably
To convert floor plan images or CAD exports into dependable 3D models, prepare a clean, scaled reference; choose a method that suits your deadline; follow a disciplined 10-step workflow; and apply QA checks at room, floor, and global levels. With materials and lighting tuned for clarity, your exports will communicate spatial intent effectively and withstand scrutiny from clients and collaborators alike.
Looking for a quick iOS option to go from a black-and-white plan to a dimensionally faithful 3D render with high-resolution exports? Consider trying Floor Plan to 3D as a lightweight, AI-assisted helper in a hybrid workflow.
