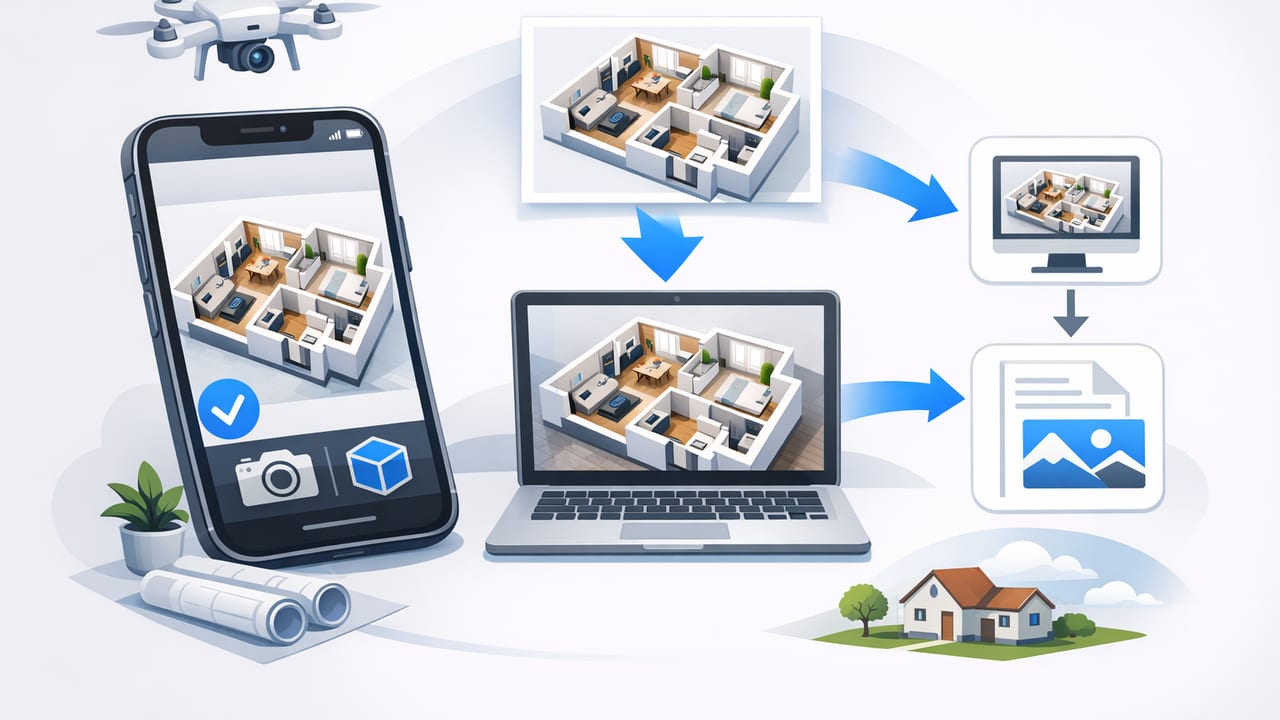
If you’re searching for the best iPhone workflow for 3D plan renders, the real challenge isn’t just generating a 3D view—it’s doing it accurately, repeatably, and fast enough to fit real project timelines. A strong iPhone-first workflow can take a paper plan, a PDF, or a scan and turn it into a clean, dimensionally reliable 3D render that’s ready for client review.
This guide breaks down a practical, quality-controlled process you can use whether you’re a homeowner planning a renovation, a designer building concepts, or a real estate professional preparing marketing visuals.
What “best” means for an iPhone 3D-render workflow
On iPhone, the best workflow prioritizes three things:
- Accuracy: walls align, rooms close properly, and the scale matches the original plan.
- Speed with checkpoints: fast capture and conversion, but with clear QC gates to catch mistakes early.
- Export readiness: outputs look sharp in PDFs, slide decks, listings, and print—without extra desktop work.
Think of it as a pipeline: capture → clean → scale → convert → stage → quality check → export.
Step 1: Prepare the floor plan before you capture it
Your end result is only as good as the input. Spend two minutes here and you’ll save twenty minutes later.
For paper plans
- Flatten the sheet (use a book for 30 seconds if it’s curled).
- Remove shadows: capture on a matte surface with even lighting.
- Keep the plan unobstructed—no rulers, hands, or clips in frame.
For PDFs or digital scans
- Prefer the highest-resolution page available (avoid screenshots when possible).
- Export as a single-page image if your converter works best with images.
- Ensure the plan is black-and-white and high contrast (or at least clearly legible).
Tip: If the plan includes a known dimension (e.g., “12'-0\"”), keep it visible. It’s your best reference for scale checks later.
Step 2: Capture the plan on iPhone (without distortion)
Distortion is the most common reason walls don’t line up in 3D. The goal is a straight-on image with minimal perspective skew.
Best capture method: iPhone document scanning
- Use a document scan method (it automatically corrects perspective).
- Fill the frame with the plan—leave a small margin so edges aren’t clipped.
- Review corners: if one corner looks “pulled,” rescan.
Camera settings that help
- Turn on a grid for alignment and keep the phone parallel to the page.
- Avoid wide-angle distortion; step back slightly and zoom a bit if needed.
- Use bright, diffuse light from two sides to reduce glare.
Step 3: Clean and normalize the file (fast, not fussy)
Before conversion, standardize the input so the app can interpret walls, doors, and labels more reliably.
Quick cleanup checklist
- Crop to the plan boundary (remove title blocks if they confuse detection).
- Rotate so text reads left-to-right (upright orientation helps parsing).
- Boost contrast if lines are faint (aim for crisp wall outlines).
- Remove clutter when possible (heavy furniture icons can be mistaken for walls).
Keep edits minimal. Over-editing (harsh filters, excessive sharpening) can break thin lines and introduce artifacts.
Step 4: Convert 2D to 3D while preserving scale
This is where most workflows succeed or fail. Converting a plan to 3D is easy; converting it to a dimensionally faithful 3D model is the real goal.
Scale strategies that work
- Anchor to one known dimension: pick a clear wall length and set/verify it first.
- Verify a second dimension: check a perpendicular wall. If both match, the plan is likely scaled correctly.
- Watch for non-uniform scaling: if width matches but depth doesn’t, the capture may be skewed—rescan.
Common interpretation issues (and how to avoid them)
- Openings misread: doors/windows may be missed if symbols are faint—use higher contrast or ensure symbols are visible.
- Double walls: thick wall lines can create “two walls.” Prefer clean single-line walls when possible.
- Stairs/angled walls: ensure these areas are sharply captured; consider isolating the plan level-by-level.
Step 5: Stage the 3D scene for clear renders
Once the 3D geometry is correct, staging is what makes the output understandable to non-technical viewers.
Recommended staging defaults
- Neutral materials: light walls, mid-tone floors—avoid busy textures for early concepts.
- Consistent lighting: one daylight preset across all rooms keeps comparisons fair.
- Minimal furniture first: place only “scale anchors” (bed, sofa, dining table) to communicate proportions.
If you’re producing multiple options, change one variable at a time (layout or furniture set), then re-render. That makes feedback precise.
Step 6: Quality control (QC) before you export
A simple QC pass prevents embarrassing errors like a missing wall, a reversed door swing, or rooms that don’t connect.
2-minute QC checklist
- Room closure: every room perimeter is closed (no gaps or overlaps).
- Wall continuity: no “floating” wall segments or unintended extra partitions.
- Openings placement: doors/windows are on the correct walls and roughly correct size.
- Scale check: re-check 2 dimensions (one horizontal, one vertical).
- Camera angles: capture at least one top-down 3D view and one eye-level view per key space.
Step 7: Export settings for proposals, listings, and print
Choose export settings based on where the images will live. A social post and a printed board need different outputs.
| Use case | Recommended format | Resolution target | Notes |
|---|---|---|---|
| Client email / quick review | JPG | 2000–3000 px wide | Smaller files; fast sharing; good enough for feedback. |
| Proposal PDF / slide deck | PNG | 3000–4500 px wide | Crisper lines/text overlays; better for diagrams and labels. |
| Print boards | PNG (or TIFF if available) | Match print size at ~300 DPI | Avoid heavy compression; test-print one page first. |
| MLS / web listings | JPG | 1600–2500 px wide | Check platform limits; keep verticals straight. |
After export, do one final “real-world” check: open the image in the same tool your audience uses (Mail, Google Slides, PowerPoint, a PDF reader) and confirm it looks sharp.
Automation: a lightweight iPhone Shortcut to speed up prep
You can automate repetitive steps (rename files, convert to PNG, move to a project folder) with the Shortcuts app. Here’s a simple pseudo-workflow you can adapt:
// iPhone Shortcut pseudo-steps
1) Receive Input: Image or PDF
2) Ask for Input: Project Name (text)
3) If input is PDF:
     Extract Page 1 as Image
4) Convert Image: PNG
5) Rename File: {ProjectName}-floorplan-{date}
6) Save File: iCloud Drive/Projects/{ProjectName}/Inputs/
7) Quick Look: Preview
This doesn’t create the 3D model for you, but it removes friction so you spend time where it matters: scale, layout, and render choices.
Troubleshooting the most common problems
“My 3D walls don’t match the plan.”
- Rescan using document capture to reduce perspective distortion.
- Ensure the plan is cropped tightly and is perfectly upright.
- Re-check the first scale anchor; then verify a second dimension.
“Doors/windows are missing or weird.”
- Increase contrast so symbols are clearer.
- Zoom in and confirm the plan uses standard symbols (some stylized plans confuse detection).
- Manually correct openings after conversion if your tool allows.
“The render looks flat or unrealistic.”
- Switch to consistent daylight and reduce harsh shadows.
- Use neutral materials first; add textures only after layout approval.
- Render from human-height camera angles (not only top-down).
Putting it all together: the repeatable iPhone pipeline
- Prep: flatten/crop, keep one known dimension visible.
- Capture: document scan, straight-on, high contrast.
- Clean: crop, rotate, light contrast adjustments.
- Convert: generate 3D; set scale using one anchor dimension.
- Verify: confirm a second dimension; fix misread walls/openings.
- Stage: neutral materials, minimal furniture, consistent lighting.
- QC: closed rooms, correct openings, straight verticals.
- Export: pick format/resolution for the delivery channel.
Final notes on tools
The best iPhone workflow for 3D plan renders is the one you can repeat under deadline: capture clean inputs, lock scale early, and treat QC as non-negotiable. If you want an iOS-first app designed specifically to turn black-and-white floor plans into dimension-faithful 3D visuals with exportable high-resolution renders, you can explore Floor Plan to 3D.
