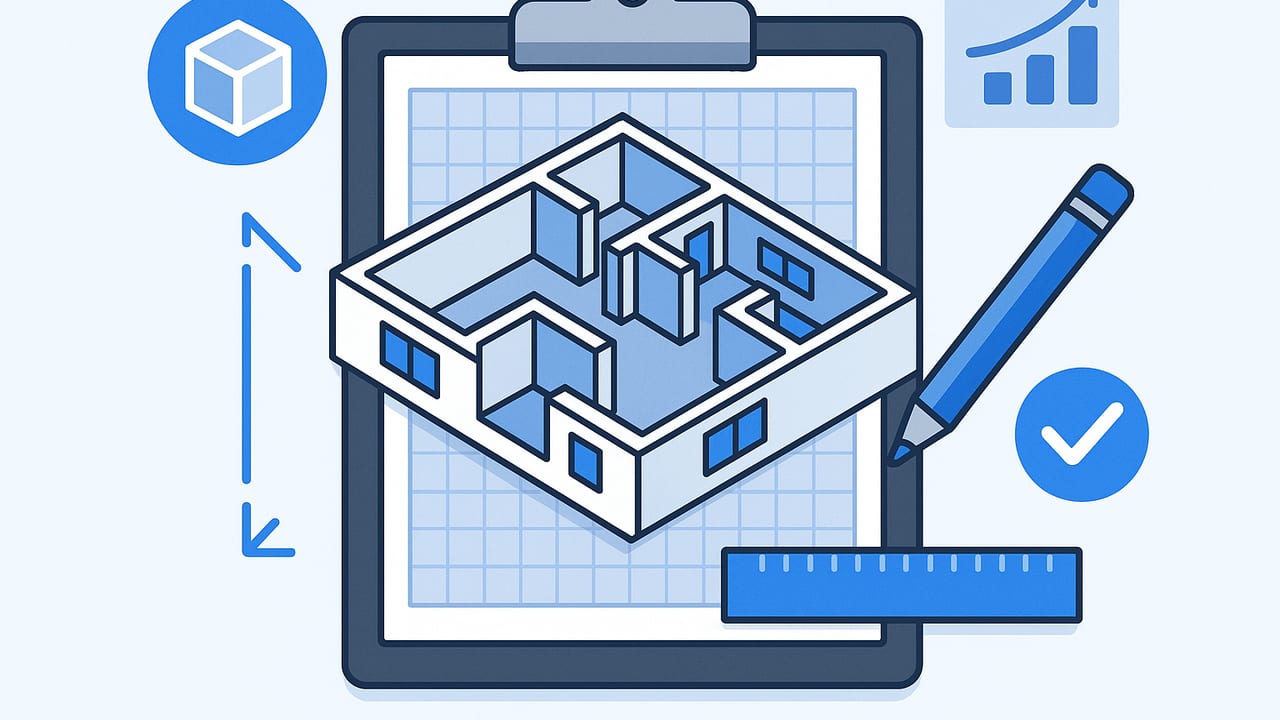
Turning a floor plan into a vivid, true-to-scale 3D model is one of the fastest ways to make smarter design decisions. Whether you’re renovating, staging for a sale, or optimizing a studio, an apartment layout 3D model helps you see real circulation, test furniture sizes, preview lighting, and communicate ideas clearly. This guide walks you through fundamentals, workflows, dimensional standards, and practical tips to build apartment layouts in 3D with confidence.
Why 3D for Apartment Layouts
- Clarity: 3D reveals sightlines, clutter points, and awkward corners that a 2D plan hides.
- True scale decisions: Validate if a 90-inch sofa fits, if bar stools have knee room, or whether a queen bed crowds a wardrobe.
- Rapid iteration: Swap layouts in minutes and compare A/B options side-by-side.
- Better collaboration: Share visual scenarios with clients, roommates, or contractors; annotate and export views.
- Reduced rework: Catch conflicts (door swings, appliance clearances, radiator locations) before buying or building.
True-to-Scale Basics You Can’t Skip
Great 3D models start with great measurement. To make an apartment layout 3D model that you can trust:
- Calibrate from a known dimension: Use a measured wall length or room dimension to set scale. Check it again after tracing.
- Account for wall thickness: Interior partitions are often 3.5–4.5 in (90–115 mm); exterior walls can be thicker. Draw centerlines or finishes consistently.
- Capture verticals: Ceiling height, bulkheads, beam drops, and window head/sill heights affect furniture and storage.
- Mark every opening: Doors, sliding panels, radiators, electrical panels, and window vents all affect placement.
- Set tolerances: Aim for ±0.5 in (±12 mm) in small rooms. Note which dimensions are verified vs. assumed.
Apartment Layout 3D Workflow: From Plan to Model
- Gather sources: A floor plan (PDF/photo), field measurements, and photos of each wall.
- Import and scale: Bring the plan image into your tool and calibrate to a verified length.
- Trace walls and set heights: Draw perimeter and interior partitions; apply accurate wall thickness and ceiling heights.
- Add openings: Insert doors, windows, and any sliding panels; set swing direction, sill height, and head height.
- Place fixed elements: Kitchens, bathrooms, radiators, columns, HVAC chases, and closets.
- Lay out zones: Rough in living, dining, sleeping areas at a conceptual level before detailed furniture.
- Furnish to real sizes: Use manufacturer dimensions or measure existing pieces. Avoid rescaling models arbitrarily.
- Lighting and materials: Add daylight openings, basic fixtures, and surface finishes to preview brightness and mood.
- Test circulation: Walk through with a person-scale avatar or use measurement tools to verify clear paths.
- Export views: Save consistent camera angles for A/B comparisons; export top-down plans and eye-level renders.
Design in plan; decide in 3D. Many options look fine on paper until you simulate the walk-through and door swings.
Space Planning Dimensions That Matter
These reference ranges help you test fit and flow inside your apartment layout 3D model. Always verify local codes and manufacturer specs.
| Zone | Imperial | Metric | Notes |
|---|---|---|---|
| Corridor width | 36–42 in | 915–1065 mm | 36 in minimum; 40–42 in is comfortable for two people passing. |
| Door width (int.) | 30–36 in | 760–915 mm | Leave 2–3 in for door trim clearance around furniture. |
| Bed clearance (sides) | 24–36 in | 610–915 mm | 24 in workable; 30–36 in ideal for a queen. |
| Living room knee space | 16–18 in | 405–455 mm | Gap from sofa to coffee table. |
| TV viewing distance | 1.5–2.5× screen | — | For 55″ screens: ~7–9 ft (2.1–2.7 m). |
| Dining chair pullback | 30–36 in | 760–915 mm | From table edge to wall/obstacle; 36 in is comfortable. |
| Kitchen work aisle | 42–48 in | 1065–1220 mm | 42 in for one cook; 48 in for two. |
| Island overhang | 12 in | 305 mm | Leg room for stools; verify bracket support. |
| Desk depth | 24–30 in | 610–760 mm | 27–30 in preferred for monitors + keyboard. |
| Toilet clear in front | 24–30 in | 610–760 mm | Centerline typically 15–18 in from side wall (380–455 mm). |
| Shower size | 30×30 in min | 760×760 mm | Comfortable at 36×48 in (915×1220 mm). |
| Closet hanging depth | 24 in | 610 mm | Sliding doors save swing clearance in tight rooms. |
Small Apartments: 3D Strategies That Work
- Zone with furniture and light: Use rugs, ceiling pendants, and cabinetry to define living, dining, and sleeping without full-height walls.
- Slide, fold, or pivot: Pocket doors, sliding panels, and fold-down tables free up circulation.
- Go vertical: Tall cabinets, wall-mounted shelves, over-door storage; simulate reach and step stool use in 3D.
- Multi-use pieces: Sofa beds, nesting tables, ottomans with storage, and dining benches against walls.
- Reflectance matters: Light-colored walls, glossy tiles, and mirrors increase perceived depth; test glare with sun studies.
- Low-slung profiles: Lower sofas and beds keep sightlines open; glass or open-leg furniture maintains visual flow.
Compare Options in 3D Before You Commit
Use your apartment layout 3D model as a decision lab. Create named views for each scheme and evaluate them against consistent criteria.
- Storage capacity: Lineal feet of hanging space, cubic feet of cabinets, and hidden compartments.
- Seating count: Comfortable seats for daily and guest scenarios.
- Daylight access: Does a tall wardrobe block a window? Check morning vs. evening sun angles.
- Noise and privacy: Headboard away from shared walls; soft materials near noisy zones.
- Task workflows: Kitchen triangle, laundry path, work-from-home ergonomics.
Lighting and Materials in Your 3D Model
Layer light for realism and comfort: daylight, ambient, task, and accents. Materials and colors are not just style—they drive perceived brightness. Use Light Reflectance Values (LRV) as a quick guide.
| Surface | Suggested LRV | Why |
|---|---|---|
| Ceilings | 80–90 | Maximize bounce light and make rooms feel taller. |
| Walls (small spaces) | 60–75 | Brighter, more open feel without hospital white. |
| Floors | 20–40 | Visual grounding; hides wear while reflecting some light. |
| Cabinet fronts | 30–60 | Balance contrast; test fingerprints vs. gloss in renders. |
Run day/night renders to ensure nighttime scenes have adequate task lighting. Check shadows around vanities, cooktops, and desks to avoid glare and hotspots.
Tools for Building an Apartment Layout 3D
| Category | Examples | Skill | Speed | Scale Fidelity | Best For |
|---|---|---|---|---|---|
| CAD/BIM | Revit, Archicad | Advanced | Moderate | Excellent | Detailed projects, documentation, coordination |
| 3D Modelers | SketchUp, Blender | Intermediate | Fast | Very good | Concepts, fast iteration, visualization |
| Mobile Scan/Plan | iOS LiDAR & plan-to-3D apps | Beginner | Very fast | Good–Excellent | Quick conversions, small homes, proposals |
| Web Planners | Planner tools | Beginner | Fast | Good | DIY planning, basic staging, sharing |
Whatever tool you use, prioritize accurate scale, real product dimensions, and consistent camera views for fair comparisons.
Optional: A Simple JSON Brief to Start Modeling
Use a structured brief to keep scope clear and test options systematically. You can adapt the example below to track room sizes, furniture targets, and constraints.
{
  "project": "1BR apartment test fit",
  "units": "imperial",
  "rooms": [
    { "name": "Living/Dining", "target_area_sqft": 190, "must_have": ["sofa 84in", "TV 55in", "table 60x36in"], "notes": "maintain 36in walkway to balcony door" },
    { "name": "Kitchen", "target_area_sqft": 85, "must_have": ["30in range", "24in dishwasher", "33in sink"], "notes": "42in work aisle; island seating x2" },
    { "name": "Bedroom", "target_area_sqft": 120, "must_have": ["queen bed", "wardrobe 6ft"], "notes": "bedside clearance 30in each side" },
    { "name": "Bath", "target_area_sqft": 50, "must_have": ["36x48in shower", "30in vanity"], "notes": "toilet front clearance 24in min" }
  ],
  "constraints": [
    "structural column at 9ft from east wall",
    "riser chase in kitchen corner",
    "radiator under living room window"
  ],
  "lighting": { "daylight_priority": "high", "task_layers": ["kitchen undercabinet", "desk lamp", "bath vanity"] },
  "options_to_compare": ["open kitchen", "peninsula with stools", "closed galley"]
}
Checklist and Common Pitfalls
- Scale check: Verify two known dimensions after importing a plan; don’t rely on one calibration alone.
- Door swings: Simulate every swing and slide; ensure appliances can open fully without collisions.
- Window heights: Sill and head heights drive desk placement, backsplash ends, and tall cabinet choices.
- Power and plumbing: Place outlets for TV, desk, and island; note supply and drain locations to avoid costly reroutes.
- Radiators and vents: Maintain clearances; avoid blocking airflow with sofas or drapery.
- Bulkheads and beams: Model all overhead obstructions; ensure tall furniture fits below.
- Rug sizing: In living rooms, front sofa legs on the rug; test 8×10 vs. 9×12 for seating cohesion.
- Clear sightlines: Keep views to windows unobstructed where possible; test low vs. tall pieces.
- Acoustics: Add soft surfaces near concrete or glass-heavy envelopes to reduce echo in open plans.
- Export consistency: Use identical camera heights and focal lengths across options to avoid misleading comparisons.
Wrap-Up
Building an apartment layout 3D model transforms planning from guesswork into evidence-based design. Start with accurate measurements, apply space-planning clearances, iterate multiple options, and judge them with consistent criteria. The result is better flow, smarter storage, and a space that looks and lives the way you imagine. If you’re starting from a black-and-white plan and want a fast, true-to-scale 3D starting point on iPhone, the app Floor Plan to 3D can convert your 2D layout into a detailed model and export high-resolution images for proposals.
