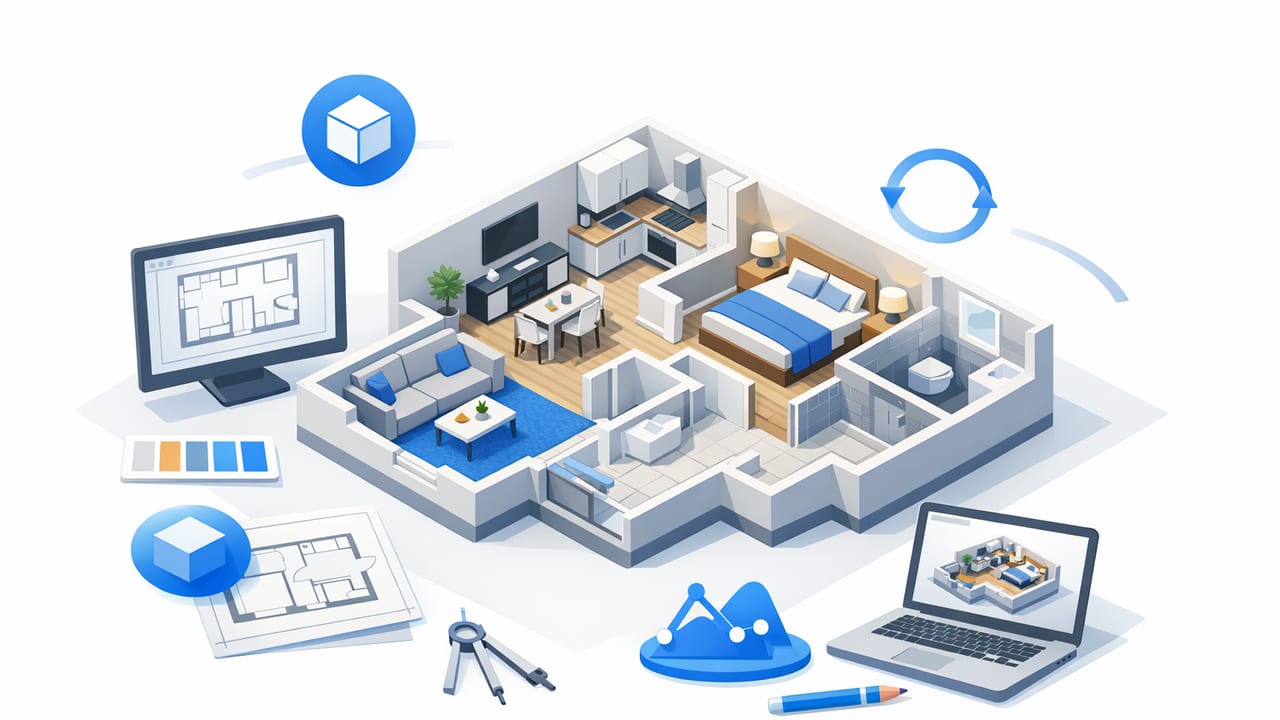
Creating an apartment 3d layout is one of the fastest ways to answer the questions a 2D plan can’t: Will the sofa block the walkway? Can the dining table extend without hitting a wall? Is the bedroom big enough for a queen bed and two nightstands? A well-built 3D layout turns guesswork into measurable decisions, helping renters, buyers, designers, and landlords plan changes with confidence.
This guide walks through a practical, accuracy-first workflow: starting from a scan or photo of a floor plan, confirming scale, building the shell, adding doors/windows, placing furniture with real clearances, and exporting visuals you can share. The goal is not “pretty renders” first—it’s a layout that stays true to the apartment’s proportions.
Why build an apartment 3D layout instead of staying in 2D?
- Spatial truth: Depth, sightlines, and circulation are easier to understand in 3D.
- Fewer mistakes: You catch clearance issues (door swings, chair pull-out space, hallway pinch points) before moving furniture or ordering items.
- Faster iteration: It’s easier to compare multiple layouts when you can toggle versions.
- Better communication: Landlords, contractors, roommates, or partners often align faster when they can “see” the plan.
Step 1: Start with the best possible floor plan input
3D layout accuracy depends heavily on your source plan. Before you model anything, improve input quality:
- Use the highest-resolution plan you can get (PDF export, scan, or clean photo).
- Keep it flat and square if photographing: shoot straight overhead, avoid wide-angle distortion, and ensure good lighting.
- Confirm at least one known measurement (e.g., overall width of the living room, a doorway width, or a dimension printed on the plan).
Rule of thumb: If you can’t validate scale with at least one real measurement, you’re building a “concept model,” not a reliable apartment 3d layout.
Step 2: Validate scale and set a measurement standard
Pick one measurement standard and stick to it: inches/feet or millimeters. Then set the model scale using a known length. Common “knowns”:
- Door width: often ~30–36 in (760–915 mm) for interior doors
- Counter depth: often ~24 in (610 mm)
- Bathtub length: often ~60 in (1524 mm)
If your plan has printed dimensions, great—use them. If not, measure one wall in the apartment (laser measurer, tape, or listing details) and scale from there.
Quick conversion helper (optional)
If you switch between imperial and metric while shopping for furniture, this small snippet can help when you’re sanity-checking dimensions:
# inches to millimeters
inches = 32
mm = inches * 25.4
print(mm)  # 812.8

# millimeters to inches
mm = 900
inches = mm / 25.4
print(inches)  # 35.43
Step 3: Build the shell first (walls, thickness, and ceiling height)
For a dependable apartment 3d layout, model the “shell” before furniture:
- Trace walls accurately (pay attention to offsets, notches, and columns).
- Assign wall thickness (interior partitions vs. exterior walls can differ).
- Set ceiling height (it affects light feel, storage options, and tall furniture placement).
Even if your tool offers “auto-detection,” do a manual pass to correct wall alignment and ensure corners meet cleanly. Small errors compound when you start placing cabinets or wardrobes.
Step 4: Add doors and windows with realistic behavior
Doors and windows are where many layouts fail in real life. Two must-do details:
- Door swing direction and clearance: Ensure doors can open fully without hitting furniture.
- Window height and sill level: This affects desk placement, headboards, and radiators.
If the plan doesn’t show door swings, verify on-site. A single reversed swing can invalidate a carefully planned entryway or bathroom layout.
Step 5: Place “fixed” items before movable furniture
In an apartment, some elements are effectively fixed: kitchen counters, appliances, bathroom fixtures, radiators, built-ins, and sometimes HVAC units. Place these first so the rest of the apartment 3d layout responds to reality.
Common fixed-item checks
- Kitchen work triangle (sink–stove–fridge) should feel efficient, not obstructed.
- Bathroom clearances for toilet and shower doors.
- Electrical and data points that influence TV, desk, and bed placement.
Step 6: Use clearance rules that keep the layout livable
Furniture placement is not only about whether items “fit,” but whether you can use them comfortably. The guidelines below are widely used starting points.
| Area | Recommended clearance | Why it matters |
|---|---|---|
| Main walkways | 36 in / 900 mm (minimum) | Comfortable circulation without squeezing past furniture |
| Behind dining chairs | 36–48 in / 900–1200 mm | Room to sit, stand, and pass behind seated people |
| Sofa to coffee table | 14–18 in / 350–450 mm | Comfortable reach without blocking legroom |
| Bed side clearance | 24–30 in / 600–750 mm (each side if possible) | Easier making the bed and accessing storage |
| Kitchen aisle (one cook) | 42 in / 1050 mm | Safe movement and appliance door clearance |
Tip: In small apartments, you may dip below “ideal” in one location, but avoid creating multiple pinch points. One tight spot can be manageable; several make the home feel cramped.
Step 7: Build layout options (and label them like experiments)
The fastest way to improve an apartment 3d layout is to create alternatives and compare them. Treat each option like a test:
- Option A: optimized for seating and hosting
- Option B: optimized for work-from-home
- Option C: optimized for storage and open floor space
Keep the shell identical, then swap furniture sets and orientations. Export side-by-side views so you can evaluate objectively.
Example: one-bedroom living room decision framework
- Anchor first: place the largest item (usually the sofa) against the best uninterrupted wall.
- Preserve circulation: protect the main path from entry to kitchen and bedroom.
- Then add function: dining, desk, storage, and only then accent pieces.
Step 8: Use lighting and camera views to “stress test” the design
Even a dimensionally correct model can feel wrong if the space reads darker or narrower than expected. Use simple lighting and multiple camera angles:
- Corner-to-corner views to understand perceived spaciousness.
- Eye-level views near the entry to check first impressions and clutter.
- Window-facing views to see glare on screens and TV placement issues.
If your layout relies on a desk by a window, test whether the chair clearance blocks the balcony door, or whether the monitor will sit directly in harsh light.
Step 9: Quality-control checklist before you trust the model
Run this quick QC pass before you commit to purchases or move-ins:
- Scale check: Does one known wall length match reality?
- Door swings: Can every door open without collision?
- Appliance doors: Fridge, oven, dishwasher clearances accounted for?
- Seating use: Can you pull out dining chairs and still pass?
- Storage access: Closet doors and drawers open fully?
- Rug sizing: Rugs are large enough to visually “zone” seating/dining?
Common mistakes that make an apartment 3D layout misleading
- Modeling to the wrong wall face: Mixing interior dimensions with exterior wall outlines shifts everything.
- Ignoring wall thickness: A few inches per wall can shrink usable space significantly.
- Using “generic” furniture sizes: Always input real product dimensions (including arms, legs, and overhangs).
- Forgetting the human factor: A room can fit furniture but still fail circulation and comfort.
- Not accounting for radiators/HVAC: Blocking them can create heat and airflow problems.
Exporting and sharing: what to produce for decisions
When you’re ready to share your apartment 3d layout, export multiple deliverables so others can understand it quickly:
- Top-down furnished view for clarity and measurements.
- Two to three eye-level images for realism and “feel.”
- One annotated version highlighting key clearances (walkway width, table pull-out space).
If you’re presenting options, keep camera angles consistent across versions so differences are easy to spot.
Final takeaway
A strong apartment 3d layout is less about fancy materials and more about verified dimensions, door/window behavior, and real clearance rules. Start from a reliable plan, lock the scale, build the shell, place fixed items, then iterate furniture layouts as testable options. You’ll make better decisions—faster—and avoid expensive mistakes.
Note: If you prefer a mobile workflow for turning a black-and-white 2D plan into a dimension-faithful 3D model, tools like Floor Plan to 3D can help streamline that conversion so you can focus on layout choices and comparisons.
