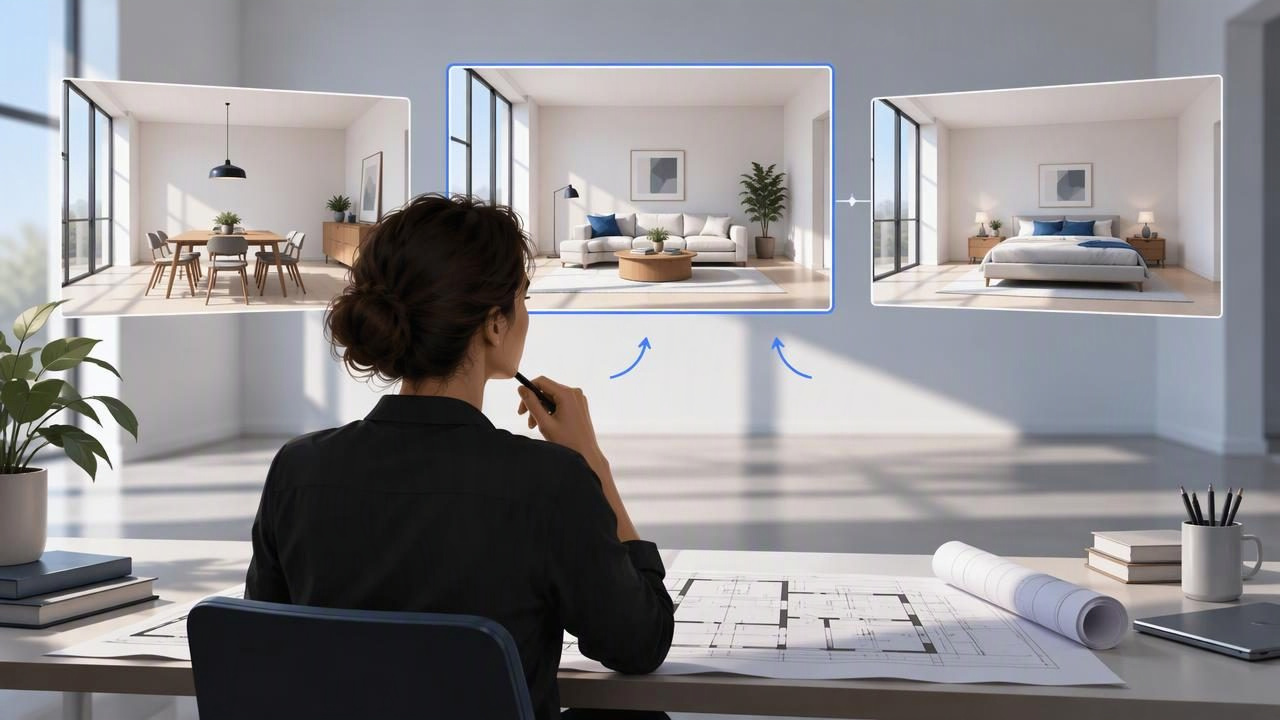
An empty-room furnishing tool can help architects show how a bare interior might feel once it has a purpose, furniture, and a considered palette. Used well, it gives clients something more concrete to discuss than a list of proposed finishes. Used carelessly, it can make a concept image look like a verified layout—even when furniture sizes, clearances, or room geometry have not been checked.
This guide focuses on using room-furnishing visuals to compare design directions and support client conversations. It is not a substitute for space planning, measured drawings, or specification work. The goal is to make the image useful while being clear about what it can and cannot establish.
What an empty-room furnishing tool is useful for
Architects often need to communicate more than the outline of a room. A client may understand a plan but struggle to imagine whether the space should become a quiet reading room, a compact home office, or a flexible guest room. A furnished visual can make those alternatives easier to compare.
Depending on the tool and its inputs, a concept image may help you:
- Suggest a room’s function when the space is currently vacant or unfinished.
- Compare broad furnishing styles, such as restrained contemporary and warmer traditional.
- Discuss visual hierarchy: what should draw attention, and what should recede.
- Help a client react to a direction before detailed selections are made.
- Record the difference between two design proposals in a presentation.
These are communication benefits, not proof that a proposed sofa fits between two walls or that a circulation route meets project requirements. Treat the output as a visual prompt that helps people ask better questions.
Start with the decision, not the image
Before creating a furnished concept, write down the decision the image is meant to support. A vague request such as “make this room look finished” can produce a polished picture without resolving a design issue. A more useful brief names the choice: “Should this room support a small meeting table or remain open for occasional events?”
Keep each comparison focused. If you change the room’s use, furniture arrangement, color palette, lighting mood, and material direction all at once, it becomes difficult to tell which change the client is responding to. For an early review, hold most variables steady and explore one or two meaningful differences.
| Design question | Useful comparison | What to verify separately |
|---|---|---|
| How should the room function? | Desk-focused layout versus conversation-focused concept | Furniture dimensions, access, and circulation |
| Which atmosphere suits the brief? | Light, warm palette versus darker, more formal palette | Actual finishes, samples, and lighting conditions |
| How much furnishing feels appropriate? | Minimal arrangement versus a more layered concept | Storage needs, clear floor area, and maintenance |
| Where should attention go? | Feature wall versus artwork or furniture focal point | Electrical, structural, and installation constraints |
Example: furnishing a vacant project room
Imagine a client has a vacant rectangular room beside a home’s main living area. They are deciding between using it as a compact workroom or as a flexible guest space. The architect already has project drawings and knows the intended room dimensions from the design documentation.
For the first visual comparison, create two concepts with the same general camera viewpoint and similar light conditions. In one, show a desk, task chair, and restrained storage. In the other, show a daybed or guest bed, a small side table, and a clear central area. Keep decorative detail modest so the client can focus on function rather than being distracted by accessories.
Then discuss the concepts against the actual project requirements. Does the workroom need space for more than one person? Where will equipment and files go? If it is a guest room, what privacy, storage, and access does the household expect? Which pieces are essential, and which are only visual suggestions?
The images help frame that conversation; they do not establish that the selected bed, desk, or chair fits. Check proposed items against the project’s measured drawings and product specifications. Review clearances, doors, windows, outlets, built-ins, and any accessibility or life-safety requirements using the appropriate project documents and professional judgment.
Build a reliable visual comparison
Use a clear source image
If you are starting from a room photo, choose a view that communicates the room’s shape and fixed features. Include the main wall junctions, openings, and any elements that should remain unchanged. Avoid clutter, strong perspective distortion, or a viewpoint that hides a key corner. If the room is not built yet, use the relevant plan or design image as the source where the tool supports it.
Image clarity helps communicate what is visible, but it does not guarantee that a generated image will preserve geometry. An AI tool may reinterpret an opening, shift a furnishing, or invent a detail. Compare the result against the original source before presenting it as a representation of the project.
Describe the purpose and the limits
Write a brief that states the room use, the desired mood, and any visible elements that should be retained. For example: “Show a calm workroom with a compact desk and closed storage; keep the visible window and door locations as shown.” Keep instructions specific, but do not assume that text alone can lock every feature in place.
When reviewing results, look for unexpected changes to openings, wall positions, ceiling features, or fixed joinery. If those details appear altered, do not use the image to make a decision about them. Correct the visual direction if possible, or annotate the image so viewers know which parts are conceptual.
Compare like with like
For client review, label each image with its intended question, such as “workroom option” or “guest-room option.” Use comparable viewpoints when possible. If one image shows a wide angle and another a close crop, the apparent size and spaciousness may differ for reasons unrelated to the design.
Ask clients to respond to specific prompts: Which function better supports daily use? What feels too crowded? Which atmosphere fits the rest of the home? Their answers are more actionable than a general request to choose a favorite picture.
What to check before sharing a concept
- Source fidelity: Compare visible openings, wall relationships, and fixed features with the source image or project documents.
- Furniture plausibility: Confirm dimensions from product information or project schedules; do not estimate fit from pixels.
- Circulation: Review routes and clearances in measured drawings, not only in the render.
- Material expectations: Present colors and finishes as indicative until they are checked against samples and actual lighting.
- Accessibility and safety: Have relevant requirements assessed using the proper documentation and qualified project review.
- Image labeling: Identify the image as a concept visualization and state what remains unresolved.
A useful caption might read: “Concept image for furniture direction only. Verify room geometry, dimensions, clearances, finishes, and product selections against project documentation before specifying.” Adapt the wording to suit the project and the audience.
Common mistakes architects can avoid
Presenting a concept as a final proposal
A convincing render can feel definitive even when the underlying choices are preliminary. Separate visual exploration from approved documentation. Mark concepts as options, identify assumptions, and keep a record of decisions that still need confirmation.
Letting decoration distract from the brief
Detailed accessories can make an image attractive but may obscure the question at hand. If the review is about room use, prioritize the furniture arrangement and movement through the space. Add decorative layers only when they help explain the intended character.
Assuming the software understands the project
AI-generated visuals do not know the full design brief, site conditions, building constraints, or client requirements unless those are explicitly represented—and even then, the output needs review. A tool can produce a plausible-looking image that conflicts with the project. Professional judgment remains essential.
Keep the concept connected to project records
When a client responds positively to a furnishing direction, record what they approved and what they did not. Note the preferred room use, arrangement, palette, and any requested changes. Link the decision to the relevant drawing or meeting record, and distinguish between a visual preference and a confirmed specification.
This is especially helpful when concepts are revised later. A short note such as “Client prefers the workroom direction; storage type and desk size remain open” is more useful than saving an unlabeled image. It reduces the chance that an illustrative detail will be mistaken for an agreed purchase or construction instruction.
Choose the right level of visualization
An empty-room furnishing tool is most valuable early in design conversations, when the task is to explain alternatives rather than document final dimensions. If the decision depends on exact clearances, coordinated services, or verified geometry, return to the project’s measured drawings and appropriate technical tools. Use the visual as a companion to those materials, not as a replacement.
For architects exploring image-based room concepts, this guide to AI room design explains how visual ideas can support redesign discussions. Floor Plan to 3D & Home Redesign is one option for creating room concepts from images; review each result against its source and project documentation before sharing it as a design reference.
