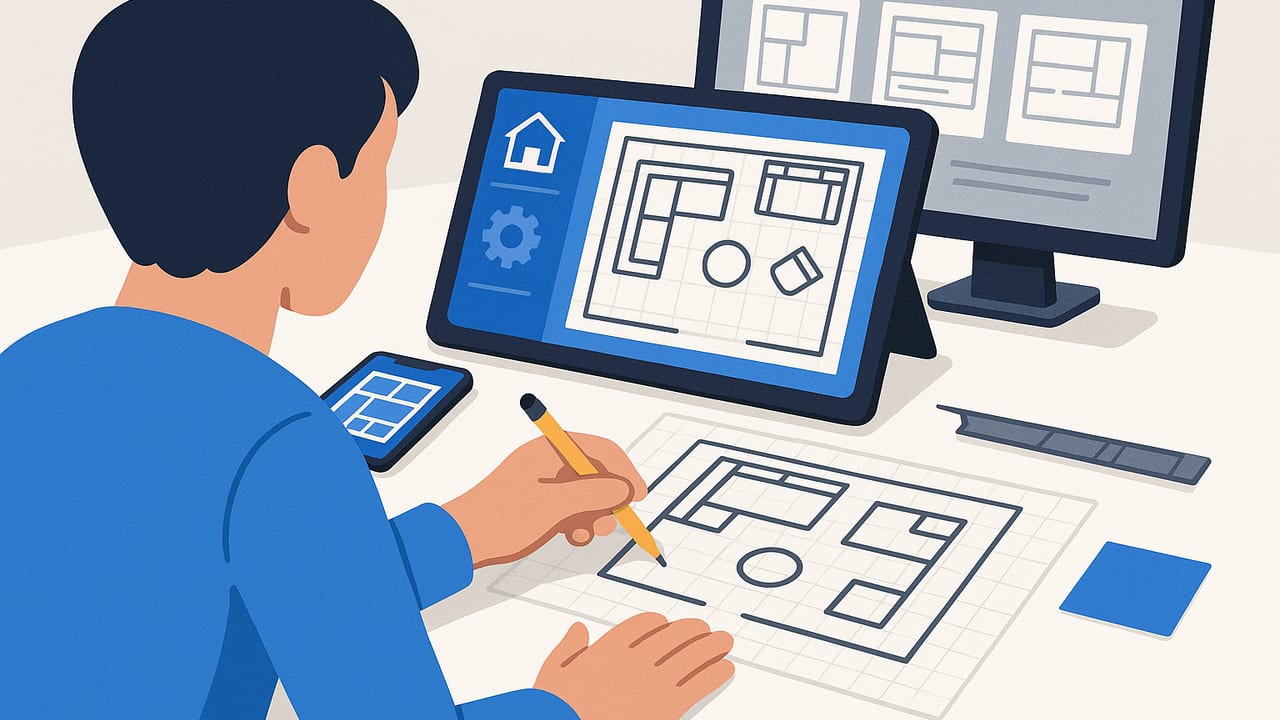
Looking for an alternative to hiring an interior designer for layouts? Whether you are furnishing a new apartment, reworking a living room, or planning a small renovation, you can create a functional, good-looking floor plan without a full-service design fee. This guide covers practical, budget-friendly options, from DIY workflows and templates to modern apps that convert a 2D floor plan into a 3D space, plus the key rules of thumb professionals rely on. By the end, you will know which route fits your project, how to keep true scale, and how to sanity-check your layout before buying a single piece of furniture.
Who should consider alternatives
There are many reasons to skip traditional interior design services and still achieve a thoughtful layout:
- Small spaces where every inch counts and rapid iteration matters.
- Rental or temporary living situations where permanent changes are limited.
- Tight timelines that favor same-day planning and quick 3D visualization.
- Clear aesthetic vision, but you still need help with space planning and scale.
- Budget constraints that prioritize DIY tools over hourly consulting.
If this sounds like your project, a layered approach works best: start with a quick plan in 2D, convert to 3D to evaluate flow and scale, and validate with simple measurements at home before you commit.
The main alternatives, compared
Here is a side-by-side look at popular options that offer an alternative to hiring an interior designer for layouts. Costs and time are typical ranges; actual pricing varies by region and product.
| Option | Typical cost | Time to first draft | Skill curve | Scale accuracy | Best for |
|---|---|---|---|---|---|
| Graph paper + tape measure | Low | 1–2 hours | Very low | Good if you measure carefully | Quick sketches, early planning |
| Retailer room planners | Free | 1–2 hours | Low | Good; sometimes limited to store catalog | Furnishing with a specific brand |
| Freemium floor plan software | Free to moderate | 2–6 hours | Moderate | Very good in 2D; 3D varies | Detailed layouts and documentation |
| AI-powered 2D to 3D apps | Low to moderate | Minutes | Low | High if source plan is true scale | Visualizing and rearranging in 3D |
| Downloadable templates and kits | Low | 1–3 hours | Low | Good (depends on your measurements) | Repeatable processes and checklists |
| One-time consult with a contractor or design student | Moderate | 1–2 sessions | Low (they guide you) | Good; depends on their experience | Reality checks and feasibility |
| Online community feedback | Free | 1–7 days | Low | Varies widely | Brainstorming multiple directions |
Core layout rules that save money and time
Use these field-tested guidelines to design rooms that feel comfortable and function well. Always validate against local codes for kitchen and bath work.
- Circulation paths: Leave about 36 in for main walkways. In tighter rooms, 30 in is the lower limit for passing zones.
- Door swings: Keep 24 in clear where doors open so they do not hit furniture; verify hinge side and swing direction on the plan.
- Living rooms: Place the coffee table 14–18 in from the sofa; side tables align roughly with arm height. For TV viewing distance, start around 1 to 1.5 times the screen diagonal.
- Dining rooms: Leave 36 in between the table edge and walls or furniture for chairs to move. For compact dining, 30–32 in can work with lightweight chairs.
- Bedrooms: Aim for 24–30 in clearance on the sides of a bed and 36 in at the foot in high-traffic rooms.
- Desks: Allow at least 30 in behind a desk chair to stand and push back comfortably.
- Kitchens: Leave 42 in between opposing counters for a one-cook kitchen (48 in for two cooks). Keep the work triangle total between 13 and 26 ft as a general guide, adjusting for modern appliance zones.
- Bathrooms: Provide 15 in from toilet centerline to side obstructions, and 24–30 in clear in front. A 30 by 30 in shower is a tight minimum; larger feels better.
These are guidelines, not absolutes. If your space is smaller, prioritize sightlines and flow; a room that feels open often functions better than a room packed with oversized furniture.
Step-by-step: From floor plan to 3D without a designer
- Collect and confirm your base plan. If you have a printed or PDF floor plan, verify at least three key dimensions on site: a room width, a room length, and a major opening like a window or door. If you have no plan, sketch one with a tape measure and note ceiling height and window sill heights.
- Photograph or scan the plan. Capture a square-on photo in good light. Avoid lens distortion by keeping the camera parallel to the plan. Include a ruler or known dimension in the frame for scale if your software supports calibration.
- Set scale and trace structure. In your chosen tool, set the scale using a known measurement. Trace walls, adjust thickness, and add structural columns. Input door and window widths and sill heights if available.
- Place reference furniture to true scale. Insert a sofa, dining table, bed, or desk with real product dimensions. Swapping a 90 in sofa for an 84 in sofa can open up a walkway; accuracy here pays off.
- Iterate three layout options fast. Professionals rarely stop at the first idea. Try at least three variations: focal-wall anchor, corner anchor, and floating arrangement for living spaces; parallel, L-shape, or U-shape for work zones.
- Check circulation and clearances. Draw paths from door to seating, bed to closet, table to kitchen. Fix bottlenecks under 30 in, and make sure doors do not clash.
- Evaluate light and focal points. Align seating to windows where possible, avoid glare on screens, and keep focal walls uncluttered. Note where you may need lamps or task lighting.
- Export visuals and annotate. Save a 2D plan with dimensions and a few 3D views. Add simple notes: rug size, sofa width, and mounting heights. These documents guide shopping and contractor conversations.
Quality checks a pro would make
Use this checklist before you buy furniture or start work:
- Every major piece fits through your smallest door, stair, or elevator.
- Rugs frame seating zones: front legs on for sofas and chairs; at least 8 in under dining chairs when pulled out.
- Window clearance: shades and drapery stack do not block essential light or door operation.
- Power and media: outlets where lamps, TV, and desk equipment will live; avoid trip hazards from cords.
- Radiators, vents, and returns are not blocked by large furniture.
- Sightlines: from entry to focal points feel open; no heavy piece immediately confronts the front door unless intentional.
- Acoustics: soft surfaces near hard ones to reduce echo in living and dining rooms.
Budget scenarios: what you might spend
Here are typical ranges to help plan your layout budget. Your costs may differ.
| Approach | Typical spend | What you get |
|---|---|---|
| DIY with paper and tape measure | Minimal | Scaled sketch, measurements, quick decisions |
| Free or freemium software | Free to modest monthly | 2D plans, basic 3D, exportable images |
| AI 2D to 3D mobile app | Low per project | Fast 3D from a scanned plan, easy rearranging |
| One-time consult with a pro | Moderate | Feasibility review, refined layout options |
| Full-service design | Higher | Comprehensive design, sourcing, and oversight |
A balanced approach might combine a low-cost app for fast, true-scale visualization with a short consultation for code-sensitive zones like kitchens and baths, keeping total spend under control.
Common pitfalls and how to avoid them
- Buying to fit the dream, not the room. Always confirm dimensions and pathways, especially in prewar buildings and lofts with odd angles.
- Ignoring vertical space. Tall bookcases and wall-mounted storage can reclaim floor area, but confirm ceiling heights and clearances above doors.
- Overfilling corners. Corners are useful for lighting and plants; bulky corner pieces often choke circulation.
- Rug mis-sizing. Too-small rugs make rooms feel fragmented; size up so at least front legs of seating land on the rug.
- Underestimating lighting. Plan ambient, task, and accent layers; a single overhead rarely does it all.
When to bring in a professional
Even if you pursue an alternative to hiring an interior designer for layouts, there are moments when expert help is wise:
- Structural changes such as removing walls or resizing openings.
- Kitchen and bath renovations that implicate plumbing, ventilation, or electrical.
- Historic properties or buildings with strict review processes.
- Custom millwork, built-ins, or complex lighting plans.
- Projects where permitting, code compliance, or inspections are required.
You can still do the initial layout exploration yourself; bring a pro in to validate and refine the technical layers.
FAQ: DIY layouts and modern tools
How accurate can a DIY layout be?
With careful measuring and true-scale modeling, DIY layouts can be very accurate for furniture placement and flow. The key is to verify several known dimensions in the space and lock scale before you place furniture. For construction decisions, consult local codes and a qualified professional.
What if my floor plan has odd angles?
Measure wall lengths, then measure one diagonal in any non-rectangular room. In software, trace the walls and input exact lengths; use the diagonal to confirm the shape. Place furniture last so the shell is correct before you fit out the interior.
Do I need exact measurements for everything?
Exact measurements for main room dimensions and door or window openings are essential. For furniture, use manufacturer dimensions. For rugs and art, plan with target sizes and confirm on site with painter's tape.
I only have a real estate brochure. Will that work?
Yes, as long as you calibrate scale. Many brochures are close to accurate in proportion but not to scale. Use one verified dimension from the real space to set the scale, then check against a second dimension to confirm.
How long should a good layout take?
For a single room, expect 2 to 6 focused hours to reach a confident plan: an hour to confirm measurements, an hour to build the shell, and the rest for layout options and refinements.
Is virtual staging the same as layout planning?
No. Virtual staging produces attractive images, often without true scale. Layout planning is scale-accurate and focuses on flow, clearances, and usability. You can do both, but prioritize true-scale planning first.
Measure twice, model once. A 10-minute re-measure can save days of returns and rework.
A quick, modern workflow to try
If you already have a black-and-white floor plan, a fast path is to scan or photograph it, convert it to a scale-accurate 3D model, and test furniture arrangements in minutes. This approach gives you prompt visual feedback on clearances, door swings, and sightlines, and you can export high-resolution images to share with contractors or family members. One iOS tool that does this is Floor Plan to 3D, which transforms 2D plans into detailed 3D while preserving dimensions so you can rearrange layouts confidently and export visuals for proposals.
Whichever alternative you choose, keep your process simple: confirm measurements, commit to true scale early, explore multiple options, and validate with a short checklist. That is the essence of professional space planning, without the full-service price tag.
