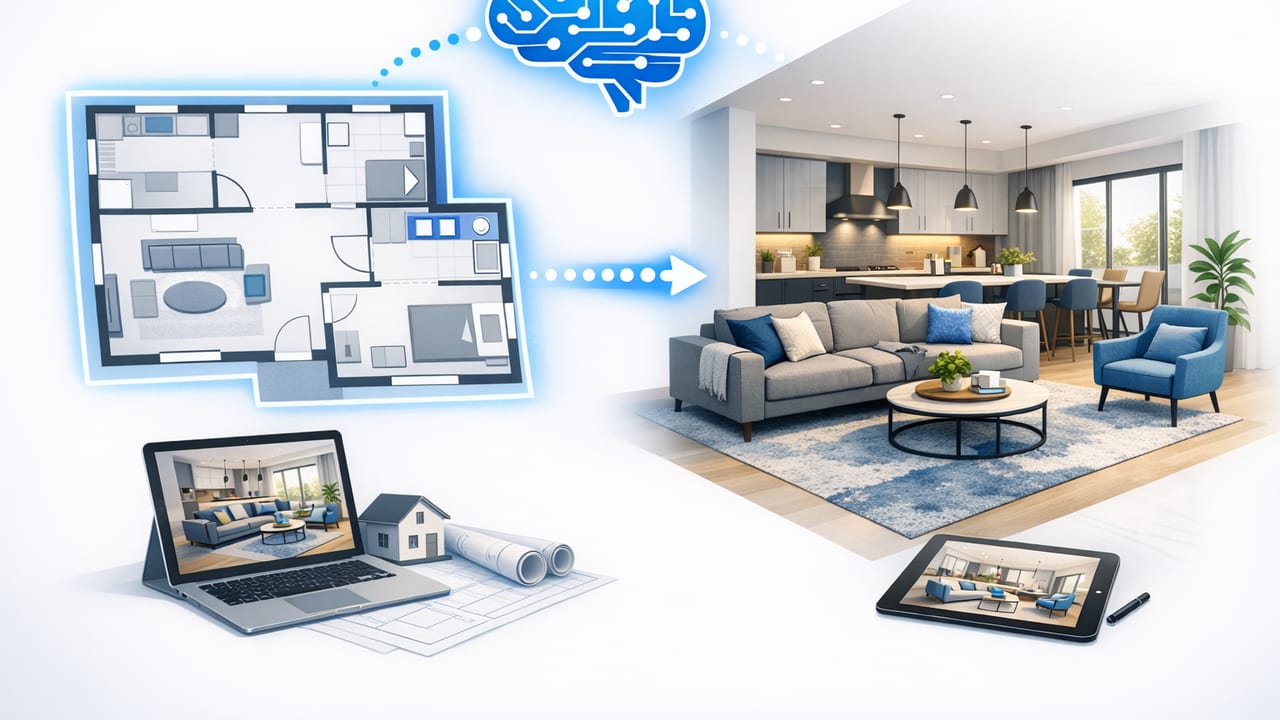
Doing an ai home redesign from floor plan sounds simple: upload a plan, pick a style, and get polished visuals. In practice, the best results come from an accuracy-first workflow—because AI can generate beautiful ideas, but your floor plan decides whether those ideas are buildable, priced correctly, and even physically possible.
This guide walks you through a practical, repeatable process to convert a 2D plan into clean 3D renders, then use AI to explore layout changes, interior styles, exterior refresh concepts, and staging—without losing key details like dimensions, labels, and proportions.
Why start redesign work from a floor plan (not photos)?
Photos are great for materials and mood. Floor plans are great for constraints. If you want redesign concepts that contractors can quote and homeowners can trust, the floor plan provides:
- Scale and proportion (room sizes, corridor widths, door swings)
- Spatial relationships (adjacencies, traffic flow, sight lines)
- Fixed elements (structural walls, stairs, plumbing cores)
- Decision clarity (what changes are layout changes vs. finishes)
Rule of thumb: Let the floor plan define what can exist; let AI propose what could look great within those boundaries.
Step-by-step workflow: AI redesign that stays true to the plan
1) Prepare the floor plan for clean conversion
Most conversion issues come from messy inputs. Before you generate 3D, aim for a plan image that’s clear and distortion-free:
- Use a straight-on scan (avoid angled phone photos that skew scale).
- Increase contrast so walls, doors, and windows are easy to detect.
- Remove nonessential marks (highlighter, handwritten notes) or crop them out.
- Keep labels and dimensions visible whenever possible—these help validate accuracy.
2) Confirm scale and “truth anchors”
AI can infer missing details, but you should provide at least one reliable measurement (a “truth anchor”) so everything else stays proportionate. Good anchors include:
- Overall building width/length
- A clearly dimensioned room (e.g., 12' x 14')
- A standard element you can verify (e.g., door width) only if you’re sure it’s standard
Once you set an anchor, quickly sanity-check the rest: do bedrooms look plausible, is the hallway wide enough, do doors collide?
3) Convert 2D to 3D with layout integrity
A quality conversion preserves:
- Wall thickness consistency (especially between interior vs. exterior walls)
- Window and door positions (impact furniture placement and elevations)
- Room labels (helps AI apply appropriate functional layouts)
- Stairs orientation and landings (common source of errors)
At this stage, focus on geometry, not decor. Clean geometry is the foundation for reliable redesign options.
4) Decide what “redesign” means: layout, finishes, or both
Clarify your scope before prompting AI or generating options:
- Finish-only refresh: paint, flooring, cabinets, fixtures, lighting, landscaping.
- Non-structural layout changes: furniture plans, storage walls, opening/closing doorways (where feasible).
- Structural changes: removing walls, extending footprints, moving plumbing—requires verification and often professional review.
5) Use AI prompts that reference constraints (not just style)
When AI outputs feel unrealistic, it’s often because the prompt asked for a style but not the constraints. Include functional goals and “must-keep” rules.
Prompt template (edit to your project):

Create an interior redesign concept FROM THIS FLOOR PLAN.
Must keep: exterior walls, window locations, stair location.
Goals: improve traffic flow, add storage, keep seating for 5.
Style: warm modern (oak, off-white, matte black accents).
Deliver: 3 options with furniture layout notes and key changes.
Avoid: moving plumbing walls; do not shrink bedrooms.
Accuracy checklist: catch problems before they waste time
Run this quick audit after conversion and after each major redesign iteration:
- Door swings don’t crash into furniture or each other.
- Circulation: main paths are clear (entry → living → kitchen → bedrooms/baths).
- Kitchen work triangle is plausible (sink, cooktop, fridge spacing).
- Bathroom clearances are believable (toilet, shower door, vanity access).
- Windows align with what you’d expect in each room (e.g., no window inside a closet unless specified).
- Stairs have consistent direction, landing space, and headroom assumptions.
Room-by-room: how to get better AI room planner results
Living room: plan around viewing, conversation, and paths
Instead of “modern living room,” ask for a layout that respects paths and seating counts. Useful constraints include:
- Minimum clear walkway (e.g., “keep a 36-inch path from entry to kitchen”)
- TV viewing distance range
- Conversation grouping (chairs angled, rug size, side tables)
Kitchen: separate layout decisions from material decisions
AI can suggest cabinet colors all day, but kitchen success comes from layout logic. Ask for:
- Two layout options (e.g., L-shape vs. U-shape) within the same footprint
- Where to put tall storage and trash pull-out
- Lighting plan layers (ambient, task, accent)
Bedroom: test storage walls and circulation
Common wins in AI-assisted redesign include rethinking the closet wall, adding built-ins, or shifting furniture to create better circulation. Tell AI what to prioritize:
- Bed size must-fit (queen/king) and preferred clearances
- Closet type (reach-in vs. wardrobe wall)
- Desk or vanity requirement
Bathroom: keep it realistic
Bathrooms break realism quickly if the plan isn’t honored. If you want a new layout, specify what cannot move (often plumbing stacks) and ask for code-aware clearances. If you don’t know, keep it conservative: finishes + fixtures, same layout.
Compare approaches: fast AI concepts vs. traditional modeling
| Approach | Best for | Typical risk | How to reduce risk |
|---|---|---|---|
| AI redesign from floor plan | Rapid options, style exploration, early decisions | Invented elements (windows, walls, clearances) | Anchor dimensions + “must keep” rules + accuracy checklist |
| Manual CAD / BIM modeling | Permit sets, construction documents, coordination | Slow iteration and higher cost for exploration | Use AI first to narrow direction, then document |
| Photo-only mood concepts | Materials, color palettes, vibe boards | Great look, wrong layout | Tie every mood concept back to the plan |
Renovation previews: 3 scenario tests that save money
Once you have a plan-true 3D base, AI becomes most useful when you test decisions that affect cost and livability. Try these scenarios:
Scenario A: “Open concept” without structural guesswork
Ask for two versions: one that only removes non-structural partitions (or widens openings), and another that proposes a full wall removal flagged as conceptual. This keeps the conversation grounded: you can price the safer option and treat the structural version as a second step.
Scenario B: Storage-first redesign
Many homes don’t need more square footage—they need better storage. Prompt AI to add:
- Entry drop zone + coat storage
- Pantry optimization
- Laundry cabinetry
- Built-ins along underused walls
Scenario C: Staging an empty room for listings or presentations
If you’re presenting to a client or marketing a property, staged 3D renders help people “read” the plan. The key is to stage at realistic scale, with furniture that fits the circulation paths defined by the floor plan.
Export and presentation: make redesign options decision-ready
AI concepts become more actionable when you package them consistently. Aim to export:
- One plan view per option with furniture layout
- 2–4 interior perspectives for key spaces (living, kitchen, primary bedroom)
- A short notes page summarizing what changed and what stayed fixed
If you’re sharing with contractors or designers, include the original floor plan alongside the concept renders so everyone can verify what’s being assumed.
Common pitfalls (and how to avoid them)
- Pitfall: AI relocates windows or adds doors.
Fix: Explicitly lock openings: “Keep all window and door locations unchanged.” - Pitfall: Furniture looks good but blocks circulation.
Fix: Require a minimum clear path and request a “traffic flow check.” - Pitfall: Bathrooms and kitchens become unrealistic.
Fix: Keep plumbing walls fixed unless you’re intentionally exploring a high-scope remodel. - Pitfall: Pretty renders hide scale errors.
Fix: Re-check one anchor dimension after every major change.
FAQ: AI home redesign from floor plan
Can AI redesign a home accurately from a low-quality scan?
It can generate ideas, but accuracy drops quickly. Clean contrast, straight alignment, and at least one reliable dimension dramatically improve results.
Do I need a perfect floor plan to start?
No—an approximate plan can still help you explore styles and furniture layouts. For renovation decisions (openings, cabinetry runs, additions), you’ll want verified measurements.
How many options should I generate?
Three is usually ideal: one conservative refresh, one moderate change, and one ambitious concept. More than that often creates decision fatigue without improving outcomes.
Putting it all together
The winning formula for an ai home redesign from floor plan is simple: start with plan accuracy, convert to clean 3D geometry, then use AI to explore options that respect fixed constraints. You’ll get faster iterations, clearer tradeoffs, and visuals that are far easier to discuss with stakeholders.
If you’re looking for a lightweight iOS workflow to go from a black-and-white plan to clean 3D renders and guided redesign ideas, Floor Plan to 3D & Home Redesign is one option to explore.
