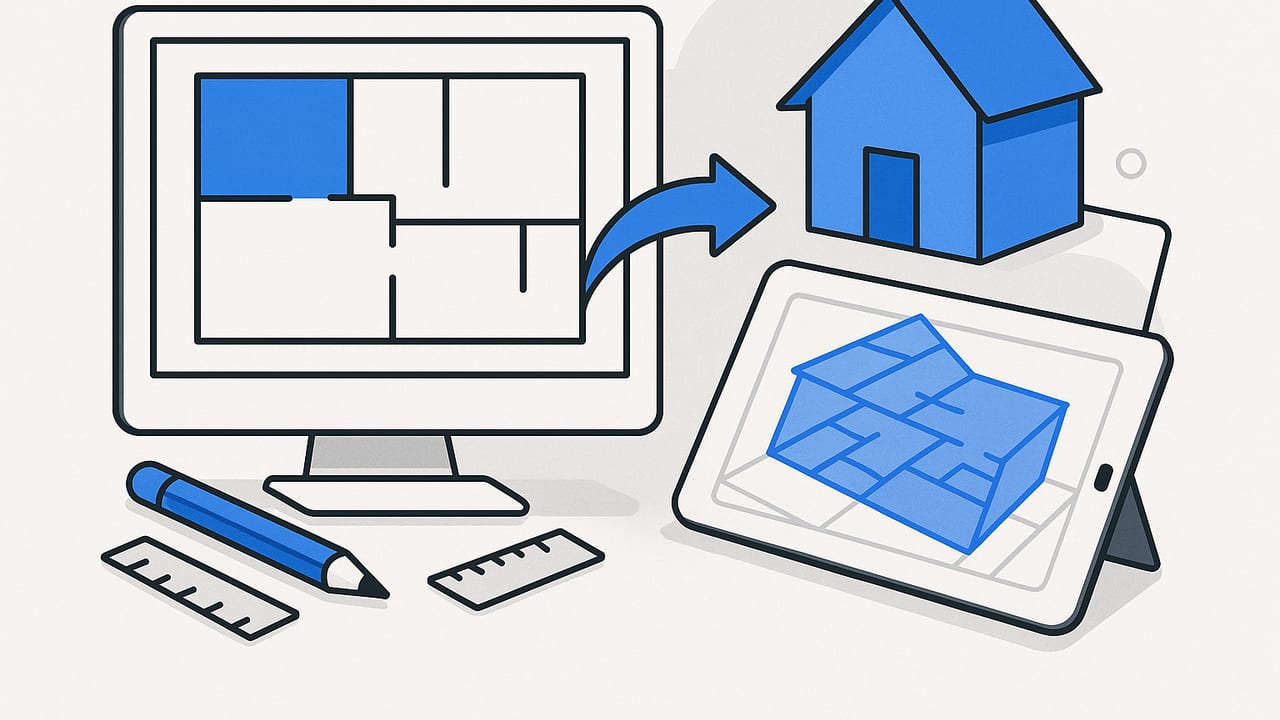
Whether you’re planning a renovation, preparing a real estate listing, or drafting a new build, choosing the right software can make or break your results. The landscape of floor plan known tools spans heavyweight CAD/BIM suites, intuitive web planners, mobile scanning apps, and AI-driven converters that leap from 2D to 3D in minutes. This guide walks you through the categories, key features, and practical workflows that help you move from an initial sketch to a polished 3D visualization and presentation-ready images.
What Makes a Great Floor Plan Tool?
Not every project needs enterprise-level BIM, and not every quick concept belongs in a complex CAD file. Use the following criteria to pick the right fit for your workflow:
- Accuracy and scale: Precision with dimensions, wall thickness, and elevation data.
- Speed to concept: How quickly you can sketch, import, trace, or scan to a usable plan.
- 3D visualization quality: Realistic materials, lighting, and camera control for persuasive renders.
- Import/export support: PDF, DWG/DXF, IFC, OBJ/FBX, and high-resolution image exports.
- Collaboration: Shared links, versioning, comments, and cloud libraries.
- Learning curve: Training requirements versus plug-and-play ease.
- Budget and licensing: Subscriptions, perpetual licenses, and add-on costs.
- Mobile and scanning: LiDAR support, photo-to-plan, and quick capture in the field.
Categories of Floor Plan Known Tools
1) CAD and BIM Heavyweights
CAD (Computer-Aided Design) and BIM (Building Information Modeling) tools dominate complex projects where precise documentation and multidisciplinary coordination matter.
- Autodesk AutoCAD Architecture: Familiar drafting with building-aware tools. Excellent for 2D documentation and DWG workflows.
- Autodesk Revit: Parametric BIM with families, schedules, and clash detection. Ideal for teams and detailed construction sets.
- Graphisoft Archicad: BIM focused on design efficiency and collaboration with robust IFC support.
- Vectorworks Architect: Hybrid 2D/3D with strong presentation capabilities and flexible modeling.
When to choose BIM/CAD: You need absolute control, standardized documentation, and deep integration with engineering and fabrication.
2) Web-Based and Consumer-Friendly Planners
Browser-first tools make space planning accessible to non-specialists, with quick learning curves and attractive 3D results.
- Floorplanner: Drag-and-drop rooms and furnishings, with shareable links and simple 3D views.
- RoomSketcher: Easy plan creation, furniture libraries, and strong rendering features for residential use.
- Planner 5D / Homestyler: Conceptual layouts, decor experimentation, and quick visuals for client communication or DIY planning.
When to choose web planners: You want fast layouts, visual ideation, and easy collaboration without pro-level drafting overhead.
3) Mobile Scanning and On-Site Capture
Phones and tablets with LiDAR or advanced camera workflows can quickly transform site measurements into usable floor plans.
- Magicplan: Room-by-room capture, automatic measurements, and PDF/DXF/DWG exports.
- Canvas: LiDAR-powered scanning with options to generate CAD/BIM models from captures.
- Matterport: 3D capture and virtual tours with floor plan outputs; powerful for real estate and as-built documentation.
- RoomScan LiDAR: Fast room outlines by walking the perimeter; good for rapid concepting and area checks.
When to choose mobile scanning: You need fast as-built plans, on-site verification, and a bridge into 3D without full manual drafting.
4) AI-Powered Conversion and Raster-to-Vector
AI tools can interpret scanned PDFs, images, or hand sketches and convert them into structured plans or directly into 3D. This is especially helpful when you receive legacy drawings or photographed plans.
- Scan2CAD / Raster Design workflows: Convert image-based floor plans into vector lines for CAD editing.
- OCR-enabled plan tracing tools: Automatically detect walls, doors, and windows; reduce manual cleanup.
- 2D-to-3D converters: Convert a flat plan into a navigable model to test layouts, finishes, and lighting.
When to choose AI conversion: You want to leapfrog from flat plans to editable 2D/3D with minimal redrawing, while preserving measurements.
Floor Plan Known Tools: Quick Comparison
| Tool | Type | Platforms | Key Strengths | Ideal For |
|---|---|---|---|---|
| AutoCAD Architecture | CAD | Windows/Mac | Precise drafting, DWG ecosystem | Architects needing detailed 2D |
| Revit | BIM | Windows | Parametric models, coordination | Multi-discipline teams |
| Archicad | BIM | Windows/Mac | Design-centric BIM, IFC | Architects, design firms |
| Vectorworks Architect | Hybrid CAD/BIM | Windows/Mac | Strong 2D/3D, presentation | Studios balancing visuals & docs |
| Floorplanner | Web planner | Browser | Easy layouts, quick sharing | Agents, interior planning |
| RoomSketcher | Web planner | Browser/iOS | Good renders, furniture library | Homeowners, designers |
| Magicplan | Mobile scanning | iOS/Android | Rapid capture, PDF/DXF | Contractors, field work |
| Matterport | 3D capture | iOS/Cameras | Virtual tours, floor plans | Real estate, as-builts |
Recommended Workflow: From PDF or Sketch to 3D
- Collect inputs: Gather any existing materials—hand sketches, PDFs, scans, or photos. If you’re on-site, capture rooms with a LiDAR-capable device for baseline geometry.
- Establish scale: Confirm at least one known dimension (e.g., wall length or overall width). If a plan lacks scale, add measurements from site notes.
- Trace or convert: In CAD/BIM, import the PDF and trace walls with precise offsets; in web planners, recreate the perimeter and insert measurements; in AI converters, upload the image/PDF to generate editable geometry.
- Add structure: Specify wall types, doors, windows, and openings. Assign thickness and sill/head heights to prepare for accurate elevations.
- Define levels: For multi-story spaces, set floor-to-floor heights and keep levels consistent across the project.
- Place fixtures and furniture: Use libraries to add kitchens, baths, and built-ins. Maintain clearances per code or vendor specs.
- Generate 3D: Switch to 3D or build a model from your 2D plan. Apply materials, adjust lighting, and set camera paths.
- Validate dimensions: Cross-check critical spans and diagonals, compare to site measurements, and resolve discrepancies early.
- Export deliverables: Prepare high-resolution images, floor plan PDFs, and if needed, DWG/IFC/OBJ for downstream teams.
“Trust your measurements, not your assumptions. A single unchecked dimension can multiply into hours of rework in 3D.”
Accuracy Tips That Prevent Costly Rework
- Start with a control dimension: Lock your scale to at least one verified measurement and propagate from there.
- Mind wall thickness: Interior partitions and exterior walls often differ. Apply correct thickness before placing doors and windows.
- Align doors and windows to centerlines: Maintain reference axes so changes remain predictable.
- Watch for PDF distortion: Scanned plans can skew; check x/y scales after importing.
- Annotate ceiling heights and steps: Vertical data impacts finishes, cabinet heights, and stair runs.
- Use levels and constraints (BIM): Lock elements to levels to avoid floating geometry when heights change.
Collaboration, Review, and Handoff
Even the best model fails if stakeholders can’t view or comment easily. Consider the entire communication chain:
- Shareable links: Web planners and capture platforms often provide quick links for client review without software installs.
- Version control: Save iterations before major changes; tag revisions for easy backtracking.
- Commenting and markups: Use cloud reviews or exported PDFs with annotations to gather feedback.
- Standard output formats: DWG and IFC for consultants, high-res PNG/JPG for marketing, and OBJ/FBX for visualization pipelines.
Budgeting and Licensing: Matching Cost to Value
Software value hinges on your frequency of use and deliverable requirements.
- Occasional users: Web planners or mobile scanning apps can be cost-effective and fast.
- Frequent practitioners: CAD/BIM subscriptions make sense when you produce detailed drawings or coordinate with consultants.
- Add-on services: Some capture tools offer paid conversions to CAD/BIM; factor turnaround times and accuracy guarantees.
- Hardware considerations: LiDAR-equipped devices, compatible cameras, or a mid-tier GPU can drastically improve productivity and render quality.
Choosing Among Floor Plan Known Tools
There’s no universal best tool—only the best tool for your constraints. Use this short decision tree:
- You need construction drawings and coordination: Choose Revit, Archicad, or Vectorworks Architect.
- You need quick layouts and client-friendly visuals: Try Floorplanner or RoomSketcher.
- You need speedy as-builts from site: Use Magicplan, Canvas, or Matterport capture.
- You have a scanned plan and need vectors or 3D: Consider AI-based converters or raster-to-vector tools, then refine in CAD/BIM or a web planner.
Common Pitfalls—and How to Avoid Them
- Misaligned scales: Always verify both horizontal and vertical scale on imported images; lock a reference distance.
- Inconsistent level heights: Document floor-to-floor and ceiling heights early; apply to the entire model.
- Too many assumptions: If you can’t verify a dimension, mark it as approximate and revisit after site check.
- Over-modeling: Avoid detailing millwork and complex materials before core geometry is approved.
- Under-communicating options: Export two or three layout variations to speed up client decisions.
Presentation Matters: From Draft to Wow
Once your layout is locked, reinforce trust with strong visuals:
- Material palettes: Keep finishes consistent across rooms for cohesive visuals.
- Lighting presets: Use balanced sun + ambient light for clarity; add accent lights to highlight features.
- Camera discipline: Maintain consistent eye-level height and lens settings across shots for comparability.
- Callouts and legends: Pair renders with annotated plans that label materials and dimensions.
FAQs About Floor Plan Known Tools
Can I turn a photographed floor plan into an editable drawing?
Yes. Use raster-to-vector tools to convert images to lines for CAD, or AI-based importers in web planners and BIM to detect walls, windows, and doors. Always recheck scale and critical dimensions after conversion.
What if my space has curved walls or irregular geometry?
CAD/BIM tools handle complex curves best, but many modern web planners support arcs and splines. For scans, ensure sufficient capture overlap and consider a laser or LiDAR workflow for accuracy.
Which format should I export for a visualization pipeline?
OBJ and FBX are common for moving geometry into game engines or rendering software. Keep materials simple, and export at a manageable polygon count to avoid performance issues.
How do I share floor plans with clients who don’t have design software?
Use cloud shares from web planners, or export PDFs and high-resolution images. Interactive 3D links from capture platforms help clients explore layouts without installs.
Key Takeaways
- Match the tool to the task: Complex coordination favors BIM; quick concepting favors web and mobile tools.
- Validate early and often: Scale, dimensions, and level heights underpin reliable 3D.
- Use AI and scanning for speed: Convert legacy plans or capture as-builts to skip manual redrawing.
- Polish the presentation: Consistent lighting, materials, and camera settings elevate client confidence.
For readers exploring 2D-to-3D on iPhone or iPad, one option to consider is Floor Plan to 3D—an iOS app that turns black-and-white plan photos or scans into dimensionally faithful 3D renders and exports high-resolution images for proposals.
