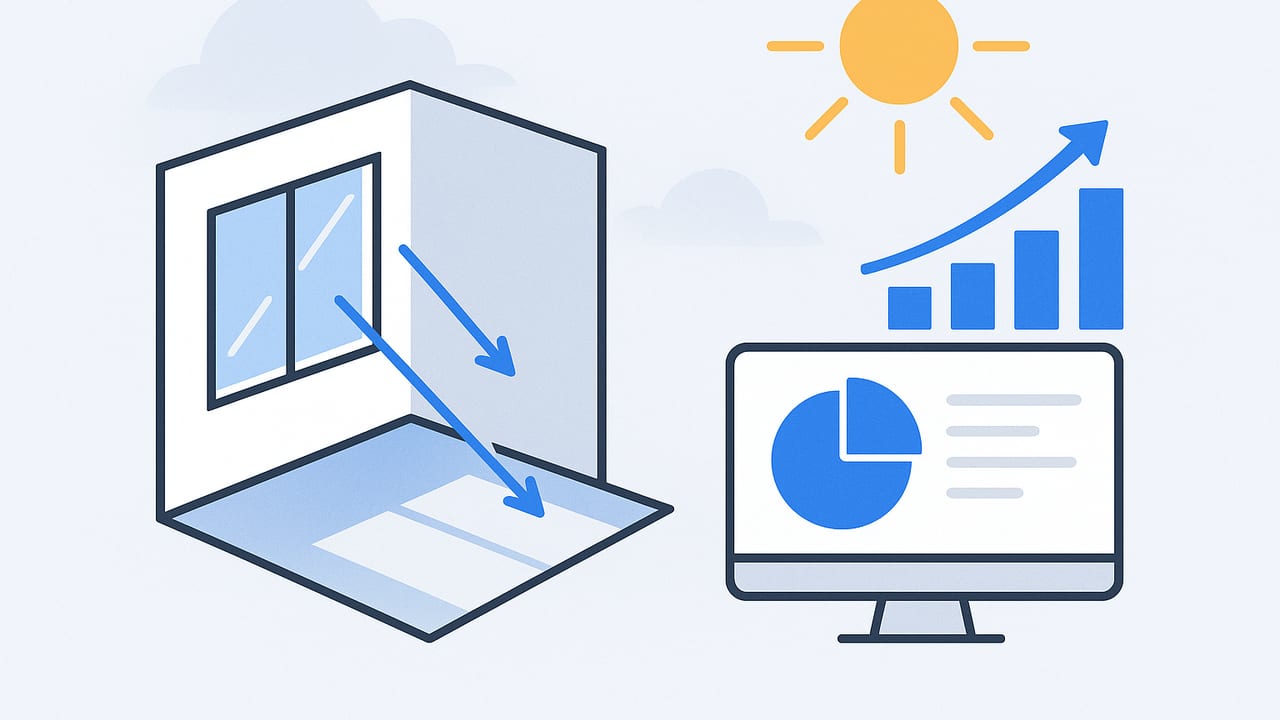
Daylight simulation for rooms helps you predict how natural light behaves in real spaces before you build or renovate. Whether you are laying out a home office, tuning a living room, or reviewing a classroom design, evidence-based daylighting improves comfort, reduces energy use, and elevates the feel of a space. This guide distills the key metrics, inputs, tools, and workflows so you can simulate daylight credibly and make design decisions with confidence.
Why simulate daylight indoors?
- Comfort and health: Balanced daylight supports circadian rhythm, visual comfort, and mood.
- Energy savings: Good daylighting reduces electric lighting demand and peak cooling loads.
- Design clarity: Simulations expose glare risks, dark corners, and overlit zones early.
- Compliance and credits: Many green building standards reward climate-based daylighting.
Pro insight: Daylighting is less about absolute brightness and more about contrast control. Simulations help you balance task illuminance and luminance uniformity.
Core metrics for daylight simulation in rooms
Not all metrics answer the same question. Use the right ones for the decisions you need to make.
| Metric | What it tells you | Typical targets | Use cases |
|---|---|---|---|
| DF (Daylight Factor) | Ratio of indoor to outdoor illuminance under CIE overcast sky. | 2% indicates adequate daylight; 5%+ feels bright. | Quick comparisons, early massing, cloudy climates. |
| DA (Daylight Autonomy) | % of hours a point meets a lux target (e.g., 300 lx). | Higher is better; complements UDI. | Climate-based sufficiency over a year. |
| sDA300/50% | % of floor area achieving 300 lx for 50% of occupied hours. | 55%+ commonly used in certifications. | Whole-room sufficiency summary. |
| ASE1000,250 | % of area with >1000 lx for ≥250 hours/year (potential glare/overheating). | <10% recommended. | Glare and overheating risk screening. |
| UDI (100–2000 lx) | % of hours within a comfortable daylight range. | 50–80% is a good target band. | Balance between too dark and too bright. |
| DGP (Daylight Glare Probability) | Perceived glare from a view direction, considering luminance. | <0.35 imperceptible, 0.35–0.45 just-perceptible to disturbing. | Workstations, screens, reading tasks. |
Inputs that matter most
A credible daylight simulation for rooms hinges on a few high-impact inputs. Get these right before you micro-tune settings.
- Geometry and dimensions: Accurate room size, ceiling height, window head/sill, depth of reveals, and adjacent obstructions (balconies, fins, neighboring buildings).
- Glazing properties: Visible transmittance (Tvis), light redirection or diffusion, window framing fraction, mullions, exterior overhangs.
- Surface reflectance: Walls, ceiling, floor, large furniture. Small changes in reflectance can shift perceived brightness.
- Climate and orientation: Use an EPW weather file for your city; note azimuth and horizon obstructions.
- Shading control: Blinds, shades, or electrochromic glass logic (always up, schedule-based, glare-responsive).
- Workplane and occupancy: Sensor height (commonly 0.76 m for desks, 0.85 m for counters) and hours that reflect real use.
| Surface | Matte | Semi-gloss | Notes |
|---|---|---|---|
| Ceiling | 0.80–0.90 | — | High reflectance boosts uniformity |
| Walls | 0.60–0.70 | 0.55–0.65 | Lighter walls spread light deeper |
| Floor | 0.20–0.40 | 0.25–0.45 | Darker floors reduce veiling reflections |
| Desktops | 0.40–0.60 | 0.45–0.65 | Balance glare and visibility |
Fast checks vs. detailed daylight simulation
Fast checks (minutes)
- Window-to-floor ratio: 20–30% is often sufficient in dwellings; adjust for climate and orientation.
- Room aspect ratio: Shallow rooms (depth ≤ 2.5× window head height) get more even daylight.
- Surface palette: Aim for ceiling ≥0.80, walls ≈0.60, floor ≈0.30 for balanced diffusion.
- Overhangs: For south windows in hot climates, start with projection depth ≈ 0.5–0.7× window height above sill.
Detailed simulation (hours)
- Climate-based analysis: Use sDA/ASE, UDI, and DGP with an EPW file for annual performance.
- Sensor grid: 0.5 m spacing across usable floor area; exclude built-ins and circulation as needed.
- Shading schedules: Model dynamic blinds; run with simple rules (e.g., trigger when DGP > 0.38).
Tools for daylight simulation in rooms
Choose tools based on workflow, skill, and budget. Many rely on Radiance under the hood.
- Radiance (CLI): Gold standard, open-source. Steep learning curve; ultimate control.
- Ladybug + Honeybee (Grasshopper for Rhino): Powerful visual workflows; climate-based analysis, DGP, and parametric studies.
- ClimateStudio: Commercial, streamlined UI, robust reporting and credits.
- Velux Daylight Visualizer: Free desktop app for DF and basic climate-based results.
- Blender + LuxCore: Physically based rendering; with care, usable for illuminance studies.
- SketchUp plugins: Several add-ons integrate Radiance-like engines; check output units and validation.
- Relux and DIALux: Great for electric lighting; daylight features can support preliminary analysis.
Step-by-step: a dependable workflow
- Define goals: What task? Reading nook vs. TV lounge requires different luminance balance. Pick metrics (e.g., UDI for living rooms, DGP for workstations).
- Gather climate and context: Download the local EPW file. Survey horizon obstructions; include balconies and nearby buildings in your model.
- Model the room: Use accurate dimensions, including reveal depths and frame widths. Model large furniture that could shadow the workplane.
- Assign materials: Input Tvis for glazing; set interior reflectances per palette. Include blinds as controllable layers if possible.
- Place a sensor grid: At 0.76 m for desk areas; 0.30 m for floor-level play areas; include eye-level points for DGP viewpoints.
- Set sky conditions: For DF, use CIE overcast. For annual metrics, use the EPW climate-based sky model.
- Run simulations: Check one snapshot first to validate geometry/materials. Then run annual analysis.
- Review and iterate: Compare sDA/UDI targets vs. ASE/DGP limits. Adjust window size, add overhangs, change wall reflectance, or introduce light shelves.
Mini example: living room with west window
- Risk: High afternoon sunlight, glare on screens, overheating.
- Targets: UDI 100–2000 lx for 50–70% of occupied hours; DGP < 0.38 at seating viewpoints.
- Design responses: Add exterior vertical fins or operable blinds; use a matte wall opposite the window; consider a higher window head with smaller sill area to push light deeper and reduce direct beam to eye level.
Orientation-specific guidance
| Orientation | Daylight Quality | Glare/Heat Risk | Helpful Strategies |
|---|---|---|---|
| North (N) | Soft, uniform skylight | Low | Use larger glazing; prioritize higher Tvis glass |
| East (E) | Bright morning sun | Medium | Sheer blinds; light-colored walls for diffusion |
| South (S) | Strong, high-angle sun | Medium | Horizontal overhangs; light shelves; medium Tvis |
| West (W) | Harsh afternoon sun | High | Vertical fins; operable shading; low-gain glass |
Common pitfalls and quick fixes
- Overreliance on DF: DF ignores sun position. For lived experience, use annual metrics like UDI and DGP.
- Ignoring blinds: Simulations without shading control over-promise. Model a simple blind logic; it often improves ASE and DGP without killing UDI.
- Shiny surfaces near windows: High-gloss paint or polished floors can cause veiling reflections. Switch to matte or satin finish.
- Undermodeling obstructions: Balconies and deep jambs cut sky view. Add them to the model for realistic results.
- Too-low ceilings: If increasing window size doesn’t help, raising the window head or brightening the ceiling may be more effective than adding area at the sill.
Simple Radiance example (for the curious)
If you use Radiance, here’s a minimal command-line pattern for checking illuminance at a few points. Replace file names with your own:
# 1) Build the octree
oconv materials.rad room.rad sky.rad > scene.oct

# 2) Trace illuminance at sensor points (x y z nx ny nz)
rtrace -I -ab 2 -ad 4096 -aa 0.1 -ar 64 scene.oct < sensors.pts > lux.dat
Then summarize UDI in a quick script by counting hours between 100 and 2000 lux per sensor. Tools like Ladybug/Honeybee automate these steps with visual components and robust reports.
Rules of thumb you can trust
- Window head height matters: Higher heads distribute light deeper than extra sill area.
- Ceiling reflectance is leverage: A bright ceiling can reduce contrast and increase UDI more effectively than adding window area.
- Keep contrast near screens low: Aim for a 1:10 luminance ratio between the screen and its background.
- Workplane spacing: 0.5 m sensor spacing gives stable area metrics without excessive computation.
- WWR is not everything: In many homes, 15–25% window-to-wall ratio plus good reflectance and shading control beats 40% WWR with no blinds.
Interpreting results and making decisions
Use paired metrics to avoid single-number traps:
- UDI + DGP: Ensure good daylight most of the time without frequent glare at key viewpoints.
- sDA + ASE: Get sufficient daylight area while verifying that direct sun is managed.
- DF + Reflectance maps: Early concept screening for massing and finish palettes.
When trade-offs arise, prioritize glare control at seated eye positions, then aim for UDI coverage across the activity area. If UDI is low, consider a higher Tvis glass, brighter walls, or a taller window head. If ASE/DGP is high, add operable shading or external fins and test a slightly lower Tvis glazing.
Deliverables that inform design
- Sensor maps: Heatmaps of UDI, DA, and DF across the room at task height.
- Glare snapshots: Key viewpoints with DGP values and annotated luminance sources.
- Shading schedules: Recommended control logic (e.g., close blinds when DGP > 0.40; reopen when < 0.35).
- Design options: Compare two or three variants—e.g., base, +overhang, +overhang+bright ceiling—so trade-offs are clear.
From plan to simulation-ready model
Accuracy in geometry is the foundation of any daylight simulation for rooms. If you’re starting from a 2D floor plan and need a faithful 3D model, the iOS app Floor Plan to 3D can convert a black-and-white plan into a dimensionally consistent 3D layout, which you can then annotate with materials, glazing, and shading for analysis.
Key takeaways
- Use climate-based metrics (UDI, sDA/ASE, DGP) for realistic comfort assessments; DF is best for quick, early checks.
- Model what matters: accurate geometry, glazing Tvis, surface reflectance, and real shading behavior.
- Pair sufficiency metrics with glare metrics to avoid overlit designs.
- Iterate with small, high-impact tweaks: window head height, ceiling reflectance, and external shading.
- Document results with clear maps and snapshots to support design decisions.
With the right inputs and a focused workflow, daylight simulation for rooms goes from a mysterious black box to a practical design instrument—one that helps you create brighter, calmer, and more energy-efficient interiors.
