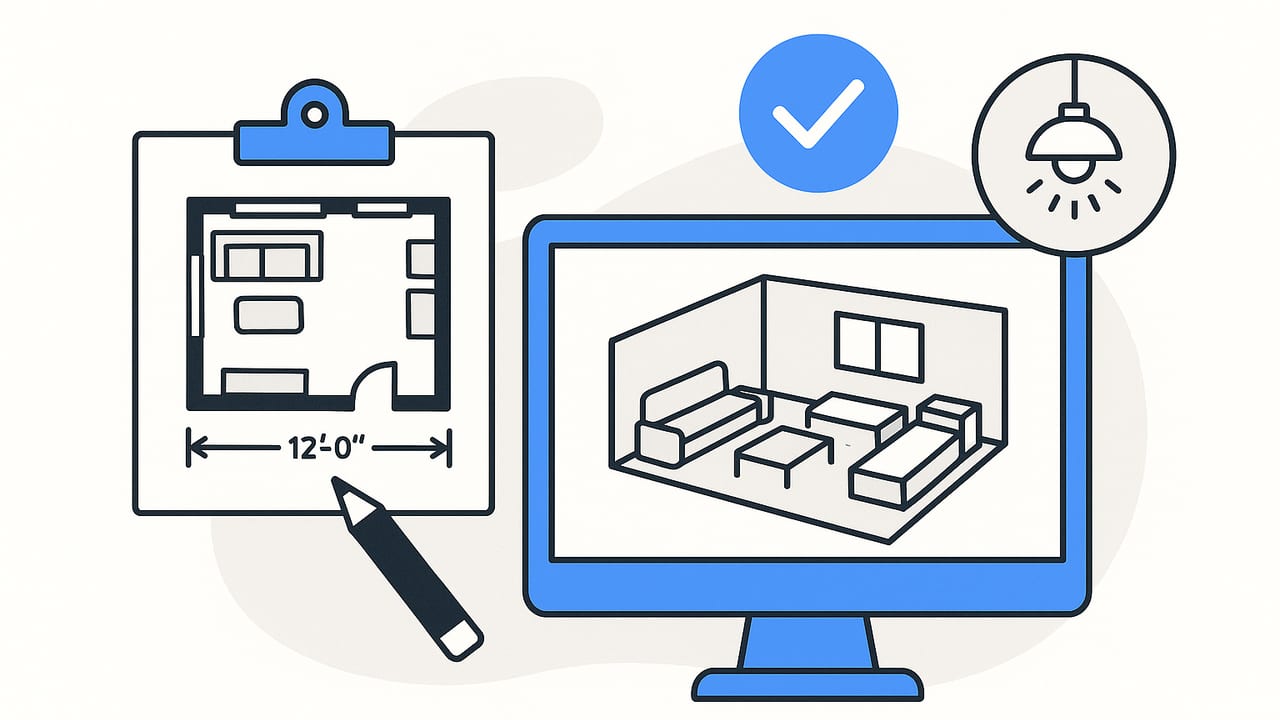
A great 3D room planner turns good ideas into testable layouts you can verify before you buy or build. The magic isn’t just the visuals; it’s the discipline behind measurement, flow, and clearances that makes a digital room behave like the real one. This guide shows you how to get reliable results—from the first tape measure reading to a 3D model you can defend with evidence.
Rule of thumb: If it isn’t measured, it’s a guess. If it isn’t dimensioned in 3D, it’s still a guess.
Start With Real Dimensions (Not Hopes)
Any 3D room planner is only as accurate as the numbers you feed it. Begin with a measured sketch of the space:
- Tools: Laser distance meter (±2 mm), tape measure for short spans, angle gauge for sloped ceilings, and a notepad or notes app.
- Walls: Measure each wall length, corner to corner. Record any angle that isn’t 90°.
- Openings: Note door and window widths, heights, sill heights, and casing thicknesses (trim eats space).
- Ceiling height: Measure at several points, especially in older homes or rooms with beams.
- Obstacles: Radiators, columns, soffits, electrical panels, sloped ceilings—anything that steals clearance.
If you’re importing an existing 2D floor plan into a 3D room planner, set the scale correctly. Pick the longest continuous dimension on the plan for calibration—it reduces percentage error everywhere else.
Scale Calibration Tip
When a scanned plan has slightly skewed proportions, use two orthogonal known dimensions to reduce distortion. After setting the primary scale (say, a 20 ft wall), check a perpendicular wall. If it’s off, adjust the image scale or aspect proportion until both match within 1–2%.
Map Functional Zones and Flow
Great rooms feel effortless because the layout respects how people move and use space. Before you place furniture in the 3D room planner, sketch the room’s functional zones and pathways:
- Circulation: Primary paths should be 36–42 in wide; squeeze paths can be 30–34 in if unavoidable.
- Activity clusters: Seating, work, dining, play, storage—keep like activities grouped.
- Adjacencies: Place complementary zones near each other; separate conflicting ones (e.g., TV and focused work).
| Zone | Best Adjacent To | Keep Away From | Notes |
|---|---|---|---|
| Seating | Media, coffee table, task lighting | Main door swings, kitchen traffic | Orient to focal point (view, fireplace, TV) |
| Dining | Kitchen, storage/buffet | Bathroom doors | Leave chair pull-back clearance |
| Desk/Work | Natural light, outlets | Glare sources, noisy walkways | Consider backdrop for calls |
Place Furniture With Evidence-Based Clearances
Use a 3D room planner to test clearances you can defend. Here are proven distances that keep rooms functional and comfortable:
| Element | Recommended Clearance | Why It Matters |
|---|---|---|
| Walkways | 36–42 in primary; 30–34 in minimum | Prevents bottlenecks and toe-stubs |
| Sofa to Coffee Table | 14–18 in | Comfortable reach without knee collisions |
| TV Viewing Distance | 1.5–2.5× screen diagonal | Text legibility, reduced eye strain |
| Bed Sides | 24–30 in each side; foot 30–36 in | Nightstand access and smooth circulation |
| Dining Chair Pull-Back | 30–36 in behind chairs | Comfortable seating and passing room |
| Desk Depth & Chair | 30 in desk + 36 in behind chair | Ergonomic reach and passage |
| Door Swing | 32–36 in arc kept clear | Prevents pinch points and code issues |
3D Room Planner Workflow: From Outline to Proof
- Import & Scale: Load the floor plan image or sketch, set the scale using a known dimension, and lock it.
- Trace Architecture: Draw walls to the correct thickness, add doors and windows with accurate sizes and sill heights.
- Define Levels: Set floor and ceiling heights; add soffits, beams, and bulkheads.
- Zone With Guides: Use construction lines or temporary boxes to mark circulation lanes and functional areas.
- Place Key Pieces First: Anchor sofas, beds, dining tables, and desks before accessories. Keep an eye on clearances with the measure tool.
- Layer Lighting: Add ambient (general), task, and accent lights; test dimming and color temperature.
- Materials & Scale: Apply materials with correctly scaled textures (e.g., 6 in subway tile, 3.25 in plank width).
- Generate Evidence: Save dimensioned screenshots and top-down views that show measurements.
Lighting and Materials: Make It Believable
- Daylight: Set the room orientation and test sun angles morning vs. afternoon. Check glare on screens and task areas.
- Layered Light: Ambient for general glow, task lights for activity, accent lights for mood—each on separate controls.
- Color Temperature: 2700–3000K for living/sleeping; 3500–4000K for kitchens/work. Keep consistency across fixtures.
- Material Scale: Verify that tile, wood grain, and patterns are scaled to reality; overlarge textures break immersion.
- Reflectance: Balance glossy and matte finishes to avoid unrealistic mirror-like floors or dull, light-eating walls.
Visual QA: Proving Your 3D Matches Reality
Don’t settle for “looks right.” Build a verification habit:
- Dimension Overlays: Use the 3D room planner’s measure tool and capture screenshots showing clearances.
- Known-Size Object Test: Place a standard door (80 in) or chair (18 in seat height) and compare proportions across views.
- Camera Match: If you have a room photo, match camera height (typically 60–65 in) and lens FOV to validate scale.
- Door Swing Check: Simulate arcs and confirm paths remain clear.
- Diagonal Sanity: Measure corner-to-corner diagonals to detect skew in imported plans.
- Sun Position: Confirm north orientation and time-of-day shadows to evaluate glare and heat gain.
Small Rooms vs. Large Rooms: Different Playbooks
Small Rooms
- Favor leggy furniture and wall-mounted storage to expose floor area.
- Use sliding doors or pocket doors to reclaim swing space.
- Keep palette light with one darker anchor piece to avoid visual clutter.
- Choose multifunction pieces: sofa bed, nesting tables, extendable dining.
- Rugs sized to the zone: too small makes the room feel choppy.
Large Rooms
- Anchor zones with rugs and lighting groups; avoid furniture hugging the walls.
- Repeat materials and metal finishes for cohesion across areas.
- Use console tables behind sofas to define pathways and add task light.
- Scale art and fixtures up—small decor disappears in big volumes.
Collaboration and Iteration: Keep It Organized
When you share views from a 3D room planner, clarity reduces revision loops. Use consistent naming and versioning:
Project_RoomName_V01/
  01_TopDown_Scaled.png
  02_Living_Persp_A_V01.png
  03_Living_Persp_B_V01.png
  04_Dimensions_TopDown_V01.png
  Notes_Reviewer_Initials_V01.txt
Include a dimensioned top-down and at least two eye-level perspectives per option. Markup feedback directly on images to avoid ambiguity.
Performance Tips for Mobile 3D Planners
- Low-poly assets: Prefer optimized models for seating, plants, and decor.
- Texture discipline: Limit enormous textures; reuse materials to improve caching.
- Layer visibility: Hide heavy categories (vegetation, clutter) while adjusting architecture.
- Use proxies: Place placeholders first; swap to high-detail models for final renders.
- Light count: Keep interactive lights manageable; bake or approximate when possible.
Common Mistakes to Avoid
- Setting the wrong scale and never re-checking a second dimension.
- Ignoring door casing thickness and radiators—small things, big conflicts.
- Choosing furniture from a catalog without verifying real-world dimensions.
- Overlighting with one color temperature, causing harsh, flat scenes.
- Skipping dimensioned screenshots—stakeholders need proof, not just pretty pictures.
Mini Case Study: A 12×15 ft Living Room
Brief: Seat four for conversation and TV, maintain a 36 in path from entry to balcony, and include a compact desk.
- Measure & Import: Room is 12×15 ft, 8 ft ceilings, 36 in entry door on the short wall, balcony door centered on opposite wall.
- Scale & Trace: Import plan, set scale using the 15 ft long wall. Verify the 12 ft wall reads 12 ±1%.
- Zone: Mark a 36 in straight path from entry to balcony; that leaves two layout blocks: 12×9 ft seating zone and 12×3 ft desk zone.
- Furniture: 84 in sofa centered opposite TV, 60 in loveseat perpendicular, 48×24 in coffee table at 16 in from sofa, 30 in deep desk against window wall, task chair with 36 in clearance.
- Clearances: Walkways maintained at 36–40 in; door arcs unobstructed. TV set at 80 in from sofa (for a 55 in screen) within recommended viewing distance.
- Lighting: 3000K ceiling ambient, floor lamp for reading at the sofa, 4000K desk task lamp to reduce eye strain.
- QA: Dimensioned top-down confirms clearances; camera at 62 in height replicates human eye level for review renders.
Outcome: The 3D room planner helped prove that a standard-size sofa and loveseat fit with compliant paths, the desk doesn’t conflict with the balcony door, and TV distance is comfortable. A variant with a sectional failed the path check—a quick, data-backed decision to avoid a bad purchase.
What to Look For in a 3D Room Planner
| Feature | Why It Matters | Impact on Workflow |
|---|---|---|
| Floor Plan Import & Scaling | Accurate geometry from day one | Eliminates redraw errors; faster setup |
| Measurement Lock & Snapping | Prevents drift in walls/components | Consistent dimensions across edits |
| Door/Window Parametrics | Realistic openings and casing | Reliable clearance testing |
| Lighting Controls | Daylight and artificial setups | Better visual decisions, less rework |
| Material Scale & Libraries | Believable textures at true size | Client trust and visual accuracy |
| Export Options | High-res images, dimensioned views | Clear presentations and proposals |
| Mobile Performance | Smooth navigation on devices | Faster iterations, on-site decisions |
Final Thoughts
A 3D room planner is far more than a visualization tool; it’s a decision engine. Measure faithfully, zone logically, respect clearances, and document your proofs. When you can show dimensions within your visuals, you replace “I think” with “I know.” If you work on iOS and need to turn black-and-white floor plans into dimensionally faithful 3D models for room planning and presentations, consider trying Floor Plan to 3D.
