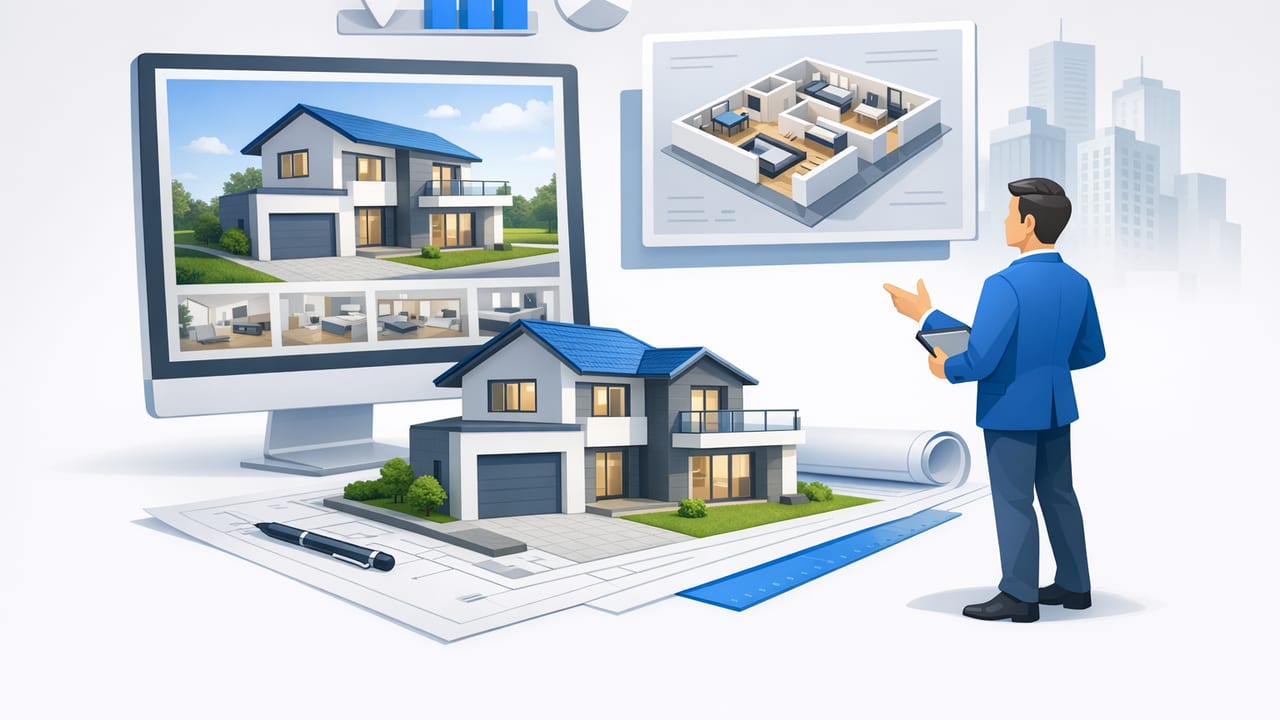
Real estate proposals are judged fast. Whether you’re pitching a renovation, marketing a flip, presenting a development concept, or helping a buyer visualize potential, your visuals often decide whether the conversation continues. That’s where 3d renders for real estate proposals earn their keep: they translate a plan, a scope, and a budget into something stakeholders can immediately understand.
This guide breaks down what to include, how to build a reliable workflow from a floor plan, and how to avoid the most common credibility-killing mistakes—so your proposal looks polished, accurate, and decision-ready.
Why 3D renders win attention (and trust) in proposals
Proposal readers typically have mixed levels of spatial awareness. Some can read a floor plan instantly; others can’t. A clean 3D package reduces cognitive load and makes decision-making faster.
- Clarity: 3D views show circulation, room scale, and sightlines better than 2D alone.
- Confidence: When proportions and labels align with the plan, stakeholders trust the scope.
- Speed: One set of 3D images can answer dozens of “Wait, where is…?” questions.
- Comparisons: You can present “as-is vs. proposed” options without long explanations.
A proposal that’s easy to understand feels lower-risk—even before the numbers are reviewed.
What decision-makers expect from 3d renders for real estate proposals
Not every proposal needs photorealism. Most need accuracy, consistency, and the right set of views. Aim for a package that answers: “What is it today?”, “What will it become?”, and “What exactly is changing?”
Core render set (the “minimum viable” package)
- 3D floor plan overview: A top-down 3D view that explains layout at a glance.
- Key interior perspectives: 2–4 angles for the main living area, kitchen, and primary bedroom/bath.
- Option comparison: One slide/image showing Option A vs Option B (materials, layout tweak, or staging style).
- Scope callouts: Annotated images that label what’s changing (wall removal, new island, door swing, etc.).
Nice-to-have render set (when stakes are higher)
- Exterior refresh views: Front elevation angle plus a 3/4 view for curb appeal decisions.
- Empty-room staging renders: Furnished variants that help buyers understand scale and function.
- Lighting scenarios: Day vs evening for ambiance-driven spaces (patios, living rooms, storefronts).
- Material boards: A single page of finishes with short notes (durability, cost tier, availability).
Choosing the right type of 3D render (with a quick comparison table)
Different render styles communicate different decisions. Use the simplest style that still answers stakeholder questions.
| Render type | Best for | What it communicates | Common mistake |
|---|---|---|---|
| 3D floor plan (top-down) | Layout approval, flow, room relationships | Scale, adjacency, circulation | Furniture not to scale (misleads on fit) |
| Interior perspective | Material and styling buy-in | Feel, brightness, focal points | Unrealistic camera height/FOV distorts size |
| Exterior perspective | Curb appeal, façade decisions | Massing, color palette, landscaping impact | Ignoring rooflines or window proportions |
| Staged vs empty | Marketing and buyer visualization | How space can be used | Over-staging (looks fake or cluttered) |
A practical workflow: from floor plan to proposal-ready 3D
The most reliable way to produce strong proposal visuals is to treat 3D as a communication layer built on top of a verified plan. Here’s a repeatable process that works for agents, designers, contractors, and developers.
Step 1: Start with a clean, verified plan (accuracy first)
- Use a plan that includes dimensions, labels, and wall thickness if available.
- Confirm key constraints: structural walls, plumbing stacks, window/door positions, ceiling heights.
- If the plan is old, validate at least 3–5 critical measurements on-site (or from a recent survey).
Tip: If you’re converting a scanned black-and-white plan, straighten it, increase contrast, and remove shadows before conversion. Clean inputs produce cleaner geometry.
Step 2: Convert to 3D and lock proportions
Whether you use professional CAD, a conversion tool, or an AI room planner, your priority is that the 3D model preserves:
- Room proportions (length/width relationships)
- Openings (door swings, window locations)
- Labels and dimensions where relevant (at least in working views)
Before styling, do a “layout QA pass”: compare the 3D view to the plan line-by-line. A beautiful render with the wrong kitchen run will backfire in a proposal review.
Step 3: Pick a camera plan (so you don’t overshoot)
Most proposals need 5–10 images, not 30. Create a camera checklist:
- One hero view per key zone (living, kitchen, primary bedroom)
- One “decision view” per major change (new opening, island, bathroom layout)
- One overview (3D floor plan or wide perspective)
Step 4: Apply materials strategically (communicate tiers, not fantasies)
In proposals, finishes are often placeholders for budget tiers. Align materials with your estimate:
- Budget: LVP, laminate, stock cabinets, standard tile
- Mid-range: engineered wood, semi-custom cabinets, quartz
- Premium: solid wood, custom millwork, stone slabs
Keep materials consistent across images. Inconsistent wood tones or hardware finishes create doubt—even if stakeholders can’t explain why.
Step 5: Stage for function (not decoration)
Staging in 3D should prove usability:
- Show clearance around islands (typical comfort range: ~36–48 in / 0.9–1.2 m depending on context).
- Prove dining fit with chair pull-back space.
- In bedrooms, include nightstands to demonstrate realistic width.
How to present renders inside a real estate proposal (layout that sells)
Good proposal visuals aren’t just images—they’re a narrative. Use this simple structure:
- Context: Existing plan + brief problem statement (1 page)
- Concept: Proposed 3D floor plan (1 page)
- Decision slides: 2–4 pages of interior/exterior views with callouts
- Options: A/B comparison page with bullet differences
- Scope summary: What’s included/excluded + assumptions
Pair each render with 2–3 short callouts. Readers should never have to guess what they’re looking at.
Use consistent labeling (a small detail that improves approvals)
Match names across plan, scope, and images:
- “Primary Bedroom” vs “Master” (pick one and stay consistent)
- “Powder Room” vs “Half Bath”
- “Option A: Open Kitchen” vs “Option B: Keep Wall”
Common pitfalls that weaken proposal credibility
- Distorted camera lenses: Ultra-wide FOV makes rooms look bigger and triggers suspicion.
- Missing constraints: Forgetting HVAC chases, beams, or structural walls leads to “pretty but impossible.”
- Over-polished without documentation: If it looks like marketing art, add a note: “Conceptual rendering; final selections TBD.”
- Furniture scale errors: A too-small sofa can make a room look oversized—then disappoint later.
- Inconsistent daylight: Mixed sun directions across images feels uncanny and less trustworthy.
Export settings and file hygiene (so your images look sharp everywhere)
Proposals are viewed on phones, laptops, and printed packets. Use crisp exports and predictable naming.
Recommended export guidelines
- Resolution: Aim for 2000–3000 px on the long edge for on-screen proposals; higher if printing large-format boards.
- Format: PNG for sharp lines/text overlays; JPG for photographic-style renders (use high quality).
- Color: Keep consistent white balance across images to avoid “mismatched set” vibes.
Example: a simple naming convention
ProjectName_
  01_AsIs_3DFloorPlan.png
  02_Proposed_3DFloorPlan.png
  03_Kitchen_ViewA.png
  04_Living_ViewA.png
  05_Exterior_Front.png
  06_Options_AvsB.png
This makes it easier to reorder slides, update a single view, and keep revisions under control.
A quick quality checklist before you send the proposal
- Do the renders match the plan (doors, windows, room sizes)?
- Are the top 3 changes obvious within 10 seconds of viewing?
- Do you show at least one overview plus decision views?
- Are materials aligned with the budget tier in the estimate?
- Are labels consistent (room names, option names, scope terms)?
- Are exports sharp on a phone screen (no blurry text/callouts)?
When an AI room planner helps (and when it doesn’t)
AI-guided room planning can accelerate early proposal drafts—especially when you need multiple layout or styling directions quickly. It’s most effective for:
- Generating multiple furnishing layouts for the same footprint
- Exploring finish palettes that fit a target vibe
- Creating staging concepts for empty rooms
It’s less reliable when your proposal depends on complex constraints (structural engineering, code-specific clearances, or highly custom construction). In those cases, use AI concepts as an illustration layer, but keep the underlying plan and feasibility validated.
Wrap-up: build proposals that are easy to approve
The best 3d renders for real estate proposals aren’t the flashiest—they’re the ones that reduce uncertainty. Anchor everything to a verified plan, show the minimum set of views needed to make decisions, and use annotations to clarify scope. When stakeholders can see the project clearly, approvals come faster and revisions shrink.
If you’re looking for a lightweight way to turn a black-and-white floor plan into clean 3D visuals and explore redesign concepts without heavy software, an iOS tool like Floor Plan to 3D & Home Redesign can fit neatly into an early-stage proposal workflow.
