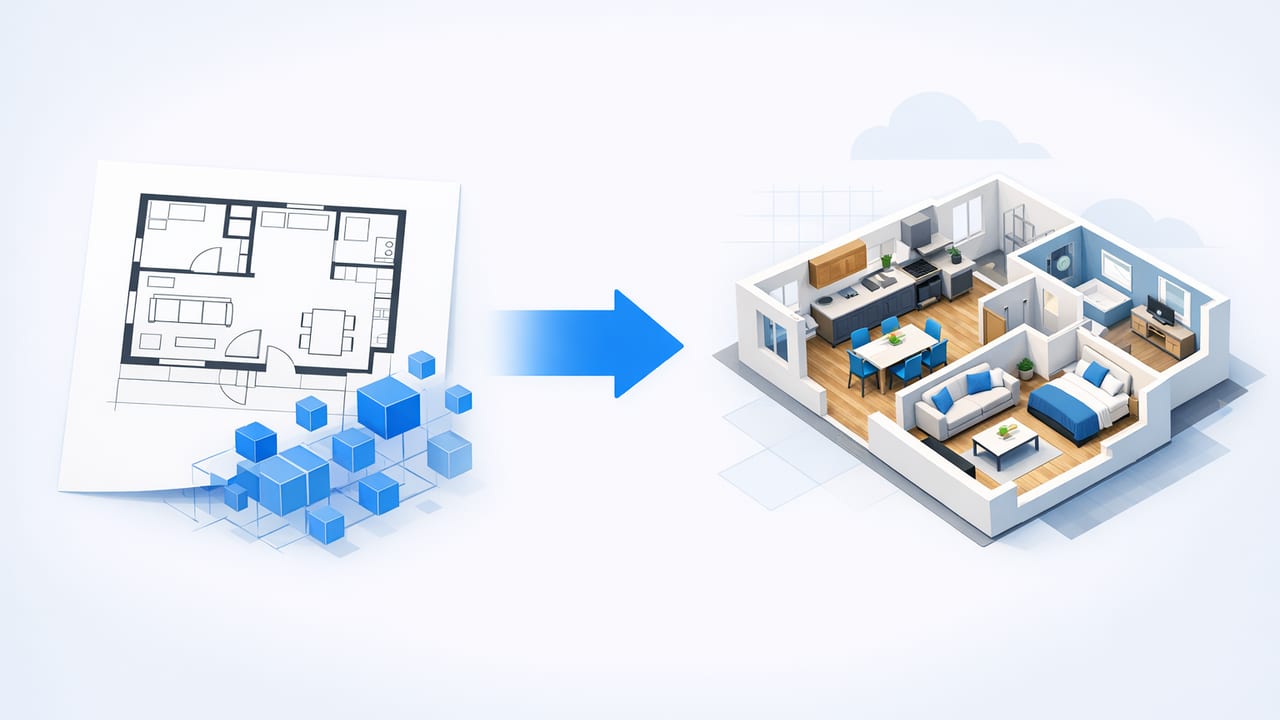
Creating a 3d render from floor plan used to mean hours (or days) inside CAD or 3D modeling tools. Now you can move from a scanned blueprint to a clean, presentation-ready render much faster—if you follow an accuracy-first process. This guide focuses on what actually determines quality: scale, wall alignment, openings, labels, and consistency across rooms.
Whether you’re a homeowner planning a remodel, an agent preparing marketing visuals, or a contractor building a proposal, the goal is the same: a dimension-true model that supports confident decisions.
What “accurate” really means for a 3D render from a floor plan
A beautiful render can still be wrong. Accuracy is less about “looks realistic” and more about whether the 3D output matches the intent of the 2D plan.
- Scale correctness: the overall footprint and room sizes match the plan (and ideally a known measurement).
- Wall thickness and alignment: walls meet cleanly; corners are squared (unless intentionally angled).
- Openings: doors and windows are placed on the correct wall, with correct swing/width.
- Labels and dimensions: rooms, notes, and dimension strings are preserved or correctly interpreted.
- Vertical assumptions: ceiling height, sill height, and roof lines are consistent with your project assumptions.
Inputs that produce the cleanest results (and how to prep them)
The quality of your 3d render from floor plan depends heavily on the source image. Before converting, spend five minutes preparing the plan to avoid hours of correction.
Best source types
- PDF export from an architect or listing packet (ideal: high-contrast, straight, not compressed).
- Clean scan at 300 DPI or higher, black-and-white, minimal shadowing.
- Phone photo can work, but only if shot square-on with good lighting and no lens distortion.
Pre-checks before conversion
- Crop tightly to the plan area (remove title blocks if they confuse detection).
- Rotate so walls are horizontal/vertical when intended.
- Boost contrast so wall lines are clearly darker than the background.
- Pick one known dimension (e.g., a 10' wall) to validate scale later.
Rule of thumb: If you can’t clearly read at least one dimension on the plan, your converter (human or AI) will be guessing scale.
Workflow: from 2D plan to 3D render (without losing layout fidelity)
This is a practical, tool-agnostic workflow you can apply whether you use professional software or an AI-based converter.
Step 1: Convert and lock scale early
After initial conversion, immediately validate scale using one or two known measurements. If the overall size is off, everything else (furniture fit, kitchen clearances, hallway widths) becomes unreliable.
- Check a long exterior wall and a typical interior dimension.
- Confirm door widths (common defaults like 30–36 inches can reveal scaling drift).
Step 2: Validate walls, corners, and thickness
Most conversion errors show up as tiny misalignments: walls that don’t meet, corners that overlap, or thicknesses that vary randomly. Fixing these early improves room detection and produces cleaner 3D surfaces.
Step 3: Place openings correctly (doors and windows)
Openings are where “pretty” models become practical models. A window on the wrong wall changes furniture placement, lighting assumptions, and exterior elevations.
- Confirm each door’s swing direction (or at least hinge side).
- Confirm window count per room and approximate spacing.
- For kitchens/baths, check openings relative to fixtures.
Step 4: Assign room labels and functions
Room labels affect design suggestions and staging logic. “Bedroom” vs “Office” changes furniture defaults, circulation, and storage assumptions. If the plan includes labels, preserve them; if not, add them intentionally.
Step 5: Apply basic vertical assumptions
To keep your 3d render from floor plan consistent, choose a standard ceiling height unless you have documentation. Typical defaults range from 8–10 ft depending on region and building era. If your project includes vaulted ceilings or split levels, document those exceptions before rendering.
Step 6: Render for the decision you’re making
Rendering isn’t one-size-fits-all. Match output to your goal:
- Space planning: top-down 3D, simple materials, accurate furniture footprints.
- Renovation preview: add cabinetry, finishes, and lighting to compare options.
- Marketing: higher realism, curated decor, consistent camera angles.
Cost and time expectations (and what drives them)
The range for producing a 3d render from floor plan is wide because “render” can mean anything from a massing model to photoreal interiors. Here’s a practical comparison of common approaches.
| Approach | Typical turnaround | Strengths | Tradeoffs |
|---|---|---|---|
| Manual CAD/3D modeling | Hours to days | Highest control, best for complex plans | Time-intensive; requires skill |
| Template-based 3D tools | 1–4 hours | Fast for standard layouts, easy materials | Can struggle with nonstandard geometry |
| AI-assisted floor plan conversion | Minutes to 1 hour | Fast initial model, great for early options | Needs validation for scale/openings |
What increases time/cost: angled walls, curved staircases, unclear scans, missing dimensions, mixed line weights, and multi-level plans without clear level separation.
The accuracy checklist: how to QA your 3D render from floor plan
Use this checklist before you send images to a client, contractor, or design team.
Geometry and scale
- Overall footprint matches the plan (verify at least one exterior dimension).
- Room sizes are within an acceptable tolerance (define yours: e.g., ±1–2%).
- Wall thickness is consistent and realistic (interior vs exterior).
- Stairs have plausible runs and landings; no floating steps.
Openings and circulation
- Door locations match the plan; swings don’t collide in tight corridors.
- Window placement aligns with the plan; key elevations make sense.
- Primary circulation paths are clear (entry to living, living to kitchen, etc.).
Semantic details (labels, notes, intent)
- Room labels are correct and consistently applied.
- Wet rooms (kitchen/bath/laundry) are correctly identified for fixture planning.
- Closets and storage are not accidentally merged into bedrooms/halls.
Render readiness
- Materials are consistent (avoid mixing too many styles in one pass).
- Lighting is neutral for decision-making; dramatic lighting is for marketing.
- Export resolution fits the use case (presentation vs print).
Common conversion mistakes (and quick fixes)
1) The model “drifts” out of square
Cause: skewed photo or rotated scan. Fix: deskew/straighten before conversion, then re-check scale after correction.
2) Doors appear where windows should be (or vice versa)
Cause: similar symbols, low-resolution lines. Fix: manually verify each exterior wall and compare to the plan’s symbol legend (if present).
3) Rooms merge because walls are broken
Cause: gaps in scanned wall lines. Fix: patch wall segments in the 2D interpretation stage or add missing edges before generating surfaces.
4) Furniture doesn’t fit even though rooms look right
Cause: scale mismatch or wall thickness error. Fix: validate using a known dimension and a known object (e.g., a standard bed size) as a sanity check.
File organization for faster iterations
Iteration is where most time is lost: “Which render was the one with the wider island?” Use a simple naming convention so teams can review quickly.
project-address_level_option_version
12-Oak-St_1F_kitchen-open_v03
12-Oak-St_1F_kitchen-open_v04-island-extended
12-Oak-St_EXT_curb-appeal_v02-siding-dark
This keeps your 3d render from floor plan workflow audit-friendly, especially when you’re comparing multiple renovation concepts.
Practical use cases: what to render first
- Kitchen remodel: render the triangle (sink–range–fridge), aisle clearances, and island size before choosing finishes.
- Open-plan conversion: render wall removals with structural placeholders (beams/columns) and test furniture zones.
- Primary suite upgrade: render bath fixture layout and closet circulation before tile and lighting.
- Exterior refresh: render 2–3 siding/color palettes with the same camera angle for fair comparison.
Choosing your toolset: a decision framework
If you need maximum control and documentation-grade output, manual modeling may be worth it. If you need to explore options quickly, an AI-assisted approach can be ideal—as long as you validate scale and openings. A good rule is:
- Early stage: prioritize speed, test layouts, explore redesign directions.
- Mid stage: prioritize accuracy, lock dimensions, validate circulation.
- Late stage: prioritize presentation, polish materials, finalize camera views.
Conclusion: the fastest path is an accuracy-first path
The best 3d render from floor plan is the one you can trust. If you lock scale early, verify openings, preserve labels, and QA geometry before polishing materials, you’ll get renders that support real decisions—not just pretty pictures.
If you prefer an iOS workflow for quick conversions and redesign previews, apps like Floor Plan to 3D & Home Redesign can help you generate clean 3D starting points—just remember to run the checklist above before you present results.
