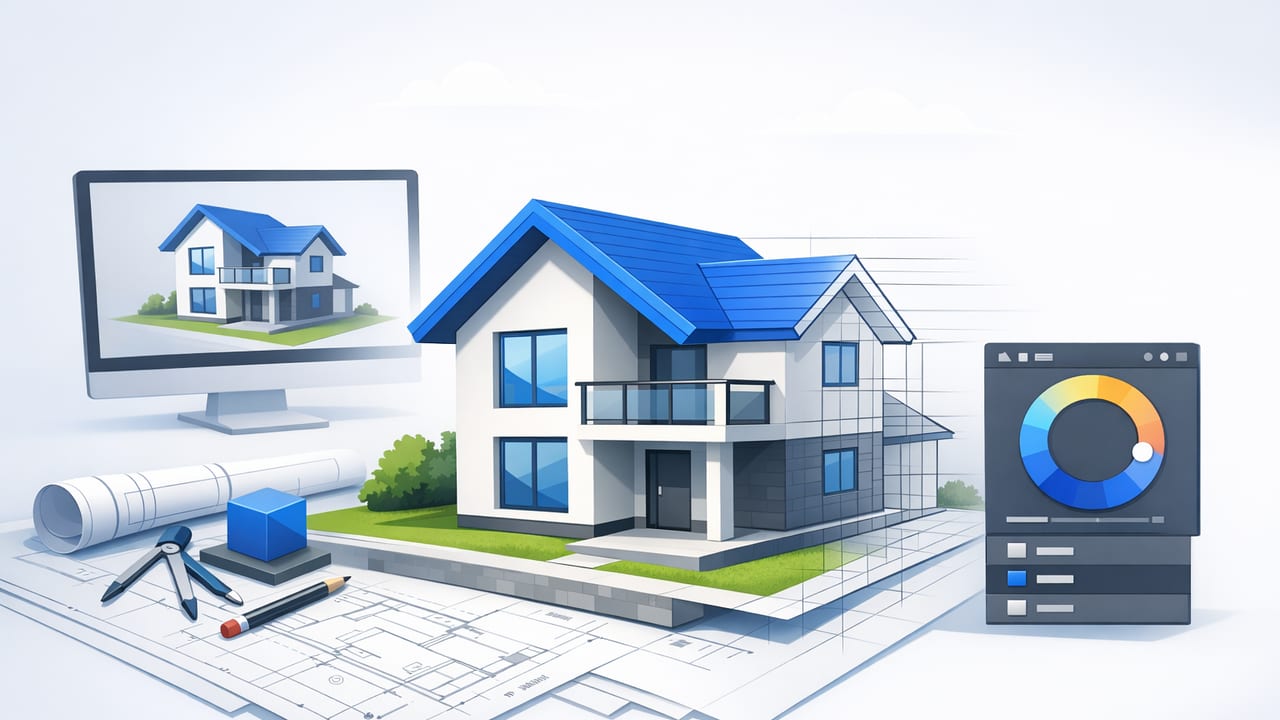
3D house design is no longer limited to architects with heavyweight CAD software. If you have a black-and-white floor plan, a scanned blueprint, or even a PDF layout from a listing, you can turn it into a clear 3D view that helps you make smarter renovation and furnishing decisions.
The difference between a “nice-looking render” and a useful 3D house design is accuracy: correct proportions, trustworthy dimensions, door swings that match reality, and room shapes that preserve the intent of the original plan. This article walks through a practical, repeatable workflow to convert a floor plan into 3D, verify it, and then use it for interior and exterior redesign concepts—without getting bogged down in complex modeling.
Why 3D house design works better than 2D for real decisions
2D plans are efficient, but they’re abstract. A 3D view helps you catch problems and opportunities that often go unnoticed on paper:
- Scale and circulation: Seeing hallway widths, kitchen clearances, and furniture spacing in perspective reduces “it looked bigger on the plan” surprises.
- Light and openness: Even simple 3D massing clarifies how open-plan areas connect and where sightlines feel cramped.
- Material and style previews: A basic 3D concept can test cabinetry colors, flooring continuity, or exterior refresh ideas before you buy materials.
- Stakeholder alignment: Contractors, family members, and clients typically agree faster when everyone is looking at the same 3D reference.
Before you convert: prepare the floor plan for clean results
Most conversion issues start with the input. Spend a few minutes preparing your plan so the resulting 3D house design stays faithful to the original layout.
1) Choose the best source file you have
- Best: original PDF export from an architect or listing package
- Good: high-resolution scan (300 dpi or higher)
- Risky: low-res photos with perspective distortion or shadows
2) Make sure the plan is “square”
If you’re photographing a plan, keep the camera parallel to the page. Skewed images cause walls to “drift” and rooms to become subtly trapezoidal in 3D. A quick crop and rotate to align walls horizontally/vertically can dramatically improve conversion accuracy.
3) Confirm at least one reliable measurement
To scale the model correctly, you need a known dimension. Examples:
- overall building width
- a labeled wall length
- a standard door width (only as a backup; real doors vary)
A step-by-step workflow for accurate 3D house design
This workflow applies whether you’re using an AI floor plan converter, an AI room planner, or a more manual tool. The order matters because each step reduces compounding errors.
- Convert the floor plan into a basic 3D shell (walls, doors, windows, room boundaries).
- Set scale using a known dimension (do this before design styling).
- Validate key geometry (overall footprint, wall thickness assumptions, openings).
- Assign room functions (kitchen, bedroom, bath) to guide layout suggestions.
- Test furniture and clearance (circulation, appliance spacing, door swings).
- Apply materials and style concepts (interior + exterior refresh options).
- Export high-resolution 3D renders for proposals, presentations, or contractor discussions.
Accuracy first: what to verify after conversion
Even strong tools can misread plans that have faint linework, overlapping annotations, or inconsistent line weights. Use this short checklist to confirm the 3D house design reflects the true layout.
| Item to verify | What to look for | Why it matters |
|---|---|---|
| Overall footprint | Exterior walls match plan outline | Small footprint errors can throw off every room |
| Room proportions | Long rooms aren’t “squared off” | Furniture layouts depend on shape, not just area |
| Door locations & swings | Doors open into the correct space | Affects circulation and furniture placement |
| Window placement | Windows align with plan and exterior walls | Impacts light, exterior elevation, and privacy |
| Labels & dimensions | Room names and critical sizes preserved | Makes the model usable for discussion and planning |
| Stair orientation (if any) | Up/down direction and landings correct | Stair errors cause major layout confusion |
Common conversion pitfalls (and quick fixes)
- Thickened walls: Some plans draw walls with heavy strokes. If your tool interprets line thickness as wall thickness, verify and adjust to a realistic thickness.
- Misread openings: Sliding doors can be mistaken for windows, or vice versa. Compare each opening to the plan symbols.
- Annotations interpreted as walls: Dimension lines and hatch patterns sometimes become “phantom walls.” Remove or ignore them before finalizing.
Use AI room planning without losing control of the layout
An AI room planner can accelerate furnishing and zoning decisions, but it works best when you give it constraints. In other words: let AI propose options, then validate them against real-life use.
Practical constraints to set
- Circulation paths: Keep primary walkways clear (e.g., entry → living → kitchen).
- Clearances: Ensure enough space for doors, drawers, and appliances to open.
- Function zones: Define where “work,” “sleep,” “eat,” and “store” happen before selecting styles.
Good 3D house design is less about perfect decor and more about testing how a space behaves when real people move through it.
Clearance rules of thumb for more realistic 3D house design
These are general guidelines (always confirm local codes and manufacturer specs), but they help you quickly spot layouts that will feel cramped.
- Hallways: Aim for comfortable widths; narrow halls may be acceptable in older homes, but can feel tight in busy areas.
- Kitchen work zones: Check space between counters and islands so two people can pass without conflict.
- Dining: Leave room to pull chairs out and walk behind seated guests.
- Bedrooms: Ensure you can access closets and walk around the bed without squeezing.
Optional: quick scale conversion snippet (if your plan uses mixed units)
If your source dimensions are in feet/inches but you prefer metric (or vice versa), a tiny conversion check can prevent scaling mistakes.
// Convert feet + inches to millimeters
function ftInToMm(feet, inches) {
  const totalInches = feet * 12 + inches;
  return totalInches * 25.4;
}

// Example: 10' 6" wall
console.log(ftInToMm(10, 6)); // 3200.4 mm
Interior redesign: build multiple “concept sets” instead of one perfect model
One advantage of 3D house design is speed: you can iterate. Rather than polishing a single version, create 2–3 concept sets that answer different questions.
Concept set ideas
- Layout concept: furniture, circulation, and storage solutions (minimal materials)
- Finish concept: floors, wall colors, cabinetry, and lighting mood
- Budget concept: value materials vs. premium upgrades to compare impact
This approach keeps the conversation grounded: you’re testing decisions, not chasing a perfect render.
Exterior refresh in 3D: focus on massing and contrast
Exterior redesign can feel risky because small changes (paint color, trim thickness, railing style) can alter the home’s character. In 3D, focus on:
- Massing: rooflines, porch depth, and garage prominence
- Material blocks: siding vs. stone/brick zones, vertical vs. horizontal patterns
- Contrast strategy: main body color, trim color, and an accent (door or shutters)
Even simple 3D renders can help you decide whether an exterior refresh reads as modern, traditional, or transitional.
Exporting 3D renders: what to include in a shareable package
A strong export package makes your 3D house design useful to others (contractors, partners, clients, or family). Consider exporting:
- One “orientation” image per floor: shows the layout at a glance
- Key room perspectives: kitchen, living area, primary bath/bedroom
- Exterior angles: front elevation-style view + two perspectives
- A labeled reference view: room names and any critical dimensions
File format tips
- PNG: great for crisp lines and annotations
- JPG: smaller file size for quick sharing
Mini case example: turning a “tight living room” into two workable options
Imagine a plan where the living room looks spacious in 2D, but feels tight once you add a sofa, a TV wall, and a walkway to the patio door.
- Option A (conversation-first): rotate seating to create a U-shape, reduce coffee table footprint, and keep a clear path to the patio.
- Option B (media-first): prioritize a straight-on TV view, use slimmer side chairs, and shift storage to vertical shelving.
In 3D, you can evaluate both quickly: which option preserves circulation, which feels more open, and which matches how you actually use the space.
FAQ: 3D house design from floor plans
Do I need perfect dimensions to start?
No—but you do need one trustworthy reference measurement to scale the model. After that, you can verify other dimensions against the plan.
How realistic do the renders need to be?
For renovation decisions, “realistic enough to judge space and materials” usually beats photorealism. Prioritize correct layout, openings, and clearances first.
What’s the fastest way to avoid major mistakes?
Validate the footprint and openings immediately after conversion, before you spend time on finishes and decor.
Wrap-up: the simplest path to confident 3D house design
The most effective 3D house design workflow is: convert → scale → verify → plan → iterate → export. When you keep accuracy at the center, your 3D model becomes a decision tool—not just a pretty image.
If you’re looking for an iPhone-friendly way to convert floor plans into clean 3D renders and explore AI-guided room planning concepts, you can try an app like Floor Plan to 3D & Home Redesign as part of your toolkit.
