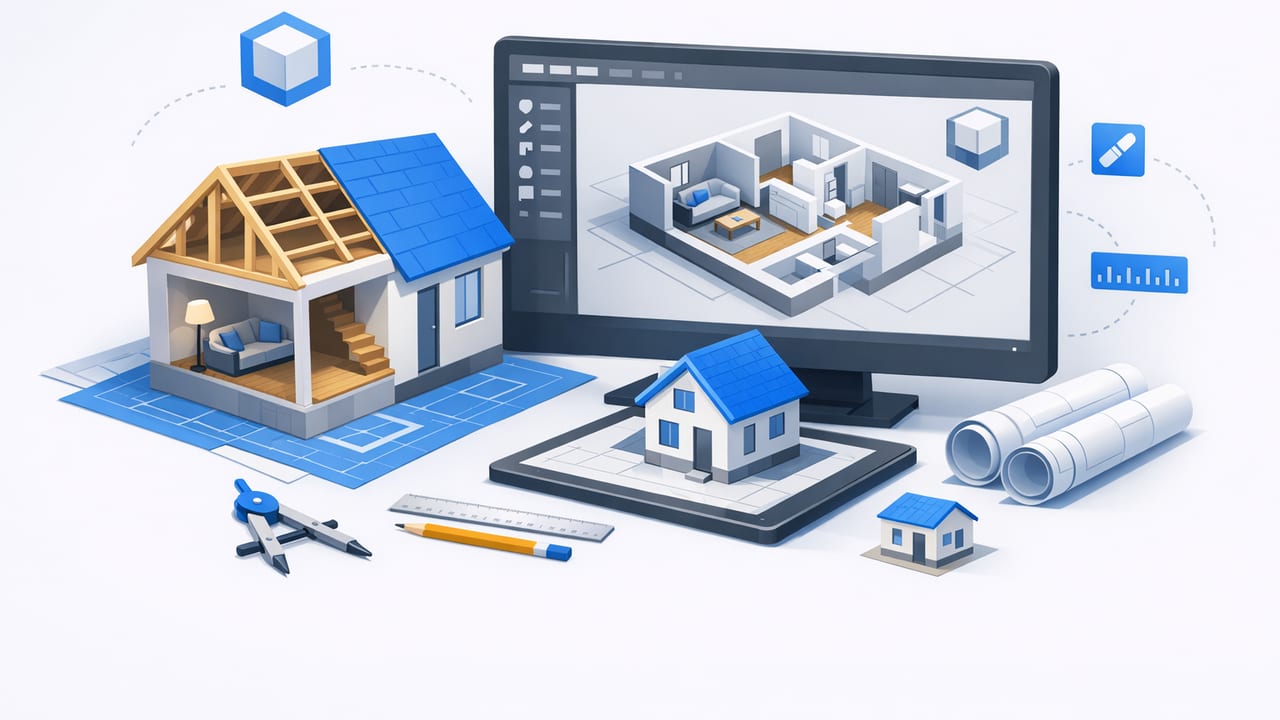
3d home design is most useful when it’s not just “pretty”—it’s trustworthy. If your 3D model drifts from the original floor plan (even slightly), furniture won’t fit, door swings collide, circulation feels off, and renovation decisions get expensive fast.
This guide walks through an accuracy-first workflow for turning a black-and-white floor plan or blueprint into a 3D model you can confidently use for layout testing, renovation previews, and presentation-ready renders. It’s written for homeowners, real-estate teams, and designers who want speed without sacrificing correctness.
Why accuracy matters more than realism in early 3D
Photoreal materials and dramatic lighting are great for presentation, but early-stage planning succeeds or fails on dimensions, proportions, and constraints. A “good enough” 3D model that’s accurately scaled will outperform a gorgeous model that’s off by a few inches.
- Layout decisions depend on real clearances (walkways, door arcs, appliance spacing).
- Budget decisions depend on approximate quantities (flooring area, cabinetry runs, wall lengths).
- Communication improves when everyone sees the same geometry—especially in remodels.
Step 1: Start with the best possible plan input
Conversion quality is heavily influenced by the source plan. Before you convert anything into 3D, take two minutes to improve the input:
Plan quality checklist
- High contrast: dark walls/lines on a clean light background.
- Minimal skew: photograph from directly above (or use a flat scan) so walls stay orthogonal.
- Full sheet: include the entire floor plan, not cropped corners.
- Readable dimensions and labels: even one clear dimension is often enough to set scale.
If you only have a photo, straighten it and crop extra border space. A clean, aligned plan reduces wall-detection errors and speeds up the move from 2D lines to 3D surfaces.
Step 2: Set scale once—and verify it twice
Every reliable 3D model needs a scale anchor. If your plan includes dimension strings (for example, “12’-0””), use them. If it doesn’t, measure a known element on-site (a doorway opening, a standard bathtub, a window width) and use that as your reference.
Fast scale verification method
- Pick one labeled dimension (e.g., a room width).
- After conversion, measure the same span in the 3D/2D editor.
- Confirm the value matches within a small tolerance (aim for under 1%).
If you’re working with a raster image (a photo or scan), the software often estimates scale. When you need a manual check, here’s a simple way to think about it:
// Pseudocode: compute scale factor from one known dimension
// known_real = real-world length (in inches or cm)
// measured_pixels = length measured on the plan image (in pixels)
scale = known_real / measured_pixels

// Then any pixel length can be converted:
real_length = pixel_length * scale
This isn’t about coding—it’s a mindset: one trusted measurement can calibrate everything, but only if you confirm it early.
Step 3: Convert the floor plan into clean 3D geometry
Once scale is set, the core conversion step is translating walls, openings, and room boundaries into 3D geometry. Prioritize structural truth before décor.
What to lock in first
- Exterior walls: get the building footprint correct before interior partitions.
- Interior walls: verify wall thickness assumptions (older homes can vary).
- Door and window openings: place them where they actually land on the plan.
- Stairs: confirm run direction and landing sizes, even if details are simplified.
Tip: If your plan has labels (Kitchen, Bedroom, Bath), keep them. Labels speed room-by-room review and prevent accidental wall edits that swap spaces.
Step 4: Use “room rules” to catch hidden layout mistakes
After conversion, do a quick reality pass using clearance rules. These aren’t rigid laws, but they are strong heuristics for spotting issues like a slightly misplaced wall, a wrong door swing, or a scaled-too-small room.
Common residential clearances to test in 3D
| Area | Rule of thumb | What it prevents |
|---|---|---|
| Hallway | ~36 in (90 cm) comfortable minimum | Bottlenecks, poor accessibility |
| Dining chair pull-back | ~36 in (90 cm) behind chair | Crowded dining layouts |
| Kitchen work aisle | ~42–48 in (105–120 cm) | Collisions, unusable kitchen flow |
| Bed side clearance | ~24–30 in (60–75 cm) each side | Cramped bedrooms |
| Door swing zone | Keep the arc clear of furniture | Blocked doors, awkward entries |
When a clearance looks wrong in 3D, it’s often not a “design problem”—it’s a conversion accuracy problem. Fix geometry before you redesign.
Step 5: Iterate room-by-room with an AI room planner mindset
Once your base model is accurate, you can start planning. A helpful approach is to treat each room like a mini project: define the function, add constraints, then explore options.
A repeatable room iteration loop
- Define the primary use: sleeping, entertaining, cooking, working.
- List immovable constraints: windows, radiators, plumbing walls, structural columns.
- Place the largest items first: bed, sofa, dining table, kitchen runs.
- Test circulation: walk paths from doors to key zones (sink, closet, patio door).
- Only then refine style: materials, colors, lighting, décor.
This is where an AI room planner workflow shines: generate multiple layout ideas quickly, then keep the ones that meet your constraints. The key is to judge suggestions by fit and flow, not by how trendy the rendering looks.
Step 6: Make renovation previews that answer specific questions
Good renovation previews are decision tools. Instead of creating one “final” render, create a small set of targeted comparisons that answer the questions you’re stuck on.
High-value comparisons to render
- Kitchen: U-shape vs. L-shape + island; pantry wall vs. tall cabinet bank.
- Living area: TV wall options; sectional vs. sofa + chairs; built-ins vs. freestanding storage.
- Bathroom: tub-to-shower swap; vanity width changes; door swing vs. pocket door.
- Exterior refresh: siding color, trim contrast, porch details, updated window proportions.
Practical rule: If a render doesn’t change a decision, it’s not worth producing yet.
Step 7: Improve realism without breaking accuracy
After your layout is validated, realism helps stakeholders understand scale and feel. Add realism in layers so you don’t accidentally “design away” a problem:
- Lighting: start with daylight; confirm window placement and ceiling heights first.
- Materials: apply simple finishes to distinguish floors, walls, and major cabinetry.
- Furniture: use correctly sized models (avoid random assets that are mis-scaled).
- Camera views: choose viewpoints that show circulation, not just the prettiest corner.
For presentations, export a handful of consistent views (same angles across options) so comparisons are fair.
Common pitfalls in 3D home design (and how to avoid them)
1) Misreading wall thickness and losing square footage
Some plans show wall centers, others show wall faces. If your model feels “tight,” verify whether you’re tracing the correct line. When unsure, check a known overall building dimension against the model’s exterior footprint.
2) Door/window placement drifting by a few inches
This happens when the plan image is slightly skewed or when openings are inferred. Fix by snapping openings to measured offsets from corners, or by re-checking scale and rotation.
3) Making design decisions before geometry is verified
It’s tempting to start styling immediately. But if you choose cabinetry, flooring direction, or built-ins before confirming the base shell, you’ll redo work later. Lock layout first; decorate second.
4) Treating AI suggestions as “code-compliant”
AI room planning can accelerate ideation, but it doesn’t replace local building codes, egress rules, or structural feasibility. Use AI to explore, then validate with real constraints (and pros when needed).
A simple final QA checklist before you share renders
- At least two dimensions match the original plan (one horizontal, one vertical).
- All doors swing correctly and don’t collide with fixtures/furniture.
- Windows align with the plan and look correct from both interior and exterior.
- Room labels match the intended program (no swapped spaces).
- Key circulation paths feel clear in a walkthrough view.
Putting it all together
The fastest path to confident 3d home design is:
- Clean input (straight, legible plan)
- Calibrate scale (verify with real dimensions)
- Convert accurately (walls, openings, stairs)
- Validate with clearances (catch hidden errors)
- Iterate room-by-room (constraints → options → decisions)
- Render comparisons (answer specific renovation questions)
If you want a lightweight way to go from a black-and-white plan to clean 3D renders and layout experiments on iPhone, an app like Floor Plan to 3D & Home Redesign can support this workflow—especially for quick renovation previews and presentation exports.
