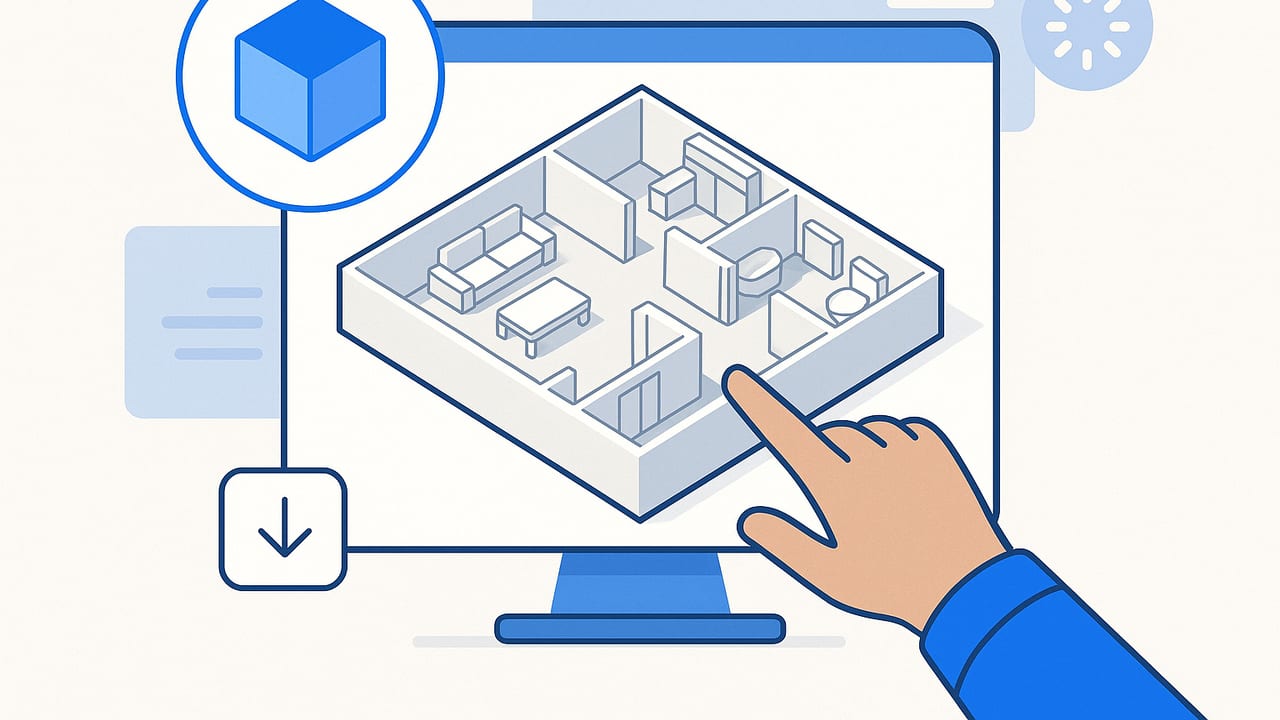
Whether you’re pitching a renovation, listing a property, or aligning a stakeholder team, 3D floorplans bridge the gap between technical drawing and lived experience. They make scale and flow obvious at a glance, answer common buyer questions (Will my sofa fit? Where does light enter?), and reduce design churn. This guide explains how to create accurate, compelling 3D floorplans—covering workflow, file formats, lighting, optimization, and export—so your visuals look great and convert.
What is a 3D floorplan, and when should you use one?
A 3D floorplan is an axonometric or perspective view of a layout rendered with depth, materials, furniture, and lighting. Unlike 2D plans, which require spatial literacy, 3D floorplans communicate volume and circulation intuitively. Use them when you need to:
- Show how rooms connect and how people move through a space.
- Compare design options or furniture arrangements quickly.
- Help non-technical audiences visualize finishes, fixtures, and scale.
- Market units off-plan with lifelike visuals that prompt action.
Because they sit between schematic drawings and full photorealistic imagery, 3D floorplans deliver clarity faster and often at lower cost than full CGI.
A reliable workflow: from 2D to 3D without losing accuracy
Consistency is everything. Follow this sequence to keep your 3D floorplans true to the original design:
- Collect references: Get the latest 2D plan, elevations, door/window schedules, and any finish schedules. Note units (metric/imperial) and scales.
- Set scale and origin: Establish wall thickness, slab height, and a consistent origin (0,0). Confirm ceiling heights and stair dimensions.
- Trace structure: Build walls, columns, slabs, and openings from the 2D plan. Lock layers to prevent accidental edits.
- Place doors/windows: Use manufacturer sizes or schedule data. Ensure correct swing, sill heights, and casing profiles.
- Model fixed elements: Kitchen casework, bath fixtures, built-ins, fireplaces, radiators, and closets.
- Furnish for scale: Drop in standard furniture with correct dimensions. Even block models help viewers understand size instantly.
- Apply materials: Use physically based materials (PBR) with proper scale for wood grain, tile, and textiles. Align patterns to avoid visual noise.
- Light the scene: Add an HDRI for daylight and a simple artificial lighting rig for evening options. Keep it consistent across units.
- Frame the view: Choose a top-down axon or slight perspective. Keep verticals straight, avoid extreme wide angles, and include a few vignettes if needed.
- Quality check and export: Validate dimensions, label key spaces, and export web and print versions plus an interactive model if required.
Pro tip: Lock a master template with layers for structure, fixtures, furniture, and annotations so updates don’t break your setup.
Accuracy first: the small details that make a big difference
The credibility of 3D floorplans depends on accurate geometry. Focus on these areas:
- Dimensions: Verify critical widths: halls (min 36 in / 915 mm), door clearances, appliance openings, and stair runs.
- Wall thickness: Don’t default to a single thickness. Interior partitions, structural walls, and demising walls differ.
- Ceiling height and soffits: Show height changes over kitchens, corridors, and mechanical runs; they impact perceived volume.
- Door swings and egress: Ensure practical flow; wrong swings can imply code issues or awkward circulation.
- Window sill/head heights: They affect light and sightlines. Group windows consistently in multi-room views.
This diligence prevents confusing mismatches between marketing visuals and built reality.
File formats that play nicely together
Interoperability saves time and avoids rework. Here’s a quick comparison of common formats you’ll see while producing and delivering 3D floorplans:
| Format | Best for | Pros | Cautions |
|---|---|---|---|
| SVG | Vector 2D plans | Lightweight, scalable, web-friendly | No 3D; preserve line weights carefully |
| DXF/DWG | CAD exchange | Industry standard, precise | Clean layers; units can mismatch |
| OBJ | Static meshes | Simple, widely supported | No materials beyond basic; large files |
| FBX | DCC workflows | Supports hierarchy, some materials | Version quirks, larger payloads |
| glTF/GLB | Web/AR delivery | Compact, PBR, fast loading | Compress textures; check gamma |
| USDZ | Apple AR | Native to iOS AR, lightweight | Material support varies |
| IFC | BIM exchange | Semantic building data | Heavy; not ideal for web delivery |
For interactive 3D floorplans on the web, glTF/GLB is a strong default thanks to its compact size and PBR support.
Lighting that flatters without faking it
Lighting turns a dry model into a persuasive story. Keep it grounded, not gimmicky:
- Daylight: Use an HDRI environment that matches your project’s latitude and time of day. Soften shadows slightly for legibility.
- Artificial light: Add area lights for ceiling fixtures and key task lights in kitchens and baths. Avoid hotspots and color shifts.
- Global illumination: Enable bounced light for natural brightness. Use denoising to keep render times reasonable.
- White balance: Aim for neutral tones so finishes read correctly across devices.
When in doubt, light for clarity. The goal is to explain space, not to create dramatic mood shots.
Make 3D floorplans more compelling (without clutter)
The best 3D floorplans are informative and calm. Consider these enhancements:
- Consistent styling: Keep a muted palette and repeat materials across units for cohesion.
- Smart props: A few anchors—a sofa, a queen bed, a dining table—instantly communicate scale.
- Annotations that help: Label key rooms, total square footage, and ceiling height. Add a north arrow and optional scale bar.
- Color accents: Use subdued color-coding for zones (public, private, service) rather than loud overlays.
- Accessibility cues: Indicate clearances and step-free routes where relevant.
Less is more. Visual noise reduces comprehension and trust.
Performance: real-time vs. offline rendering
Choose the right rendering approach for your timeline and channel:
- Real-time (game engines, WebGL): Great for interactive tours and configurators. Optimize with level of detail (LOD), lightmaps, and texture atlases.
- Offline (path tracing): Best for consistent photoreal outputs. Use render presets, denoising, and batch queues for speed.
Hybrid workflows are common: render hero floorplans offline for marketing collateral, then export a simplified glTF for web interactivity.
Common mistakes (and quick fixes)
- Incorrect scale: If furniture looks off, check the import scale and unit settings, then verify a known dimension (e.g., door width).
- Texture tiling: Huge or tiny wood grain? Reset UV scale to match real-world dimensions (e.g., 6 in tile equals 152.4 mm on UVs).
- Overexposed lighting: Clamp intensity, add exposure control, and reduce glossy reflections to avoid blown highlights.
- Messy edges: Enable anti-aliasing and increase shadow map resolution; consider beveled edges to catch light naturally.
- File bloat: Purge unused assets, decimate high-poly meshes, and compress textures to 2K or 1K for web.
Deliverables that clients—and websites—love
Package your 3D floorplans for each channel:
- Web images: 2000–3000 px width, optimized to under 500 KB with modern formats (WebP/AVIF). Add descriptive file names and alt text.
- Print: 300 DPI at target size with CMYK-safe colors. Provide a transparent-background PNG for layout flexibility.
- Interactive models: GLB/GLTF for web, USDZ for iOS AR. Include a simplified collision mesh if navigable.
For listings and proposals, include a brief legend, total area, and key dimensions. If your market uses a standard (e.g., BOMA, RICS), be explicit about how area is measured.
Embed an interactive 3D floorplan on the web
You can publish a lightweight interactive model using the <model-viewer> web component. Host your GLB and drop in this snippet:
<script type="module" src="https://unpkg.com/@google/model-viewer/dist/model-viewer.min.js"></script>
<model-viewer src="/models/floorplan.glb"
              alt="Interactive 3D floorplan of a two-bedroom apartment"
              ar ar-modes="webxr scene-viewer quick-look"
              camera-controls
              environment-image="/hdris/studio.hdr"
              exposure="1"
              shadow-intensity="0.3"
              style="width:100%;height:480px;">
</model-viewer>
Keep materials simple and bake lighting where possible for faster load times. Always provide a static image fallback for email clients and PDF exports.
SEO tips for 3D floorplans in listings and portfolios
If your 3D floorplans live on the web, make sure search engines understand them:
- Descriptive filenames: two-bedroom-loft-3d-floorplan.webp beats image123.webp.
- Alt text: “3D floorplan showing open-plan kitchen, two bedrooms, and south-facing balcony.”
- Captions and context: Pair images with short summaries stating area, key features, and location.
- Structured data: Use schema.org/Apartment or schema.org/CreativeWork on listing pages to clarify content.
- Page speed: Serve responsive images (
srcset) and lazy-load below-the-fold content.
Quality checklist before you hit export
- One measured dimension cross-checked against the 2D plan.
- Doors and windows placed to schedule; correct swing and heights.
- Ceiling height and soffits clearly indicated where they change.
- Consistent material scales (tile, wood, stone).
- Readable camera angle without extreme distortion.
- North arrow, optional scale bar, and concise labels.
- Web and print variants exported; file sizes optimized.
Choosing the right level of fidelity
Not every project needs photorealism. Decide where detail adds value:
- Concept stage: Clean geometry, neutral materials, minimal props; communicate layout fast.
- Design development: Real finishes, appliance models, accurate fixtures; validate decisions.
- Marketing: Polished materials, curated furniture, consistent lighting; build desire and confidence.
This tiered approach keeps budgets focused where images will move the needle most.
Final thoughts
3D floorplans aren’t just prettier versions of linework—they are decision tools. When they are accurate, legible, and optimized for the channel they’re used in, they shorten sales cycles, reduce misunderstandings, and help teams align quickly. Keep the workflow disciplined, choose interoperable formats, light for clarity, and package deliverables for both web and print. If you’re starting from a black-and-white 2D plan and need a faithful 3D baseline fast, an iOS app like Floor Plan to 3D can transform scans into dimensionally consistent models ready for finishing touches.
