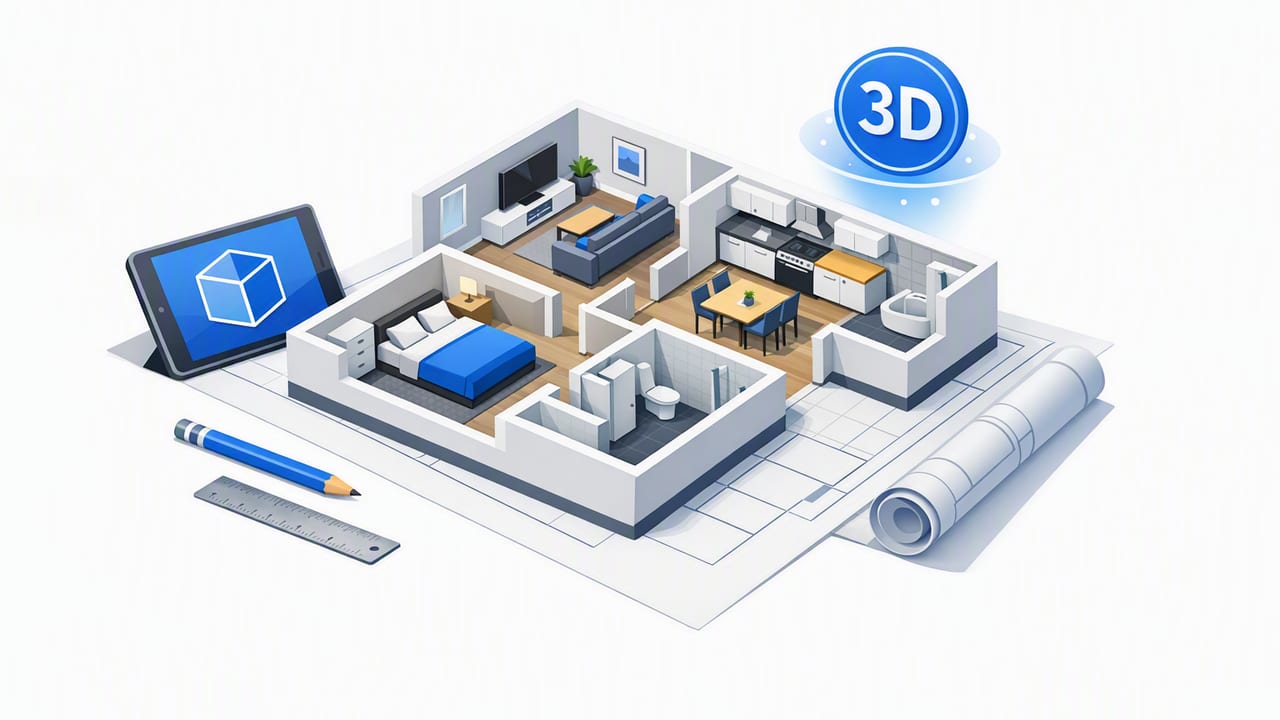
A 3d floorplan is more than a prettier version of a 2D drawing. It’s a decision tool: it helps you validate room flow, spot layout issues early, test renovation options, and communicate clearly with clients, contractors, or family members. The problem is that many 3D conversions look convincing while quietly drifting from the source plan—walls shift, door swings change, proportions compress, or dimensions disappear.
This guide gives you a practical, accuracy-first checklist to turn a black-and-white floor plan or blueprint into a 3D model you can trust. Use it whether you’re doing a quick renovation preview, preparing a design proposal, or planning staging for an empty room.
What “accurate” means for a 3D floorplan
Before you convert anything, define accuracy. A renovation-ready 3d floorplan should preserve:
- Geometry: wall lengths, angles, room boundaries, ceiling heights (if known).
- Openings: door/window locations, widths, and swing direction where relevant.
- Key labels: room names and critical notes (e.g., “load-bearing,” “existing plumbing”).
- Proportions: relationships between rooms, corridor widths, and clearance zones.
- Scale cues: stairs, built-ins, and fixed elements that anchor reality.
Good 3D doesn’t just look right—it measures right where it matters.
Step 1: Audit your 2D plan (2 minutes that prevent hours of rework)
Most conversion errors start in the input. Run this quick audit before you generate a 3d floorplan:
- Confirm the plan type: is it an as-built, a concept layout, or a permit set? Treat concept layouts as “approximate.”
- Locate a reliable scale reference: a labeled dimension (e.g., “12'–6"”) is ideal.
- Check for distortions: phone photos can skew angles; scans can stretch slightly. If possible, use a flat scan or a squared photo.
- Identify missing data: ceiling height, window head height, exterior wall thickness, stair dimensions.
Quick tip: pick 3 “anchor” dimensions
Choose three dimensions that form a triangle across the plan (for example: overall width, overall depth, and one internal wall run). During conversion, you’ll constantly verify against these anchors to catch drift early.
Step 2: Clean the plan for better conversion results
Whether you’re using automated floor plan conversion or rebuilding manually, cleaning helps:
- Increase contrast: make walls and text legible; avoid gray backgrounds.
- Remove clutter: scribbles, stamps, and overlapping notes can be mistaken for walls.
- Crop tightly: reduce extra margins; keep the scale bar/dimensions visible.
- Orient correctly: rotate so walls are mostly horizontal/vertical (unless it’s an angled plan).
Step 3: Build the base 3D floorplan (structure first, style later)
The fastest way to get reliable results is to separate structure from styling. Start with the “bones”:
- Trace walls and verify thickness: interior partitions vs exterior walls are often different.
- Place doors/windows exactly: measure from corners, not from nearby symbols.
- Add stairs and level changes: these often reveal scale mistakes immediately.
- Set ceiling height: if unknown, document the assumption (e.g., 8 ft / 2.44 m).
Accuracy checkpoint: the “close the loop” test
After laying out walls, confirm the plan “closes”: summed wall segments should equal the overall dimension. If you’re off by more than a small tolerance, fix it now—furniture and finishes won’t hide a geometry mismatch.
Step 4: Add constraints that make redesign decisions realistic
A 3d floorplan is most valuable when it reflects real constraints that affect remodel feasibility:
- Plumbing cores: kitchens, baths, laundry. Mark existing stack locations if known.
- Structural flags: load-bearing walls, beams, columns.
- Mechanical zones: HVAC returns, radiators, electrical panels.
- Clearances: hallway widths, door clearances, kitchen work triangles.
Optional: represent key data as a simple room spec
If you collaborate with others (designer, contractor, realtor), a lightweight “room spec” keeps everyone aligned. Here’s an example format:
{
  "rooms": [
    {
      "name": "Kitchen",
      "dimensions_ft": [12.5, 10.0],
      "ceiling_ft": 8.0,
      "fixed_elements": ["sink_wall", "range_wall"],
      "notes": "Keep plumbing on north wall"
    },
    {
      "name": "Primary Bath",
      "dimensions_ft": [9.0, 7.5],
      "ceiling_ft": 8.0,
      "notes": "Existing window centered on east wall"
    }
  ]
}
Step 5: Style the 3D floorplan without compromising layout accuracy
Once structure is correct, you can explore interior design and exterior refresh ideas. Keep styling changes reversible and documented:
- Materials: floors, wall colors, tile, countertops (swap quickly to compare options).
- Lighting: add general + task lighting for realistic perception of size.
- Furniture: prioritize scale-accurate blocks before detailed décor.
- Staging: for empty rooms, use standard sizes to show function (bedroom, office, dining).
Furniture placement rule of thumb
Start with circulation: keep clear pathways (often 30–36 in / 76–91 cm in many contexts) before committing to oversized pieces. A visually pleasing render that blocks a door swing is a costly mistake.
Step 6: Run the renovation-preview checks (the core checklist)
Use this checklist before you export or present your 3d floorplan:
- Dimensions match anchors: confirm the 3 anchor dimensions you selected earlier.
- Door swings make sense: no collisions with fixtures, cabinets, or adjacent doors.
- Window heights are plausible: especially in kitchens/baths with backsplashes or mirrors.
- Stairs are buildable: consistent rise/run; landing clearances aren’t squeezed.
- Room labels and orientation: bedrooms vs baths; north arrow if you use daylight studies.
- Plumbing/venting logic: bath fixtures aren’t floating far from feasible routing.
- Before/after comparison: keep an “existing” view and “proposed” view to avoid confusion.
Choosing a workflow: manual, AI-assisted, or hybrid
Different projects need different levels of precision and speed. Here’s a practical comparison:
| Workflow | Best for | Pros | Watch-outs |
|---|---|---|---|
| Manual 3D modeling | Complex builds, custom detailing | Maximum control, detailed output | Slow; easy to introduce human measurement errors |
| AI-assisted floor plan conversion | Fast renovation previews, early design exploration | Speed; quick iterations; good for concept testing | Needs input cleanup; verify scale and openings |
| Hybrid (AI base + manual tweaks) | Most remodel proposals | Fast start with controlled final accuracy | Requires a clear “checkpoint” process |
Common mistakes that make a 3D floorplan misleading
These are the most frequent issues that cause rework or miscommunication:
- Assuming wall thickness doesn’t matter: it can shift room sizes noticeably in small plans.
- Ignoring door/window offsets: a few inches can break a kitchen cabinet run or closet depth.
- Using furniture to “fake” scale: oversized sofas or tiny beds make rooms feel larger/smaller than reality.
- Mixing existing and proposed elements: audiences can’t tell what’s changing.
- Exporting without a reference view: always provide at least one labeled, dimensioned view for context.
Exporting and presenting: make your 3D floorplan actionable
A compelling render is useful only if the viewer understands what it represents. When exporting:
- Include multiple angles: top-down 3D + two eye-level perspectives per key room.
- Use consistent naming: “Existing_Kitchen_01” vs “Proposed_Kitchen_OptionA_01.”
- Keep one image with dimensions/labels: even a simple overlay helps stakeholders trust the model.
- Export high resolution for print: proposals and boards often need sharper output than on-screen viewing.
Mini-template for option comparisons
When you have multiple redesign ideas, present them as a set:
- Option A: minimal layout changes (budget-friendly)
- Option B: moderate changes (improved function)
- Option C: major changes (maximum impact)
This framing keeps discussions productive and prevents “infinite revisions.”
Putting it all together: a repeatable 30-minute workflow
If you need a fast but trustworthy 3d floorplan, here’s a condensed routine:
- 5 min: Audit the plan, pick 3 anchor dimensions.
- 5 min: Clean/crop/rotate for legibility.
- 10 min: Convert/build structure (walls, openings, stairs, heights).
- 5 min: Run the checklist (anchors, swings, clearances).
- 5 min: Apply materials + basic furniture; export 3–6 views.
Conclusion
A reliable 3d floorplan is a bridge between idea and execution. When you treat accuracy as a process—anchoring dimensions, separating structure from style, and running a final checklist—you get visuals that support confident decisions, not just attractive images.
If you prefer an iOS workflow that can convert a floor plan into clean 3D quickly while keeping labels and proportions in view, Floor Plan to 3D & Home Redesign is one option to explore.
