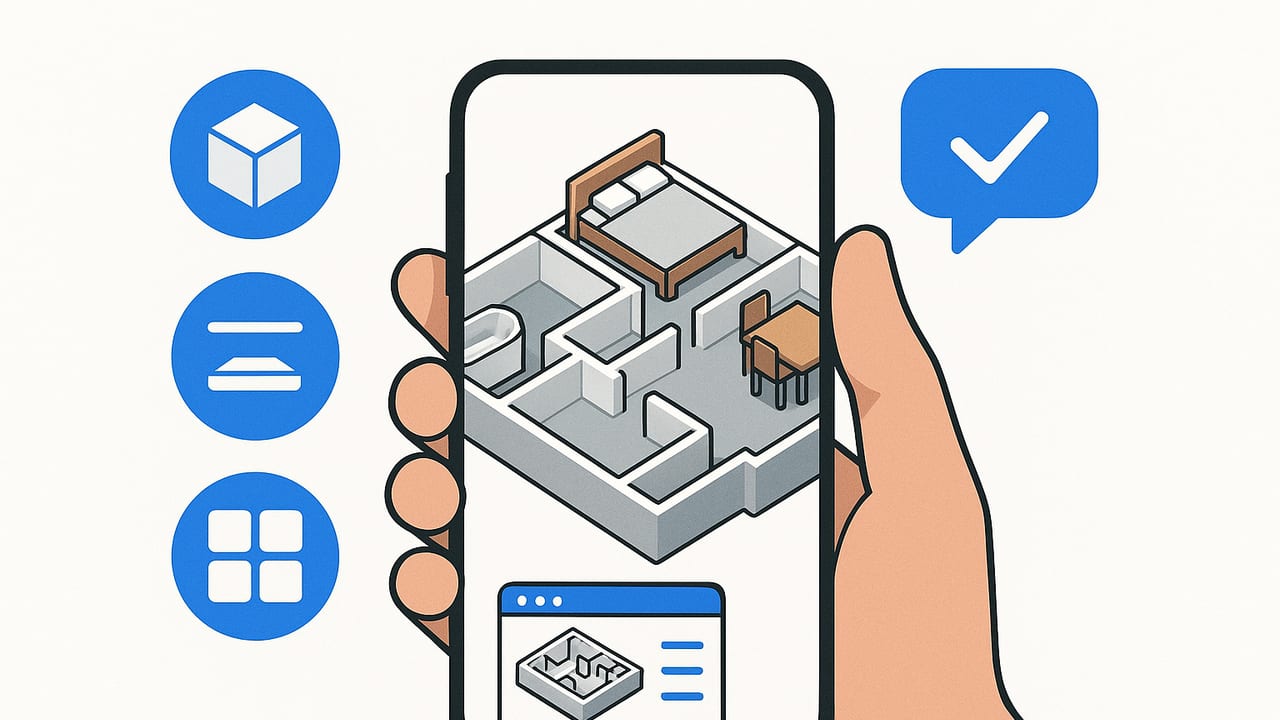
A 3D floorplan app turns a 2D plan into an immersive, navigable model you can study, edit, and present. Whether you're a homeowner planning a remodel, a real estate professional polishing a listing, or a designer testing concepts, the right tool can save hours and reduce costly mistakes. This guide explains how a 3D floorplan app works, what accuracy really means in practice, which features matter most, and how to build a fast, reliable workflow you can trust.
What a 3D Floorplan App Actually Does
At its core, a 3D floorplan app ingests a plan and outputs a navigable model. The best apps minimize friction between these steps:
- Input: Upload a scan, photo, or PDF of a black-and-white plan; some apps accept vector CAD files or support on-device scanning.
- Interpretation: AI detects walls, doors, windows, and symbols; you verify and adjust.
- Scaling: The plan is calibrated to real dimensions using a known measurement (e.g., a 10' wall).
- Extrusion & Structure: Walls gain height and thickness; floors, ceilings, and openings are cut.
- Furnishing: Drag-and-drop furniture and fixtures from libraries; apply finish materials.
- Lighting & Camera: Sun orientation and artificial lights add realism; cameras capture stills, panoramas, and videos.
- Export: Generate high-resolution images, share links, or download 3D formats for other software.
Accuracy First: Scale, Tolerances, and Verification
Accuracy is non-negotiable when turning a plan into 3D. An error of just 2% in scale can skew room sizes noticeably and misplace furniture. Use these principles to keep results reliable:
- Work from the best source: A clean, high-resolution plan with a printed scale or at least one labeled dimension beats a low-res photo every time.
- Calibrate from the longest known dimension: The longer the reference, the lower the relative error.
- Correct perspective: If photographing a plan, shoot straight-on; avoid lens distortion by stepping back and zooming in slightly.
- Verify with a second dimension: After scaling, measure a different known span; aim for <1% deviation.
- Use consistent units: Don’t mix feet-inches and millimeters within the same workflow without careful conversion.
Quick Scale Workflow (60 Seconds)
- Import the plan image.
- Choose a known dimension (e.g., 12' 0" wall = 144 in = 3657.6 mm).
- Draw a calibration line over that wall; enter the real length.
- Lock the scale; measure a perpendicular wall to verify.
- If the error exceeds 1%, recalibrate using a longer dimension.
Common QA Checks
- Openings: Door swings match plan; window sizes and sill heights are correct.
- Stairs: Tread count and rise/run meet the plan’s total height.
- Thickness: Exterior vs interior wall thicknesses are distinct.
- Plumbing alignment: Stacked bathrooms align across floors.
- Ceiling heights: Variations reflected where noted (e.g., dropped ceilings).
Pro tip: After your first pass, place a known-size sofa or bathtub. If it looks too big or small for the space, re-check scale before proceeding.
Features That Matter: A Practical Comparison
Different 3D floorplan apps emphasize different strengths. Use this table to evaluate options against your workflow:
| Feature | Why It Matters | What to Look For |
|---|---|---|
| Plan Ingestion | Fewer prep steps = faster starts | Support for photos, PDFs, scans; auto-cleaning of noise |
| AI Wall/Opening Detection | Speeds conversion from 2D to 3D | High accuracy on thin lines, dashed walls, and complex corners |
| Scale Calibration | Preserves real-world sizing | Two-point calibration, multiple-unit support, verification tools |
| Furniture & Fixture Library | Faster layout and believable scenes | Parametric sizes, regional standards (e.g., EU/US appliances) |
| Materials & Finishes | Conveys design intent | PBR materials, editable textures, saved palettes |
| Lighting | Realism and mood | Sun study controls, IES profiles, exposure presets |
| Editing Tools | Handle edge cases | Custom wall profiles, multi-level support, curved walls |
| Export Options | Downstream deliverables | PNG/JPG at high DPI, 360 panoramas, OBJ/GLTF, annotated PDFs |
| Performance | Responsiveness under load | Stable on large plans; quick preview renders |
| Mobile UX | On-site edits | One-hand gestures, offline mode, reliable autosave |
Deliverables: What You Can Produce
A versatile 3D floorplan app should help you deliver clarity, not just pretty pictures. Consider these outputs:
- High-resolution stills: Top-down axonometric and eye-level vignettes for proposals and listings.
- 360 panoramas: Interactive tours without full walkthrough complexity.
- Short videos: Camera fly-throughs showcasing circulation and sightlines.
- 2D annotated plans: Dimensions, callouts, and furniture labels exported as PDFs.
- 3D formats: OBJ/GLTF for downstream editing and AR/VR use cases.
Real-World Use Cases
Homeowners and DIY Planners
Test bed sizes, sofa orientations, and kitchen triangle layouts before moving anything. Visualizing door swings and clearances often reveals why a room feels cramped.
Interior Designers
Communicate concepts fast: alternate rug sizes, lighting schemes, or cabinet faces. Keep a materials palette you can apply across rooms for consistent storytelling.
Real Estate Agents and Marketers
Go beyond flat floor plans with furnished 3D views that illustrate scale and flow. Pair a daytime render with a warm evening shot to highlight ambience.
Contractors and Remodelers
Use the model to stage phasing and verify clearances around structural changes. A quick 3D mockup catches conflicts that 2D overlays can miss.
Speed vs Fidelity: Choose the Right Level of Detail
Not every project needs photorealism. Pick a level of detail (LOD) that fits the goal:
- LOD-Light: Clean materials, minimal decor; perfect for quick adjacency checks.
- LOD-Concept: Realistic materials and key furniture; suitable for client presentations.
- LOD-Showcase: Detailed lighting, reflections, and accessories; great for marketing imagery.
Start with LOD-Light to validate scale and flow, then push to higher fidelity only where the payoff justifies the time.
Workflow Tips to Work Faster and Smarter
- Name everything: Rooms, levels, and cameras; consistent naming reduces confusion later.
- Use templates: Save a default project with wall heights, materials, and lighting presets.
- Block furniture first: Use simple volumes to verify circulation before swapping in detailed models.
- Snapshot iterations: Save scene states as you test layouts; it’s easier to compare than undoing.
- Check sightlines: Place cameras at eye height near entries to evaluate first impressions.
- Mind ceiling data: Varying heights and soffits change the feel of a room more than you expect.
Common Mistakes (and How to Avoid Them)
- Mis-scaled plans: You calibrated to a short segment. Use the longest known dimension and re-verify.
- Ignoring wall thickness: Rooms shrink in 3D when walls gain thickness; account for it early.
- Wrong door handing: Mirror-swap doors and you’ll block pathways; confirm swings against the plan symbols.
- Flat lighting: Overhead-only lighting flattens materials; add a couple of accent lights at eye level.
- Overstuffing furniture: Respect minimum clearances (e.g., 36" general circulation, 18" at bed sides).
- Mixing units: Keep the project in one unit system, and label shared dimensions in notes.
Questions to Ask Before You Choose an App
- How does it handle low-contrast or marked-up plans?
- Can I calibrate scale with multiple references and verify tolerance?
- Does the furniture library include region-specific standards?
- Can I export both high-res images and 3D formats for other tools?
- What are the limits on scene complexity or render size on mobile?
- How are projects organized, backed up, and shared with collaborators?
- Is there a quick way to iterate lighting (day/night presets, exposure control)?
Simple Scale Check: A Tiny Script
If you like to double-check scale math, here’s a small snippet that computes a scale factor from an on-screen measurement and a known real-world dimension. Use any calculator or scripting tool; the math is the point:
# Known real-world length in millimeters (e.g., 12' = 3657.6 mm)
real_mm = 3657.6

# On-screen length in pixels (measure with a line tool)
screen_px = 812

# Pixels per millimeter
px_per_mm = screen_px / real_mm

# Convert another measured pixel distance to mm
def px_to_mm(px):
    return px / px_per_mm

# Example: verify a 3000 mm wall drawn at 666 px
print(px_to_mm(666))  # Expect ≈ 3000 mm if scale is correct
Even without code, the verification logic is straightforward: measure, convert, compare, and keep the error under your tolerance (ideally under 1%).
A Starter Checklist for Your First Project
- Source the sharpest plan available; remove shadows or fold lines if photographing.
- Import and calibrate using the longest labeled dimension.
- Trace or confirm walls, doors, windows; set heights and thicknesses.
- Verify scale with a second dimension; adjust if needed.
- Place essential furniture as simple blocks; check clearances and door swings.
- Apply key materials (flooring, wall color) and basic lighting.
- Save views: top-down axon, key sightlines, and a hero angle.
- Export a quick draft; gather feedback; iterate to a higher LOD only if required.
Choosing the right 3D floorplan app is about aligning capability with intent. Prioritize accurate scaling, robust detection, and exports you’ll actually use. From there, a pragmatic workflow—and a habit of verifying early—will do more for your projects than any single feature ever could.
Note: If you’re working on iOS and want an app that converts black-and-white plans into dimensionally faithful 3D with high-resolution export options, you can explore Floor Plan to 3D.
