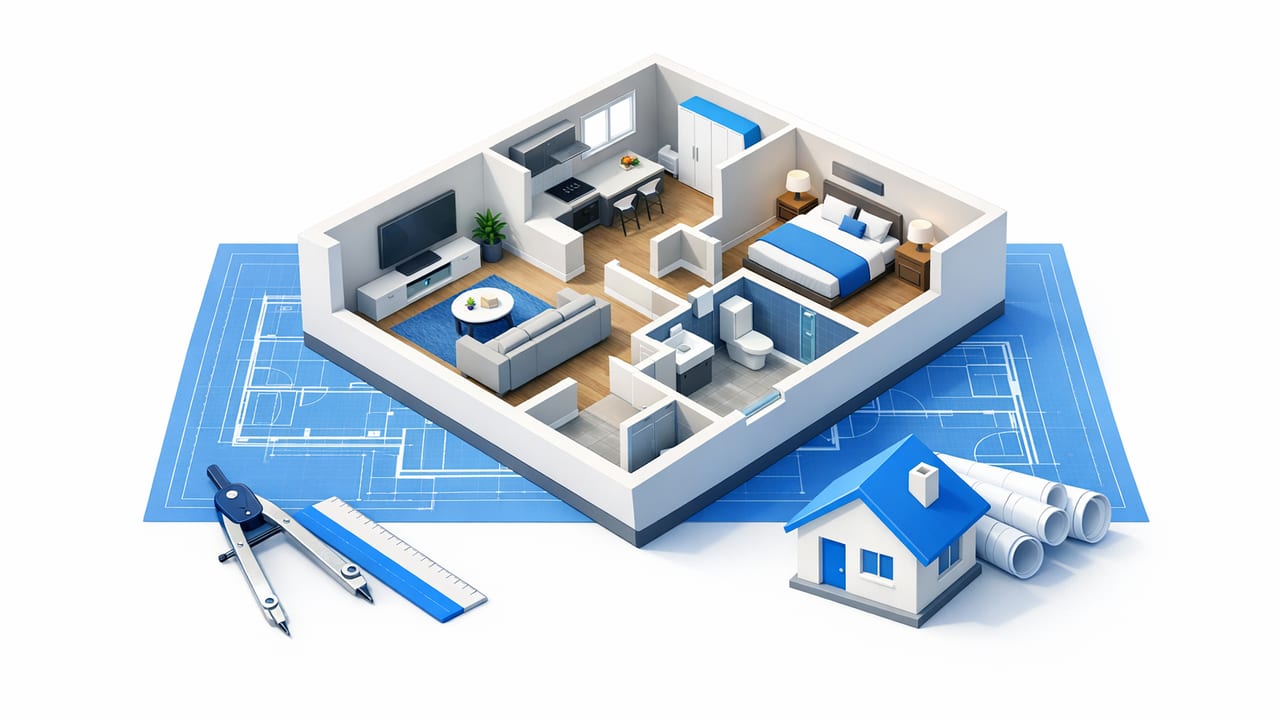
A renovation succeeds or fails on clarity. Homeowners want to understand the impact of moving a wall. Contractors need confident dimensions. Designers need a fast way to test layout options without redrawing everything from scratch. That’s where a 3d floor plan becomes more than a pretty picture—it’s a shared, testable model of the project.
This guide explains an end-to-end workflow for creating a renovation-ready 3D floor plan from a simple black-and-white plan (PDF, scan, or photo). You’ll learn how to protect scale, validate accuracy, run layout experiments, and export visuals that reduce back-and-forth with stakeholders.
Why a 3D floor plan changes renovation decisions
In 2D, a layout can look “fine” even when the real space feels tight. In 3D, people intuitively understand circulation, furniture clearance, door swings, and sightlines. For renovation projects, that translates into:
- Fewer miscommunications: Everyone discusses the same spatial reality.
- Earlier problem detection: Pinch points, awkward corners, and blocked windows show up quickly.
- Faster iteration: You can compare multiple layout options without rebuilding plans.
- Better approvals: Clients often approve what they can visualize.
“If the first time someone ‘sees’ the renovation is on-site, it’s too late.”
Step 1: Start with the cleanest 2D input you can
Your 3D result inherits the quality of your 2D plan. Before you convert anything, spend a few minutes improving the input. This is especially important when using AI-assisted conversion tools that interpret lines and symbols.
What works best
- High-contrast black lines on white background
- Minimal perspective distortion (avoid angled photos when possible)
- Complete wall loops (rooms enclosed with no gaps)
- Readable dimensions (at least one known measurement for scaling)
Quick cleanup checklist (5 minutes)
- Crop the image to the plan boundary (remove title blocks if they clutter detection).
- Increase contrast (many scanners have a “text” or “B/W” mode).
- Remove shadows and folds (re-scan or re-photograph if needed).
- Ensure the plan is upright (rotate so walls are horizontal/vertical when appropriate).
Step 2: Lock scale using a single source of truth
Most accuracy problems in a 3d floor plan come from scale drift: the model looks right, but everything is subtly too big or too small. Fix this early by selecting one trusted reference measurement and using it consistently.
Best scaling references
- Overall exterior dimension (most reliable for whole-home scale)
- A long interior wall (less likely to be misread than short segments)
- Door width (only if standardized and labeled clearly)
Practical example
If your 2D plan says a wall is 12'-0" but the imported model interprets it as 11'-6", you’ll want to scale the entire model to match the known dimension before doing furniture tests or material takeoffs.
// Simple scale factor concept (unit-agnostic)
// known = trusted dimension from plan
// measured = dimension currently in the model
scaleFactor = known / measured
newPoint = oldPoint * scaleFactor
Tip: Avoid mixing references (e.g., scaling once from a door width, then “correcting” from an exterior wall). Choose one anchor, apply it once, then validate with spot checks.
Step 3: Validate geometry with a fast “reality pass”
Before adding furniture or materials, do a quick validation sweep. This prevents you from making design decisions on a model that’s geometrically inconsistent.
| Validation Item | What to Check | Why It Matters |
|---|---|---|
| Wall thickness | Consistent interior vs exterior walls | Affects room size and openings |
| Room closure | Rooms are fully enclosed (no gaps) | Improves AI room detection and surface generation |
| Door swings/placement | Doors don’t collide with fixtures | Prevents costly field changes |
| Window alignment | Windows centered or dimensioned as expected | Impacts elevations, daylight, and furniture placement |
| Ceiling height | Use a realistic default (e.g., 8–9 ft) unless known | Changes perceived volume and cabinetry feasibility |
Step 4: Use zoning to plan function before furniture
Renovations often fail because they optimize a single room and break the whole flow. Zoning is a simple method: define functional areas first, then test furnishings inside those constraints.
Common residential zones
- Arrival: entry, coat storage, shoe bench
- Work: kitchen, pantry, laundry
- Rest: bedrooms, bathrooms
- Gather: living, dining, family area
- Support: circulation, closets, mechanical
In 3D, zoning becomes intuitive: you can see whether the dining zone interrupts a walkway, or whether the kitchen work triangle is practical.
Step 5: Run three “layout stress tests” in 3D
Once your model is scaled and validated, pressure-test it. These checks catch the most common renovation regrets.
1) Circulation test
Walk the paths people actually take: entry to kitchen, bedroom to bath, sofa to hallway. For most homes, aim for:
- Primary walkways: ~36" (915 mm) clear
- Tight secondary paths: ~30" (760 mm) minimum in constraints
2) Door and drawer conflict test
Open doors in your mind (or via door swing representations) and check collisions:
- Bathroom doors hitting vanities
- Fridge door blocking an island passage
- Closet doors conflicting with furniture
3) Furniture reality test
Use “boring” real sizes, not idealized ones. A sectional that is 118" wide will behave differently than a neat 96" placeholder.
Quick reference:
- Sofa depth: ~36–40"
- Dining chair pull-back clearance: ~36" behind chairs
- Bedside clearance: ~24–30" each side if possible
Step 6: Compare options without confusing stakeholders
A powerful use of a 3d floor plan is option comparison: open concept vs partial wall, island vs peninsula, tub vs shower. The mistake is presenting too many differences at once.
Option comparison rules
- Change one variable per option (e.g., only the kitchen layout, not kitchen + windows + bedroom).
- Keep camera angles consistent so the eye focuses on the change.
- Name options clearly (Option A: “Island + pantry wall”; Option B: “Peninsula + tall storage”).
- Summarize tradeoffs in one paragraph (cost, storage, openness, construction complexity).
Step 7: Make your exports decision-friendly
Renovation approvals rarely happen because a render is beautiful; they happen because the output answers specific questions. Export a small set of visuals that map to typical concerns.
Recommended export set
- Top-down 3D view: fastest way to understand overall layout
- Eye-level views: kitchen-to-living, entry, main hallway
- One “problem spot” close-up: the tight corner you’re solving
- Option A vs Option B side-by-side: same camera, two images
Presentation tip: Add short captions like “42" clear between island and pantry” or “Door swing clears vanity by 4".” Captions turn images into decisions.
AI-assisted conversion: where it shines and where to be cautious
AI home design tools can speed up the jump from 2D to 3D dramatically—especially when the input plan is clean. They’re great at creating a usable starting model for iteration and visualization.
However, renovations often include quirks that AI may not infer correctly without guidance:
- Non-standard wall thicknesses (older homes, masonry)
- Angled walls and bay windows
- Split levels (multiple floor heights)
- Ambiguous symbols (stairs, sliding doors, pocket doors)
The best workflow is hybrid: use AI to get 80% there fast, then do targeted corrections using your validation checklist.
Common mistakes that make a 3D floor plan unreliable
- Skipping scale anchoring and assuming the import is dimension-true
- Designing with placeholder furniture that’s smaller than reality
- Ignoring door swings until construction, when changes are expensive
- Over-rendering too early (materials and lighting before layout is finalized)
- Presenting too many options without a clear comparison structure
Putting it all together: a repeatable 60-minute workflow
- 10 min: Clean/crop input plan; choose a scale reference.
- 10 min: Convert to a base 3D model; set scale once.
- 10 min: Run the validation table (walls, openings, heights).
- 15 min: Zone spaces; run circulation + conflict checks.
- 15 min: Create Option A/B; export consistent views with captions.
Final thought
A renovation-ready 3d floor plan is less about photorealism and more about trustworthy geometry, clear options, and decision-focused exports. If you treat scale as sacred and use 3D to stress-test circulation, doors, and furniture, you’ll catch the issues that typically surface too late.
Note: If you prefer doing this on iPhone or iPad, tools like Floor Plan to 3D can help convert a black-and-white plan into a dimension-faithful 3D starting point for the workflow above.
