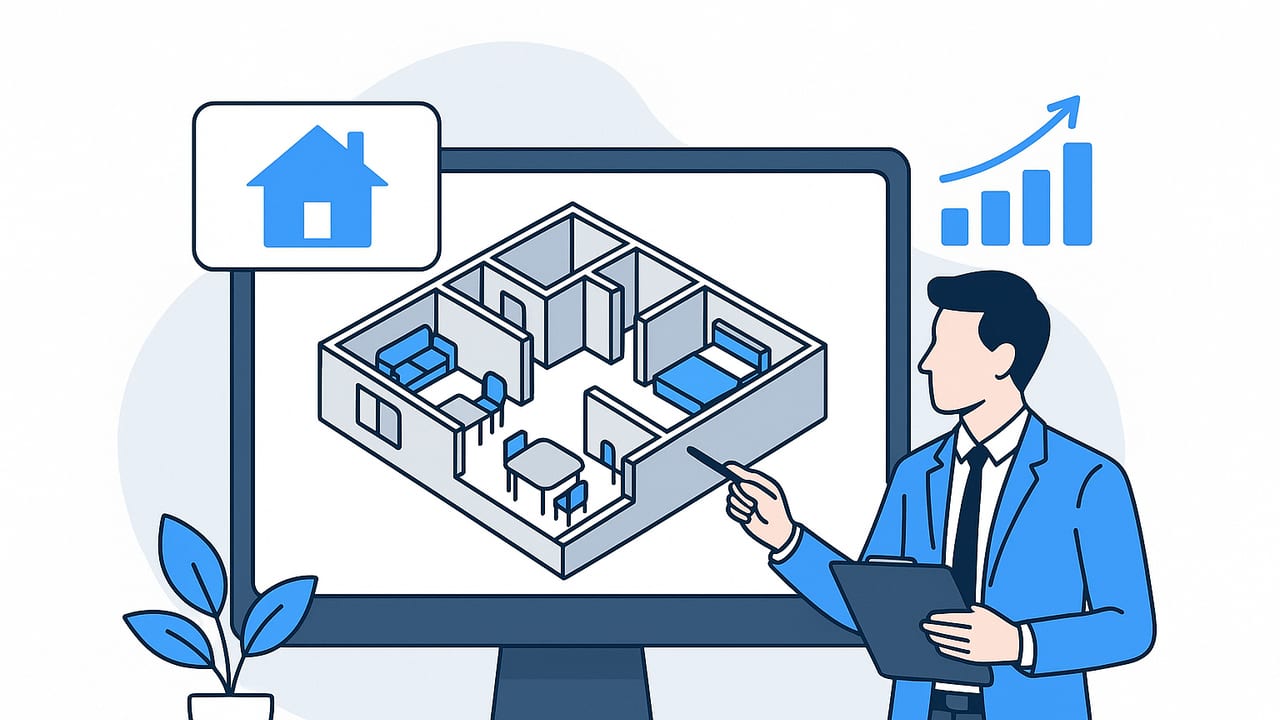
Buyers struggle to visualize how rooms connect, whether a king bed fits, or if the kitchen island leaves enough clearance. That gap between imagination and reality is exactly where 3D floor plan staging elevates your listing. By transforming a black-and-white layout into a furnished, to-scale 3D representation, you can guide attention, reduce objections, and prompt faster, more confident offers.
“If you want a buyer to picture themselves living there, don’t make them guess scale. Show it—accurately.”
This guide is written for real estate agents floor plan staging 3D to boost listing performance. It covers benefits, workflow, accuracy checks, pricing, ROI, and practical distribution tactics for MLS, portals, print, and social.
What Is 3D Floor Plan Staging?
3D floor plan staging is the process of furnishing and styling a floor plan in three dimensions. Unlike a traditional 2D plan that shows only walls and measurements, a 3D plan adds furniture, textures, lighting cues, and camera perspectives. The result is a clear, spatially accurate depiction of how a buyer will move through a home.
Key outcomes include:
- Spatial clarity: Buyers understand flow, sightlines, and scale in seconds.
- Objection handling: Demonstrate furniture fit and storage without physical staging.
- Marketing versatility: Export high-resolution images for print, MLS, portals, and social.
- Faster decisions: Better-qualified inquiries and fewer time-wasting showings.
3D vs. 2D vs. On-Site Staging
| Technique | Time | Typical Cost | Best For | Limitations |
|---|---|---|---|---|
| 2D Floor Plans | Fast | Low | Every listing; quick reference | No depth, harder to visualize scale |
| 3D Floor Plan Staging | Moderate | Low–Medium | Online marketing, pre-sales, new builds | Requires accurate dimensions; renders need QA |
| Physical Staging | Slow | Medium–High | Luxury listings, open houses, photography | Logistics, recurring rental costs |
When 3D Floor Plan Staging Makes the Biggest Impact
- New construction or pre-sales: Visualize unbuilt spaces accurately.
- Vacant or outdated homes: Neutral, modern virtual staging offsets vacancy and dated finishes.
- Tricky layouts: Narrow living rooms, angled bedrooms, or open-concept spaces that confuse buyers.
- Investor flips: Showcase potential while renovations are underway.
- Remote buyers: Deliver clarity across states or countries.
A Proven Workflow for Real Estate Teams
1) Gather source materials
- Floor plan: Ideally a black-and-white plan with exterior walls, interior partitions, fixed elements (kitchen, baths), and measurements.
- Dimensions: Verify scale and key spans (e.g., bedroom width, hallway width, island clearances).
- Design brief: Target buyer persona, style (e.g., Scandinavian, Transitional), and must-show features (workspace, dining for six, king bed).
2) Convert 2D to 3D
Use a tool or app that preserves scale when turning scanned plans into 3D models. Confirm orientation (north arrow, front door) and ceiling heights. Early accuracy matters; it prevents cascading errors in furniture placement and camera views.
3) Furnish strategically (not just aesthetically)
- Show scale: Use a king bed in the primary, queen in secondary bedrooms, and a standard 84–96 inch sofa where possible.
- Demonstrate clearance: Leave 36 inches minimum around beds and 42 inches in kitchen work aisles.
- Create zones: In open-plan areas, define conversation, dining, and work zones with rugs and lighting.
- Neutral style: Avoid polarizing design choices; prioritize broad appeal with subtle accents.
- Include storage: Visual cues like wardrobes or pantry shelving resonate with buyers.
4) Set camera angles that answer buyer questions
- Top-down axonometric: A hero image that shows the entire layout.
- Room-level perspectives: 2–4 angles that reveal furniture fit, sightlines, and window placement.
- Circulation shots: Highlight hallway widths and transitions between rooms.
5) Render for multiple channels
- Web/MLS: 1920–2560 px on the long side; JPG or PNG. Keep file sizes optimized for fast load.
- Print: 300 dpi exports for brochures and feature sheets.
- Social: 1:1 or 4:5 crops for Instagram; 16:9 for Facebook and YouTube.
6) QA and disclosure
- Scale check: Verify at least five key measurements in the render against the plan.
- Fixture placement: Confirm doors swing correctly, appliances fit, and windows align with walls.
- Labeling: Add a note such as “3D staged floor plan for visualization; dimensions approximate; verify on-site.”
Accuracy Tips That Build Trust
Credibility hinges on measurements. A staged image that shows the impossible (e.g., 48-inch range in a 42-inch gap) invites buyer skepticism. Use these tolerances and checks:
- Room dimensions: Keep within ±2% of the plan where possible.
- Clearances: Maintain 30–36 inches for bedroom and dining circulation; 42 inches for kitchen work aisles.
- Door swings and egress: Show code-compliant clearances where relevant.
- Furniture scale: Use real-world dimensions from manufacturer catalogs when showcasing premium pieces.
Pro tip: Save a “dimension overlay” version of the 3D plan. Some buyers (and appraisers) appreciate seeing dimensions mapped onto the render.
Cost, Timeline, and ROI
Costs vary by tool, throughput, and whether you outsource. The following estimates help set expectations:
| Item | Typical Range | Notes |
|---|---|---|
| Conversion (2D → 3D) | $20–$150 per plan | DIY apps cheaper; pro studios higher |
| Virtual Furnishing | $30–$200 per room | Complex spaces cost more |
| Total (avg 6 rooms) | $180–$1,200 | Depends on finish and number of views |
| Turnaround | 24 hours–5 days | Rush fees may apply |
What about returns? Agents report faster time-to-lead, stronger online engagement, and clearer buyer qualification. A simple model:
| List Price | Expected Impact | Marketing Cost | Potential Net ROI |
|---|---|---|---|
| $300k–$500k | 1–3 extra offers, 1–2% higher | $250–$600 | $3,000–$10,000+ |
| $500k–$1M | 1–4 extra offers, 1–2% higher | $300–$900 | $5,000–$20,000+ |
| $1M+ | 2–5 extra offers, 1–3% higher | $500–$1,500 | $10,000–$30,000+ |
Actual outcomes vary by market conditions, pricing, and property condition. The consistent benefit is clarity: buyers better understand what they’re getting.
Design Choices That Convert
- Neutral palette with one accent color per space (e.g., navy throw pillows, single art piece).
- Lighting: Simulate daylight; show how windows brighten the space.
- Rugs: Use them to define zones, especially in open layouts.
- Work-from-home: Stage at least one dedicated or convertible workspace.
- Storage cues: Benches with storage, built-ins, or wardrobes help buyers plan.
- Outdoor living: Furnish balconies and patios to highlight usable square footage.
MLS and SEO: Make Your 3D Floor Plans Discoverable
To get more visibility, treat your 3D floor plans like valuable content assets:
- File names: Include address, room, and “3d-floor-plan.”
- Alt text: Describe the room and scale details for accessibility and search.
- Captions: Mention “to-scale 3D staged floor plan” to set expectations and improve search relevance.
- Landing page: Host a gallery on your site with structured data pointing to images.
# Example file names
1234-oak-ave-living-room-3d-floor-plan-1920.jpg
1234-oak-ave-top-down-3d-floor-plan-full-layout.png

# Example alt text
"To-scale 3D floor plan of living room showing 96-inch sofa and 42-inch kitchen clearance"
Compliance and Ethical Considerations
Virtual staging must not mislead. Keep these standards:
- Accuracy: Do not move structural walls or misrepresent windows/doors.
- Disclosure: Include a note that images are virtually staged for visualization.
- Condition: If the home is unfinished or dated, avoid textures that imply renovations unless clearly marked as concept visuals.
- Local rules: Review MLS guidelines—some require watermarks or explicit captions.
Common Pitfalls (and How to Avoid Them)
- Overfilling rooms: Crowding makes spaces feel smaller. Prioritize essential pieces.
- Inconsistent scale: Mixing oversized and undersized furniture erodes trust.
- Harsh lighting: Unrealistic shadows signal “fake.” Use soft, natural lighting.
- Ignoring circulation: Blocked pathways are a red flag. Keep clear, navigable routes.
Quality Control Checklist
- Match room names to the plan (Primary Bedroom, Bedroom 2, Flex Room, etc.).
- Verify five key dimensions (room width, island length, bed size, sofa size, hallway width).
- Door and window positions align with the plan.
- Clearances: 36 inches at bed sides; 42 inches in kitchen work aisles.
- Neutral style and decluttered look for broad appeal.
- Export variants: 300 dpi print, web-optimized, and MLS-compliant sizes.
- Disclosure tag present on every image variant.
Case Example: Turning a Narrow Living Room into a Strength
Problem: A 12' x 18' living room felt tight on photos. Buyers assumed a sectional wouldn’t fit.
3D Staging Approach:
- Placed a 90-inch sofa on the long wall and a 60-inch media console opposite.
- Added a 5' x 8' rug to define the seating area and a slim 16-inch-deep console behind the sofa.
- Used a 30-inch round coffee table to ease circulation.
- Top-down view proved 36-inch pathways around the coffee table and clear access from the entry.
Outcome: The listing description called out the measured clearances shown in the 3D plan. Showings doubled in the first week, and the property received multiple offers over asking.
Scaling the Process Across Your Team
- Template library: Save room presets (primary bedroom, den/office, dining for six) to accelerate staging.
- Naming conventions: Use consistent file names and a folder structure by address and room.
- Style guides: Establish a neutral, brand-aligned style to keep your portfolio cohesive.
- Centralize QA: One person signs off on dimensions and disclosure before publishing.
Final Thoughts
3D floor plan staging converts uncertainty into clarity. It respects buyers’ time, sets honest expectations, and elevates your marketing without the logistics of physical staging. For real estate teams, the winning combination is accuracy, restraint, and repeatable workflow. Start with your next vacant listing or new-build preview and measure what changes: click-throughs, showing requests, and offer quality.
If you need a streamlined way to turn black-and-white 2D plans into accurate, camera-ready 3D with exportable high-resolution images, consider trying the iOS app Floor Plan to 3D, which preserves dimensions and proportions so your staged visuals remain true to the original layout.
