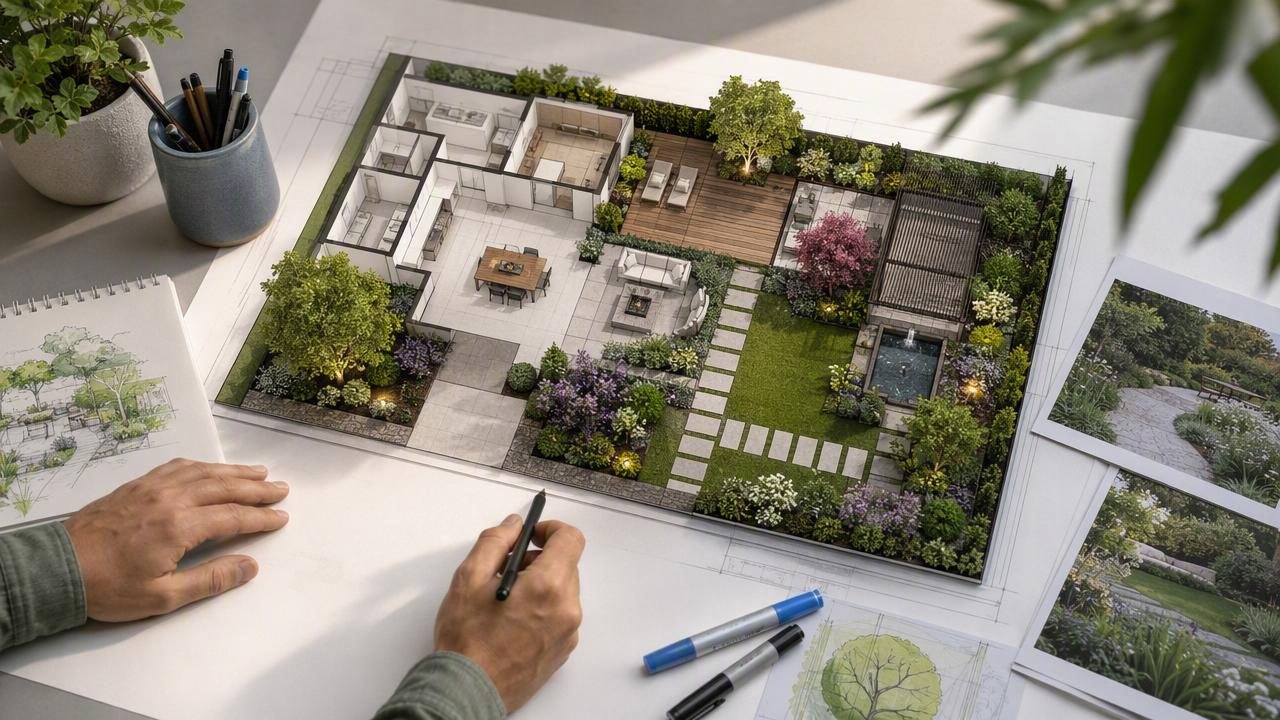
Landscape projects are easier to explain when clients can see how the house, garden, hardscape, and outdoor living areas relate to one another. A 2D property plan may contain valuable information, but many homeowners struggle to interpret symbols, boundaries, dimensions, and proposed planting zones from a flat drawing alone.
A 3D floor plan renderer can help landscapers turn a readable floor plan or blueprint into a visual starting point for early discussions. Rather than replacing a detailed site survey, planting plan, drainage design, or construction drawing, a 3D render can make broad layout decisions easier to review before work begins.
This guide explains how landscapers can use 3D floor plan renders to develop outdoor concepts, communicate with clients, identify questions early, and avoid presenting visual ideas as construction-ready documents.
Why 3D Floor Plan Renders Matter in Landscape Design
Landscape design sits at the meeting point of indoor and outdoor space. The location of patio doors, kitchen windows, bedrooms, driveways, garages, pools, and existing paths all affect how an exterior area should function. A flat plan can show those relationships, but a three-dimensional view often makes them more immediate.
For example, a homeowner may say they want a dining terrace, a children’s play area, screening plants, and a fire feature. On a 2D plan, these requests can become a collection of labels. In a visual concept, the homeowner can better understand whether the dining area sits close to the kitchen, whether the play space can be seen from the house, and whether the proposed screening could affect views from windows.
The goal is not perfect measurement. The goal is to create a shared visual language for discussing priorities.
What a 3D Renderer Can and Cannot Do
Before using any floor plan conversion or home redesign tool, establish the right expectations. A generated image can be useful for concept review, but it is not automatically a surveyed landscape model.
| Useful for | Not a substitute for |
|---|---|
| Showing broad relationships between the house and outdoor zones | Boundary verification or legal property-line confirmation |
| Discussing possible patio, lawn, planting, or circulation areas | Grading, drainage, irrigation, or structural engineering plans |
| Comparing early style directions for an exterior refresh | Exact material quantities or installation specifications |
| Helping clients understand a proposed layout | Measured CAD/BIM models or guaranteed construction dimensions |
Even when a source plan includes dimensions, labels, and clear linework, review the generated result against the original source. Check door positions, room outlines, windows, attached garages, and major exterior access points. A clear source image does not guarantee accurate generated geometry.
Start With the Right Source Material
A 3D floor plan renderer is most helpful when the input clearly communicates the part of the property you need to discuss. For landscapers, an interior floor plan alone is often not enough. It can establish the building footprint and access points, but the outdoor concept also depends on site context.
Useful materials to gather
- A clean floor plan showing exterior walls, doors, windows, and room labels.
- A site plan, survey, or sketch showing lot edges, driveway, existing paths, decks, fences, and major trees.
- Current photographs taken from the house toward the garden and from key outdoor viewpoints.
- Notes about sun exposure, privacy concerns, drainage issues, utility locations, and local restrictions.
- A short client brief that ranks needs, such as entertaining, storage, play, gardening, accessibility, or low maintenance.
If the available plan is a scanned document, make it easy to read before conversion. Crop away unrelated pages, avoid shadows and folds, and make sure fine wall lines and text are visible. If a site plan and a building plan are separate, keep both available during review instead of assuming the exterior context was captured in the render.
A Practical Workflow for Landscape Concepts
The following workflow keeps the render focused on design communication rather than false precision.
- Identify the decision to be made. Start with a specific question: Where should the outdoor dining area go? Which side of the garden should hold the play zone? How can a client gain privacy without closing off daylight?
- Mark indoor-to-outdoor connections. Highlight the main entry, rear door, kitchen access, living-room glazing, utility door, and any steps or existing terraces. These points influence circulation and daily use.
- Create functional zones before selecting details. Assign broad areas for arrival, cooking, dining, lounging, lawn, planting, storage, and service access. Avoid debating plant species before the client agrees on the layout.
- Use the render as an early visual concept. Generate a visual view from the available plan or combine it with room and exterior photos where appropriate. Keep a copy of the original plan nearby for comparison.
- Review the result with the client. Ask practical questions about movement, privacy, shade, maintenance, and sightlines. Record decisions and unresolved issues.
- Transfer approved ideas into technical documentation. Once the concept is agreed, verify all dimensions, levels, materials, drainage requirements, utilities, and regulations through the appropriate professional process.
Concrete Example: Reworking a Small Rear Garden
Consider a landscaper working on a compact rear garden behind a two-story home. The floor plan shows a kitchen at the rear left, a family room opening onto the garden at the center, and a side gate beside the garage. The homeowners want outdoor dining, more privacy from neighboring windows, and a clear route for bins and garden equipment.
The first 3D concept should not begin with a detailed planting palette. Instead, the landscaper can use the plan to test three broad zones:
- A paved dining terrace close to the kitchen door for convenient serving.
- A central open area that preserves a view from the family room.
- A narrow side route from the gate to storage, kept separate from the dining area.
During the review, the render may reveal that a large dining table blocks the visual connection between the family room and the garden. The client may also notice that a proposed privacy screen would be directly visible from the kitchen. These are useful findings, even though the image is not dimension-true.
The next concept might shift the dining space toward one side, use layered planting as a softer privacy idea, and reserve a clear service path. The landscaper can then confirm actual clearances, fence rules, drainage direction, and planting conditions before finalizing the design.
Use the image to prompt better questions: “Can two people pass here with garden equipment?” “Will the dining area receive afternoon sun?” “What will be visible from the family room?”
How to Review a 3D Landscape-Adjacent Render
When reviewing a generated floor plan render, focus first on the elements that influence landscape planning. A visually appealing image is less useful if the building relationship is wrong.
Check these items against the source plan
- Exterior door locations and door swing assumptions.
- Major windows and glazing that affect views and privacy.
- The outline of the house, garage, porch, or conservatory.
- Existing decks, steps, driveways, and access routes shown in the source.
- Room labels that explain likely activity near an exterior wall, such as kitchen or living room.
If an important feature is missing, unclear, or visually distorted, do not quietly build the design decision around it. Return to the original documentation, annotate the issue, or request better source information. It is safer to label an item “to be confirmed” than to imply a visual concept has verified a site condition.
Presenting Concepts Without Overpromising
Clients often respond strongly to realistic-looking visuals. That makes clear labeling essential. When presenting an early render, describe it as a concept image, layout study, or discussion visual. Avoid calling it an approved construction plan unless it has been developed and checked through the proper technical workflow.
A simple presentation format can help:
- Page 1: Existing floor plan and site information.
- Page 2: Concept render with numbered outdoor zones.
- Page 3: Notes on assumptions, open questions, and client choices.
- Page 4: Next-step requirements, such as a site measure, drainage review, or material selection.
This approach protects both the client and the designer. It also makes meetings more productive because everyone can distinguish between an idea that is approved in principle and a detail that still needs verification.
Use Renders to Compare Design Directions
Landscapers can also use 3D concepts to compare different priorities without producing a fully detailed drawing for each one. For instance, one option may prioritize a larger lawn, another may prioritize entertaining space, and a third may focus on low-maintenance planting and storage.
Keep the comparison fair by changing one or two major variables at a time. If every option changes the patio location, fence style, planting density, lighting, and furniture arrangement, clients may struggle to understand what they are choosing.
A useful comparison table might include:
| Option | Main advantage | Question to verify |
|---|---|---|
| Entertaining-led layout | More space for dining and seating | Does it leave enough planting and service access? |
| Family-led layout | Clear open play or lawn area | Can privacy and storage be maintained? |
| Low-maintenance layout | Less lawn and fewer complex beds | How will surface water be managed? |
Final Takeaway for Landscapers
A 3D floor plan renderer can make early landscape conversations clearer by showing how exterior zones connect to the home. It is especially valuable when clients find 2D plans difficult to read or need help choosing between broad layout directions.
Use renders to explore, explain, and record decisions. Then verify the real-world details through surveys, site measurements, specialist input, and applicable approvals. That balance turns an attractive visual into a practical part of a responsible landscape design process.
For teams that need a quick visual starting point from a plan, Floor Plan to 3D & Home Redesign’s floor plan to 3D guide explains how plan-based images can support early concept review before technical documentation is prepared.
