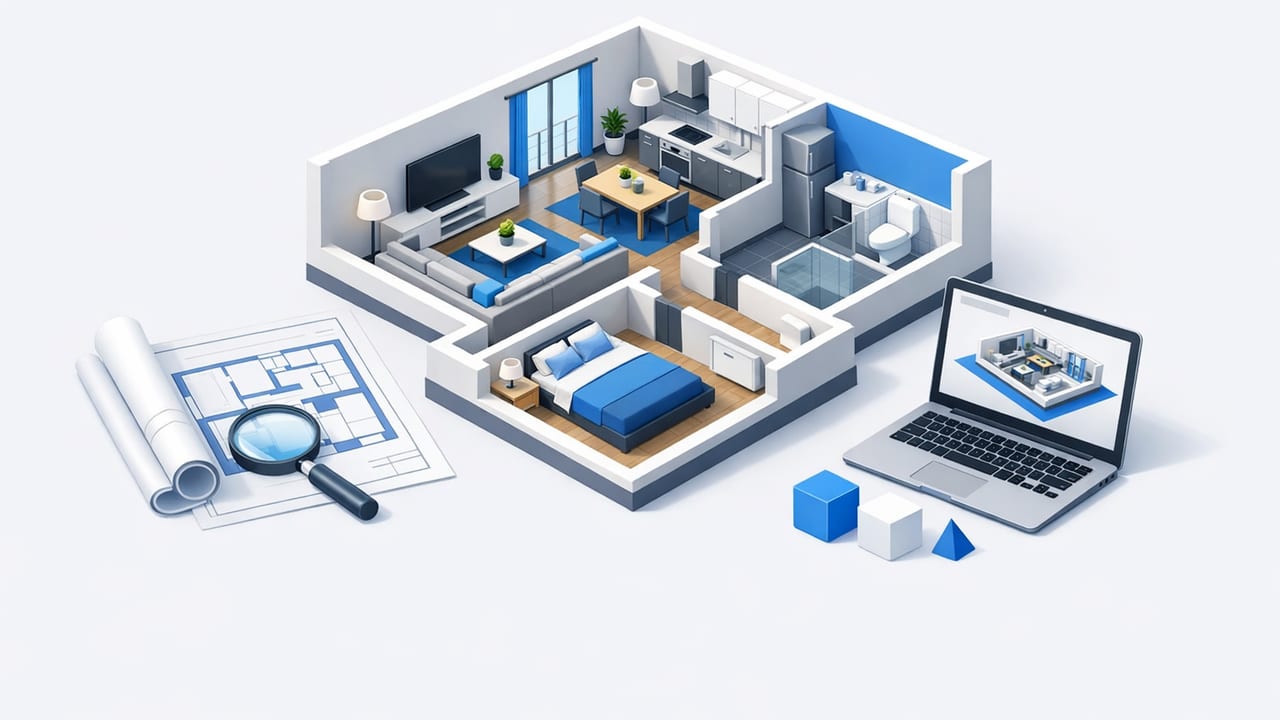
A 3D floor plan turns a flat drawing into a visual layout you can understand instantly—room sizes, circulation, sightlines, and furniture scale. Whether you’re planning a renovation, preparing a real estate package, or exploring interior design options, a 3D view helps you spot issues that are easy to miss in 2D (tight hallways, awkward door swings, undersized bedrooms, or wasted corners).
This guide walks through an accuracy-first workflow: converting a 2D plan into a reliable 3D floor plan, validating dimensions, using an AI room planner to test layouts, and exporting shareable renders for decisions and approvals.
Why a 3D floor plan beats “guessing from 2D”
2D plans are efficient for documentation, but they require experience to interpret. A 3D floor plan makes design intent obvious to non-technical stakeholders and reduces rework during planning.
- Faster decisions: Clients and family members can react to space, not symbols.
- Fewer layout mistakes: You can see scale conflicts (e.g., sofa depth vs. walkway clearance).
- Better communication: Contractors, agents, and designers align earlier on expectations.
- Stronger proposals: A clean render often clarifies scope and value faster than a page of notes.
Start with the right input: what to prepare before conversion
The quality of your 3D floor plan depends on the quality of the source. You can work from a scanned blueprint, a PDF, or a photo of a printed plan—as long as key elements are visible.
Minimum details your floor plan should show
- Room boundaries (walls clearly defined)
- Openings (doors and windows, ideally with swing arcs or widths)
- Labels (room names help automate zoning and furniture suggestions)
- At least one known dimension (to calibrate scale if the plan isn’t already scaled)
Quick cleanup tips (especially for photos)
- Square the image: Avoid perspective distortion; take photos straight-on when possible.
- Increase contrast: Clear black lines on a white background improve recognition.
- Crop tightly: Remove legends and page borders if they confuse wall detection.
- Check legibility: Dimensions and labels should be readable at 100% zoom.
The accuracy-first workflow for a 3D floor plan
Many 3D plans look good at first glance but drift from the original layout. Use this workflow to prioritize accuracy and keep the 3D model faithful to the source.
Step 1: Calibrate scale before you decorate
If scale is off, every downstream decision becomes unreliable (furniture sizing, clearances, even window placement). Pick a known measurement—like a corridor width or a labeled wall length—and use it as the anchor. Then verify at least two additional distances across different parts of the plan.
Rule of thumb: Don’t place furniture until you confirm the model matches the plan’s dimensions in multiple places.
Step 2: Confirm wall thickness and room boundaries
Wall thickness influences room area, door placement, and how “tight” spaces feel in 3D. If your goal is space planning (not construction drawings), choose a consistent thickness and focus on interior clear dimensions. If your goal is renovation coordination, match the plan’s wall types when possible (interior partitions vs. exterior walls).
Step 3: Validate openings (doors and windows)
Openings are where many 3D floor plan conversions go wrong. Confirm:
- Door swings: Ensure doors don’t collide with fixtures or furniture.
- Window locations: Align them to the correct wall segments; misplacement affects exterior elevation ideas.
- Widths: Entry doors, sliders, and closet doors need realistic clearances.
Step 4: Assign room functions and constraints
A room label isn’t just a name—it drives layout logic. A kitchen needs working zones; a bedroom needs bed clearances; a bathroom needs fixture spacing. As you assign rooms, note constraints that will guide your redesign:
- Structural/no-go walls
- Plumbing stacks and wet walls
- Window/door immovables
- Traffic paths between key rooms
Using an AI room planner without losing control
AI room planner features can accelerate layout exploration—especially for furniture placement, zoning, and styling. The key is to treat AI as a draft generator, then apply basic spatial rules to validate the suggestions.
What AI is great for
- Generating multiple layout options quickly (living rooms, bedrooms, home offices)
- Suggesting furniture groupings that match the room’s proportions
- Exploring style directions (minimal, contemporary, Scandinavian, etc.)
- Staging empty rooms for marketing visuals
What you still need to check manually
- Walkway clearances: Main routes should stay comfortable and unobstructed.
- Door clearance zones: Doors must open fully without hitting furniture.
- TV viewing distances: Avoid placing screens too close or too far for the room size.
- Kitchen triangles and landing areas: Fridge, sink, and cooktop should be practical.
Interior redesign vs. exterior refresh: how 3D floor plans support both
A 3D floor plan is often thought of as an interior tool, but it also strengthens exterior decisions because interior window and door positions drive facade rhythm.
| Goal | What to model in 3D | What to evaluate |
|---|---|---|
| Interior redesign | Room layout, furniture, finishes, lighting | Flow, scale, storage, sightlines, comfort |
| Renovation preview | Wall changes, openings, key built-ins | Constructability, space gain, trade-offs |
| Exterior refresh | Facade massing, windows/doors alignment, materials | Curb appeal, proportions, consistency with interior |
| Empty-room staging | Furniture placement + neutral styling | Perceived size, function clarity, listing appeal |
A practical checklist: quality control for an accurate 3D floor plan
Before you export images for a proposal or presentation, run this quick QA pass. It prevents the most common “looks good, but it’s wrong” issues.
- Scale check: Verify 3+ dimensions across the plan (not just one wall).
- Room labels: Confirm every room is named and matches the plan’s intent.
- Openings: Doors and windows are on the correct walls with realistic sizes.
- Wall continuity: No gaps or overlaps at corners; aligned partitions.
- Ceiling height assumption: Use a consistent baseline unless you know otherwise.
- Furniture realism: Avoid undersized/oversized pieces that misrepresent capacity.
- Viewpoints: Capture at least one top-down 3D plan view plus 2–4 interior angles.
Export and sharing: make your renders decision-ready
When stakeholders review a 3D floor plan, clarity matters more than artistic flair. Use consistent camera angles, readable labels, and a simple visual hierarchy. If you’re sharing multiple options, keep everything constant except the changes you want feedback on.
Recommended export set for proposals
- 3D floor plan overview: a clean axonometric/top-down 3D view
- Option A vs. Option B: identical camera angles to compare layouts
- Key room perspectives: kitchen, living area, primary bedroom (2–4 images)
- One annotated image: short callouts for major changes (not paragraphs)
Simple naming convention for files (keeps teams organized)
ProjectName_Level_RoomOrView_Option_Revision.png
OakSt_1F_3DFloorPlan_OptionA_r03.png
OakSt_1F_KitchenView_OptionB_r01.png
Common pitfalls (and how to avoid them)
1) Making it “pretty” before it’s correct
Textures, decor, and lighting can hide layout problems. Lock geometry first: walls, openings, and scale. Then style.
2) Ignoring circulation
Even if furniture fits, it might block how people move. In your 3D floor plan, trace the daily paths: entry → kitchen, bedroom → bathroom, living room → outdoor access. If paths feel tight in 3D, they will feel tighter in real life.
3) Assuming all dimensions are interior clear sizes
Some plans dimension to wall centerlines or exterior faces. If measurements don’t match, check the plan’s dimensioning standard before concluding the model is wrong.
4) Over-trusting auto-detected walls
Floor plan conversion tools can misread thick lineweights, stairs, or built-ins as walls. Always inspect corners, stair zones, and utility rooms where linework is dense.
FAQ: 3D floor plan basics
How accurate can a 3D floor plan be from a scanned blueprint?
Accuracy depends on image quality and whether you calibrate scale using known dimensions. With a clear scan and careful validation, you can get a highly reliable layout for planning, redesign, and presentations.
Do I need construction-level detail?
Not always. For early renovation previews and interior design, prioritize correct room sizes, door/window placement, and realistic furniture scale. Construction documents require additional verification and professional review.
What’s the fastest way to compare multiple redesign ideas?
Duplicate the base model, keep camera angles consistent, then change only one variable at a time (layout, furniture plan, or finishes). Side-by-side exports make feedback specific and actionable.
Putting it all together
A dependable 3D floor plan is less about flashy rendering and more about trustworthy geometry. Start with clean input, calibrate scale, confirm walls and openings, then use AI room planner features to explore options—while you enforce clearances and practical constraints. Finally, export a consistent set of views so stakeholders can approve changes with confidence.
If you prefer doing this workflow on iPhone or iPad, an app like Floor Plan to 3D & Home Redesign can help streamline floor plan conversion, quick 3D renders, and redesign previews without heavy 3D software.
