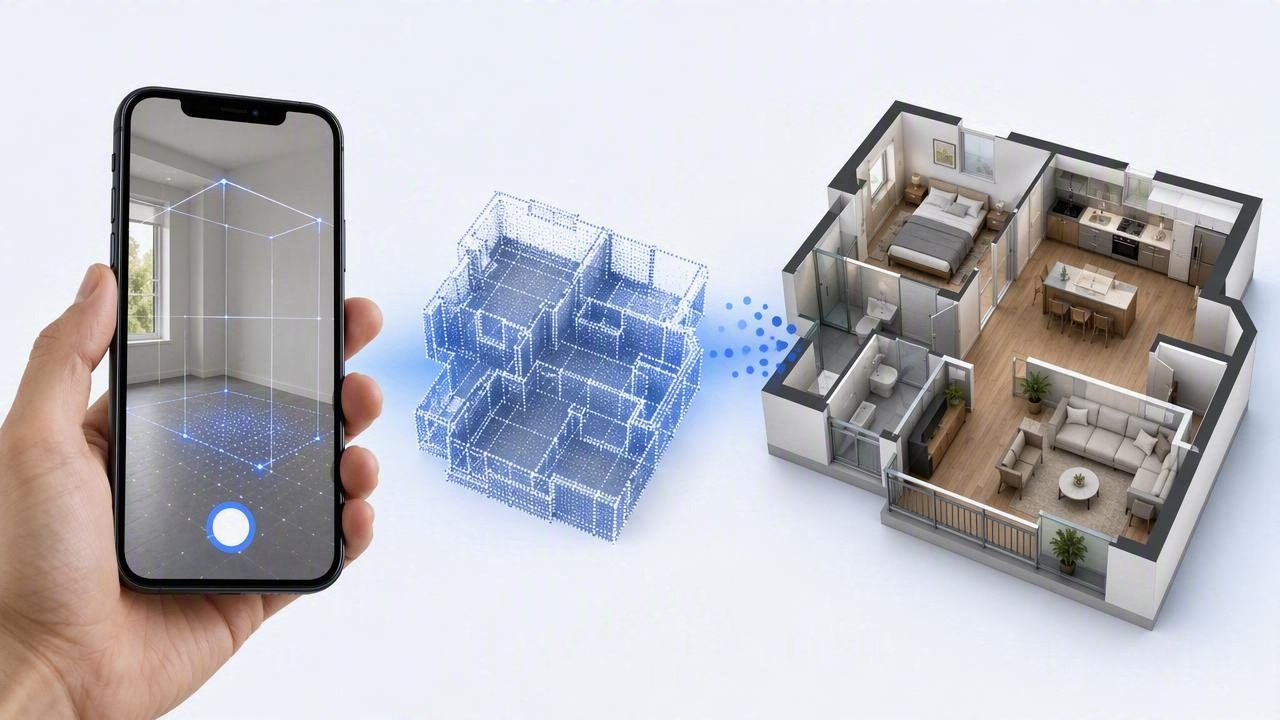
If you’ve ever tried to explain a renovation idea using a black-and-white floor plan, you already know the problem: most people can’t “see” the space from lines, symbols, and dimensions alone. A 3d floor plan generator ios app bridges that gap by turning a scanned plan or blueprint into a clean 3D view you can rotate, screenshot, and share—without the learning curve of heavy CAD or 3D software.
This guide focuses on practical accuracy: how to get a reliable conversion, how to avoid the most common scale and layout errors, and how to use AI room planning features responsibly so your 3D renders remain true to the original plan.
What a 3D floor plan generator on iOS should actually do
Not all “floor plan” apps solve the same problem. Some are manual drawing tools, some are AR measurement tools, and others specialize in converting an existing 2D plan into 3D. If you’re starting from a blueprint, you want a workflow that preserves the plan’s intent and critical details.
- Plan-to-3D conversion: Import a photo/PDF of a floor plan and generate a 3D model based on walls, rooms, and openings.
- Scale handling: Use embedded dimensions (or a reference measurement) to keep proportions correct.
- Readable labels: Maintain room names, dimension text, and symbols in a way that doesn’t distort the layout.
- AI room planner support: Suggest furniture layouts or redesign options while respecting circulation paths and code-like clearances.
- Exportable 3D renders: Provide high-resolution images suitable for client presentations, proposals, or listing materials.
Choosing the right app: a feature checklist that prevents rework
When the output is used for budgeting, scope discussions, or client sign-off, small errors create big confusion. Use this checklist before you commit to a workflow.
1) Accuracy controls (must-have)
- Reference scaling (set one known measurement like a wall length).
- Editable walls/openings (fix misread windows/doors without restarting).
- Room boundary correction (merge/split rooms if the scan is noisy).
2) Scan/import quality (high impact)
- Photo import that tolerates skew (taken at an angle) plus perspective correction.
- PDF support for clean digital plans.
- Legible thin lines and the ability to handle faint blueprint backgrounds.
3) Rendering and sharing (where the value shows)
- Multiple viewpoints (top-down 3D, dollhouse, eye-level walkthrough).
- High-res export (so text and edges don’t blur in presentations).
- Consistent styling (materials and lighting that communicate form without distracting from layout).
Quick comparison table
| Need | Look for | Why it matters |
|---|---|---|
| Blueprint conversion | Auto wall detection + manual correction | Fast start, but fixable when the scan is imperfect |
| Renovation planning | Editable openings, wall thickness, room boundaries | Lets you test “what if” changes without breaking the plan |
| Client presentations | High-resolution 3D renders + consistent camera views | Reduces back-and-forth and misinterpretation |
| AI room planner ideas | Layout suggestions with clearance awareness | Prevents unrealistic furniture placement |
Step-by-step workflow: from floor plan image to dependable 3D
The most reliable process is part scanning discipline, part verification. Here’s a practical sequence you can repeat.
Step 1: Capture or import the plan correctly
- Prefer a PDF if you have one (clean lines, no glare).
- If photographing paper: use even lighting, avoid shadows, and fill the frame with the plan.
- Keep your camera as parallel as possible to reduce perspective distortion.
Step 2: Establish scale before trusting anything
A 3D model is only as useful as its scale. If the plan includes dimensions, use them. If not, pick one real-world measurement you can verify (e.g., a standard door width or a taped wall length).
Rule of thumb: Set scale using the longest clearly labeled dimension available. Small measurement errors compound across multiple rooms.
Step 3: Confirm walls, openings, and room boundaries
Auto-detection is rarely perfect, especially with older photocopies or thick blueprint lines. Before you render, verify these items:
- Exterior walls: continuous and correctly aligned at corners.
- Interior partitions: no accidental gaps or overlaps.
- Doors: swing direction matters for furniture layouts and circulation.
- Windows: placement affects natural light and exterior elevations.
Step 4: Use AI room planning as “options,” not truth
AI room planner features are excellent for generating quick alternatives, but treat them like concept sketches. Before adopting an AI layout, validate:
- Circulation: can someone walk from entry to key rooms without squeezing through tight gaps?
- Clearances: around beds, dining chairs, kitchen work zones, and door swings.
- Function: the layout matches how the space is actually used (TV wall, desk needs, storage).
Step 5: Choose render views that answer specific questions
Don’t export random camera angles. Match views to decisions:
- Top-down 3D to compare layouts quickly.
- Dollhouse cutaway to explain relationships between rooms.
- Eye-level corners to evaluate furniture scale and sightlines.
Accuracy pitfalls (and fixes) that matter most
Pitfall: Misread wall thickness
Thick lines can cause apps to interpret walls as wider than they are. Fix by setting standard wall thicknesses (or adjusting to match known dimensions), then re-check room sizes.
Pitfall: Doors/windows get skipped or duplicated
Blueprint symbols vary widely. If openings are wrong, AI furniture layouts will also be wrong. Manually correct openings before you plan interiors.
Pitfall: Plan crop cuts off a reference point
If the capture misses a corner, the model can “close” the shape incorrectly. Re-import with full margins visible, then crop inside the app if needed.
Pitfall: Trusting a single measurement
After setting scale, verify at least two more dimensions on different parts of the plan (e.g., overall length and a bedroom width). If they don’t match, your scale or detection is off.
Mini checklist you can paste into your project notes
3D Plan Verification (2 minutes)
- Scale set from longest labeled dimension
- Overall width/length matches plan
- Exterior corners aligned and closed
- All doors present + swing direction correct
- Major windows placed correctly
- Room names match plan (bed/bath/kitchen)
- Export views: top-down 3D + dollhouse + 2 eye-level angles
Practical examples: how different users benefit
Homeowners: faster renovation decisions
When comparing open-concept options or kitchen layouts, a 3D render clarifies what “moving this wall” really does to circulation and storage. The best workflow: convert the plan, lock scale, then create two or three layout variants for side-by-side review.
Real estate and staging: visual clarity without full CAD
Empty-room staging concepts land better when buyers can see furniture scale. A clean 3D floor plan can show a functional living/dining split or a work-from-home nook without commissioning a full 3D modeling job.
Designers/contractors: fewer misunderstandings
Even when the final deliverable is a construction set, early 3D previews help clients align on intent. Use renders to confirm scope: which walls change, what stays, and what the “after” layout means for daily use.
Exporting and presenting: make the render easy to read
A great 3D model can still fail if it’s hard to interpret. Use these presentation tips:
- Keep materials neutral for early planning (focus on layout first, finishes second).
- Add simple labels (Kitchen, Primary Bed, Bath) to reduce confusion.
- Use consistent camera positions across options so differences are obvious.
- Include one “truth” view: a top-down 2D/3D alignment or dimension overlay if available.
FAQ: common questions about iOS floor plan conversion
Can I convert a hand-drawn plan?
Often yes, if lines are clean and rooms are clearly bounded. Expect more manual correction for openings and wall continuity.
How accurate are 3D renders from scanned blueprints?
They can be very close when scale is set correctly and walls/openings are verified. The largest errors typically come from poor capture (skew, blur) or missing dimension references.
Do I need LiDAR?
Not for plan-to-3D conversion from an existing blueprint. LiDAR helps for scanning real spaces, but imported plans rely more on image quality and correct scaling.
What should I export for a contractor or client?
Export a top-down 3D view for layout, a dollhouse view for context, and 2–4 eye-level views for key areas (kitchen, living, primary bedroom). If available, include a high-res image that preserves labels and dimensions.
Conclusion: the best results come from a repeatable accuracy-first workflow
A 3d floor plan generator ios app is most valuable when it helps you move quickly without guessing. Capture/import cleanly, set scale from a reliable dimension, correct walls and openings, then use AI room planning to explore options—always validating clearances and real-world usability. The outcome is a set of 3D renders that communicate the layout clearly and make decisions easier for everyone involved.
If you’d like to try a blueprint-to-3D workflow on iPhone, Floor Plan to 3D & Home Redesign is one iOS option that focuses on converting plans into clean 3D renders and supporting fast redesign previews.
