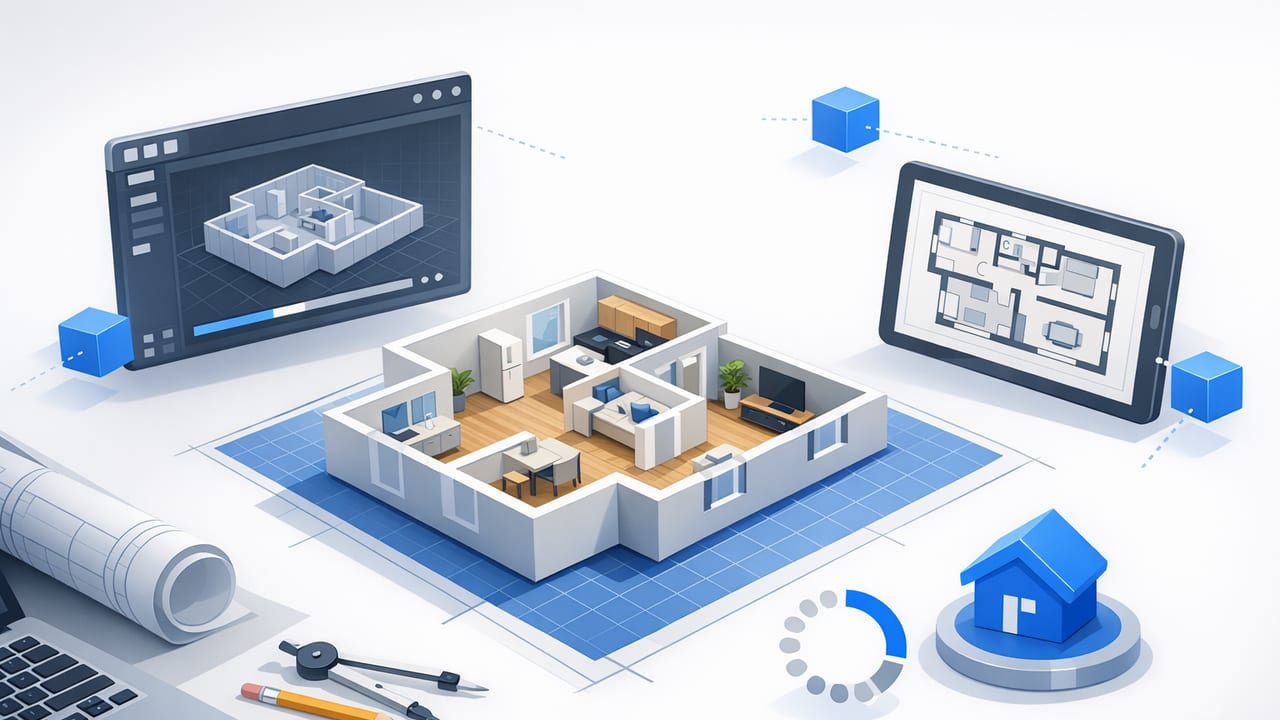
A 3d floor plan is more than a “nice-looking render.” Done well, it’s a practical decision tool that helps you test layout ideas, validate circulation space, and communicate design intent to contractors, clients, or family members. Done poorly, it can hide proportion errors, distort room sizes, and lead to costly rework.
This guide breaks down the essentials of building a dimension-true 3d floor plan—from preparing your 2D input to validating scale, adding furniture, and exporting visuals that stakeholders can actually use.
Why a 3D floor plan works better than 2D for real decisions
2D drawings are precise, but they require fluency: you need to mentally translate lines and symbols into spatial experience. A 3d floor plan reduces interpretation effort and makes problems obvious earlier.
- Spatial clarity: See how rooms relate, where walls block sightlines, and how open areas feel.
- Circulation checks: Test door swings, hallway widths, and “pinch points” around islands and sofas.
- Communication: Non-technical stakeholders understand a 3D view faster than annotated plans.
- Iteration: Try multiple furniture arrangements without redrawing everything from scratch.
Start with the right 2D input (this determines your accuracy ceiling)
Your 3D output can only be as accurate as the plan you feed into the process. Whether you’re using an AI conversion tool, manual modeling, or a hybrid workflow, the same principles apply.
Best sources for a clean floor plan
- Vector CAD/PDF (best): crisp lines, consistent thickness, minimal distortion.
- High-resolution scan: works well if square to the page and evenly lit.
- Phone photo: acceptable, but distortion and shadows need cleanup.
Checklist: prepare a plan image for 3D conversion
- Straighten the image (no tilt).
- Crop tightly to the floor plan (remove margins, notes if possible).
- Increase contrast so walls read as solid and continuous.
- Remove visual noise: stamps, coffee stains, heavy shading, overlapping markups.
- Confirm at least one known dimension (e.g., a 10' wall) to verify scale later.
Accuracy tip: If your plan has mixed line weights, ensure walls are the darkest and most continuous elements. Many tools interpret bold, closed shapes as “structure.”
Scale and proportion: the non-negotiables of an accurate 3D floor plan
Most “looks right” failures come from scale drift: a room that’s 10% too small still looks plausible in 3D, but furniture won’t fit and walking space disappears.
Three quick ways to validate scale
- Reference wall test: Compare a known wall length in the 3D model to the plan dimension.
- Door sanity check: Standard interior doors are commonly 28–36 inches (710–915 mm). If doors look unusually narrow/wide, scale may be off.
- Furniture fit test: Drop in a bed (Queen is typically ~60" × 80" / 152 × 203 cm) or a sofa (~84" / 213 cm). If it overwhelms the room, re-check scale.
Common proportion traps (and how to avoid them)
| Trap | What it looks like | Fix |
|---|---|---|
| Photo distortion | One side of the plan “stretches” | Re-shoot square-on or correct perspective before conversion |
| Missing dimensions | Model is consistent but globally scaled wrong | Calibrate using one confirmed measurement |
| Wall thickness ambiguity | Rooms feel smaller than expected | Set wall thickness rules (interior vs exterior) and keep consistent |
| Door swings ignored | Layouts “work” until doors collide with furniture | Model door swing arcs and keep clearances |
Model the structure first: walls, openings, and heights
Before you think about furniture or materials, lock down the architectural skeleton. This is where a 3d floor plan becomes trustworthy rather than decorative.
Priorities for the base model
- Exterior walls (including offsets and thickness)
- Interior partitions
- Doors and windows (positions, widths, swing directions)
- Ceiling heights (and any changes: dropped ceilings, vaults)
- Stairs (riser count, landing sizes)
If you only have a 2D plan without elevations, choose a conservative default ceiling height and clearly label it in your deliverables. Stakeholders can then interpret the 3D view appropriately.
Furniture planning: test real-life clearances, not just aesthetics
Furniture is where 3D pays off fastest—especially for renovations, rentals, and small spaces. But furniture also introduces the most misleading visuals if you use objects that aren’t dimensionally accurate.
Use “fit-first” furniture blocks
Start with simplified furniture volumes with correct dimensions. You can swap to prettier models later.
- Kitchen: verify aisle clearances around islands and galley runs
- Bedroom: confirm bed clearance, wardrobe door swing, nightstand space
- Living: check sofa depth, TV viewing distance, and walkway flow
Clearance rules of thumb (quick planning)
- Main walkways: aim for comfortable continuous paths between rooms
- In front of storage: leave space to open doors/drawers fully
- Dining: allow room to pull chairs out without blocking circulation
These are practical heuristics for early layout testing. For final construction, always confirm local codes and project requirements.
Lighting and materials: make the 3D floor plan readable, not “over-rendered”
For planning and presentations, clarity beats photorealism. A clean 3d floor plan should help a viewer understand space, not distract them with glossy surfaces.
Presentation settings that improve comprehension
- Neutral materials: light walls, mid-tone floors, limited texture repetition
- Soft shadows: enough depth to show wall placement and openings
- Consistent camera heights: avoids “dollhouse” distortion
- Section/dollhouse views: remove roofs/upper parts so the plan reads instantly
Design review trick: Create two visual styles: (1) a neutral “review” style for layout decisions, and (2) a “mood” style for finishes and marketing.
Export strategy: the views stakeholders actually need
One of the most overlooked parts of a 3d floor plan workflow is exporting the right set of images. A single hero view is rarely enough for decision-making.
Recommended export set
- Top-down 3D (furnished): best for layout and furniture placement
- Dollhouse/section view: shows room relationships at a glance
- Per-room perspectives: one from the entry of each key room
- Kitchen/bath close-ups: critical areas where clearances matter
- Option comparisons: the same camera angle across multiple layouts
If you’re presenting alternatives, keep camera angle, lighting, and style consistent across options so viewers compare layouts—not rendering differences.
A simple data structure for tracking layout options (optional but powerful)
If you iterate on multiple versions of a plan, track your choices like a product team would. Even a lightweight JSON file can help you document what changed and why.
{
  "project": "Apartment layout study",
  "scale_verified_by": "Living room wall: 4.20m",
  "options": [
    {
      "name": "Option A - open dining",
      "changes": [
        "Removed partial wall between kitchen and dining",
        "Moved dining table closer to window",
        "Swapped sofa orientation"
      ],
      "risks": [
        "Less storage near entry",
        "Potential glare on TV in afternoon"
      ]
    },
    {
      "name": "Option B - more storage",
      "changes": [
        "Added shallow storage run in entry",
        "Kept partial wall for concealment",
        "Reduced dining table size"
      ],
      "risks": [
        "Tighter circulation around dining"
      ]
    }
  ]
}
This is especially useful when stakeholders ask, “Why did we move that wall?” months later.
Quality assurance: an accuracy checklist before you share
Before sending your 3d floor plan to anyone, do a quick QA pass. This prevents avoidable confusion and protects your credibility.
- Scale verified against at least one known dimension
- Walls closed (no tiny gaps that create visual artifacts)
- Doors swing correctly and don’t collide with furniture
- Windows aligned with the 2D plan
- Ceiling height stated (if assumed)
- Furniture is dimensionally plausible (avoid random “pretty” assets)
- Exports labeled (Option A/B, camera view names, revision numbers)
When AI helps most (and where you still need human checks)
AI-assisted conversion can dramatically speed up the path from a 2D plan to a 3d floor plan—especially when you’re exploring early concepts or working from legacy drawings. But AI doesn’t eliminate the need for validation.
- AI excels at: detecting room boundaries, generating initial walls/openings, fast iteration, producing presentation-ready views
- You still must verify: scale, ambiguous symbols, unusual wall thicknesses, multi-level conditions, and any plan with messy markups
Conclusion: make your 3D floor plan a decision tool
The best 3d floor plan is the one that answers real questions: “Will the sectional fit?” “Can we open the dishwasher?” “Does this hallway feel cramped?” “How does Option B change the flow?” If you prioritize clean input, scale validation, structural correctness, and consistent exports, your 3D views become reliable—not just attractive.
If you prefer working on iPhone or iPad, an app like Floor Plan to 3D can help turn a black-and-white 2D plan into a dimension-faithful 3D starting point—just remember to run the same accuracy checks before you present or build.
