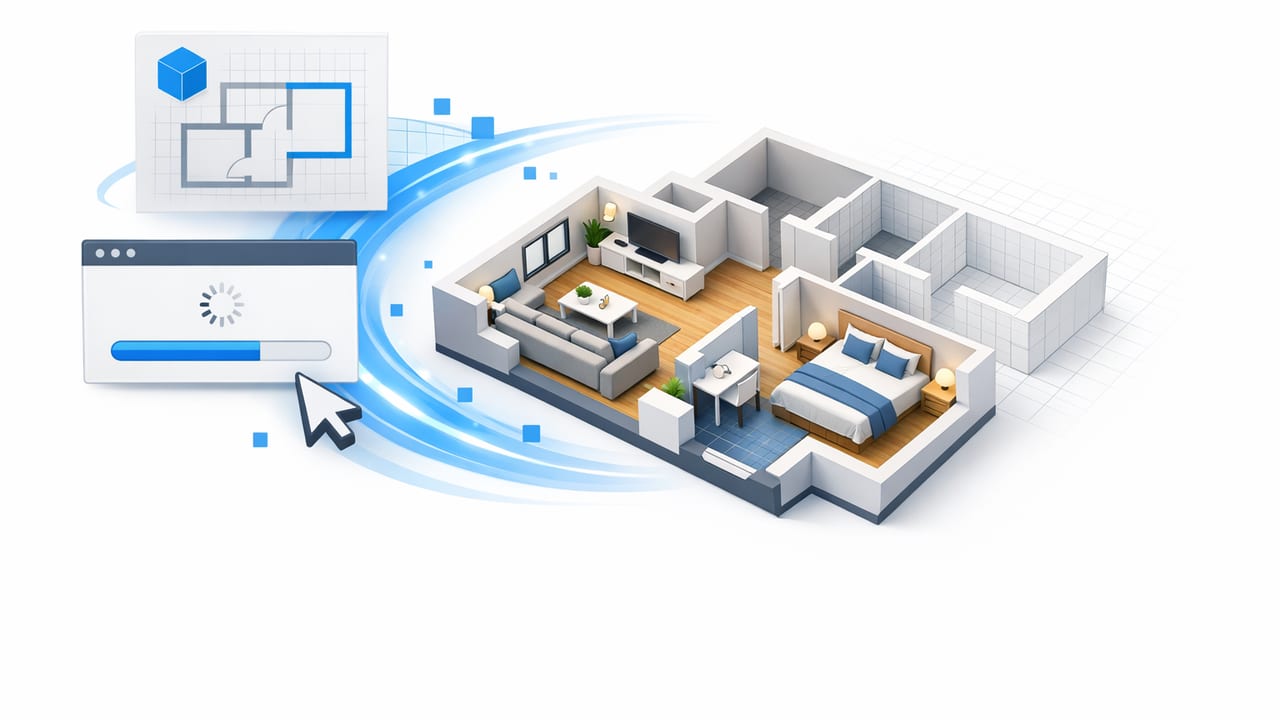
A 3d floor plan is more than a prettier version of a 2D drawing. It’s a practical decision tool: it helps you confirm scale, spot layout constraints, test furniture fit, and communicate renovation ideas to contractors or stakeholders without guesswork. Whether you’re planning a kitchen rework, finishing a basement, rethinking a rental layout, or presenting a property, a clean 3D view can shorten the “back-and-forth” phase dramatically.
This guide walks through an accuracy-first workflow to create, validate, and use a 3D floor plan—especially when your starting point is a scanned blueprint, a PDF plan, or an old black-and-white print.
What a 3D floor plan should (and shouldn’t) do
The most useful 3D floor plans are not the most stylized—they’re the most trustworthy. The goal is to preserve the original plan’s logic while making it easier to understand.
- Should do: keep proportions consistent, maintain room relationships, reflect door/window placement, preserve labels and key dimensions, and make circulation paths obvious.
- Shouldn’t do: invent wall thicknesses, “auto-fix” ambiguous measurements without confirmation, or hide inconsistencies behind fancy textures.
Think of a 3D floor plan as a bridge between technical intent (2D plan) and human understanding (spatial preview).
2D plan vs 3D floor plan vs photoreal render
People often mix these up. Here’s a quick comparison so you can choose the right output for the job.
| Output type | Best for | What you get | Common risk |
|---|---|---|---|
| 2D floor plan | Permits, construction intent, precise annotation | Exact dimensions, notes, symbols | Hard for non-technical viewers to visualize |
| 3D floor plan | Layout decisions, furniture planning, renovation previews | Spatial clarity with layout accuracy | Looks “real,” so errors can be believed too easily |
| Photoreal render | Marketing, mood-setting, finish selection | Lighting, materials, style direction | Can distract from layout feasibility and scale |
The accuracy-first workflow for a 3D floor plan
Most mistakes happen before you even enter a tool—during preparation and assumptions. Use this sequence to reduce rework.
1) Start with the cleanest possible 2D input
If you’re converting a scan or photo, quality matters because faint lines and skewed images can shift walls and openings.
- Scan straight (avoid perspective). If photographing, shoot from directly above and keep the page flat.
- Increase contrast so walls and openings are clearly distinct.
- Remove clutter (stamps, coffee stains, background texture) when possible.
- Confirm scale information: at least one reliable dimension (e.g., overall width) to anchor everything.
Tip: If your plan lacks dimensions, measure one real-world reference (like a doorway width) on-site so your 3D floor plan doesn’t become an “approximation.”
2) Decide what “accurate enough” means for your use case
Accuracy requirements vary:
- Furniture planning: door swings, window heights, and clearances matter.
- Renovation budgeting: wall lengths, room areas, and opening sizes matter.
- Presentation: legibility and consistency matter more than micro-precision.
Define your “must-not-be-wrong” set before you model anything: exterior footprint, structural walls, plumbing walls, and stair geometry are common non-negotiables.
3) Trace the envelope first, then lock it
The fastest route to a distorted 3d floor plan is editing the outer boundary repeatedly while also placing interior partitions. Instead:
- Set the outer footprint (exterior walls).
- Place fixed cores: stairs, shafts, fireplaces, columns, chimneys.
- Add structural partitions (or the ones you assume are structural until verified).
- Then add non-structural partitions.
Locking the envelope early prevents “scale drift,” where small changes compound into noticeable proportion errors.
4) Place doors and windows using a repeatable rule
Openings are where 3D plans become believable—so they must be consistent. Use a rule like:
- Doors: verify width and swing direction; place relative to the nearest corner dimension, not “by eye.”
- Windows: confirm centerline or offset from corners; keep sill heights consistent if you’re previewing cabinetry or furniture.
If the original plan is ambiguous, flag it as “to verify” rather than guessing. In presentations, transparency builds trust.
5) Add labels and room dimensions for decision speed
A 3D view is intuitive, but decisions often require quick numbers. Add:
- Room names (Kitchen, Bedroom 2, Laundry)
- Approx. room dimensions (or area)
- Ceiling height assumptions (especially in basements, lofts, or attic conversions)
This turns a pretty model into a working document.
A simple validation checklist (before you share)
Use these checks to catch the most common 3D floor plan errors.
- Overall footprint: Does the exterior width/length match the reference dimension?
- Wall thickness: Is it consistent? If unknown, choose a default and note it.
- Door clearance: Do door swings collide with fixtures or furniture?
- Circulation paths: Can you move logically from entry → living → kitchen → bedrooms?
- Stairs: Are the run, landing, and headroom plausible?
- Wet walls: Do bathroom/kitchen plumbing zones align with reality?
How to use an AI room planner without losing accuracy
AI room planners can accelerate layout ideas—especially for furnishing, zoning, and style variations. The key is to keep the AI “inside the rails” of the real plan.
Best practices
- Freeze the layout (walls/openings) before generating design ideas.
- Give constraints: “Keep the island 42 inches from counters,” “Don’t move plumbing,” “Maintain a 36-inch walkway.”
- Iterate by zones (kitchen work triangle, living seating group, bedroom storage wall) instead of redesigning everything at once.
- Compare options side-by-side and score them (storage, cost, build complexity, resale appeal).
When AI suggestions look great but feel “off,” it’s often because the underlying scale is wrong or because the AI is optimizing for aesthetics, not building constraints.
Practical example: capturing plan assumptions in a shareable format
If you collaborate with a designer or contractor, document your assumptions so everyone critiques the same model. Even a simple structured note helps. Here’s an example you can paste into a project doc:
{
  "project": "Main floor refresh",
  "reference_dimension": {
    "type": "exterior_width",
    "value": 32.0,
    "unit": "ft",
    "source": "measured on site"
  },
  "assumptions": {
    "ceiling_height": {"value": 8.0, "unit": "ft"},
    "wall_thickness_interior": {"value": 4.5, "unit": "in"},
    "wall_thickness_exterior": {"value": 6.5, "unit": "in"}
  },
  "verify": [
    "Window W3 sill height in kitchen",
    "Is the dining room wall load-bearing?",
    "Stair opening width at landing"
  ]
}
This prevents the classic failure mode: someone reviews your 3D floor plan, assumes everything is verified, and makes downstream decisions that later require rework.
Common 3D floor plan mistakes (and how to avoid them)
Mistake 1: Trusting a low-quality scan
Skew, compression artifacts, and faded lines lead to “soft errors” that are hard to notice until furniture doesn’t fit. Fix with a better scan or re-shoot the photo square to the page.
Mistake 2: Guessing wall thickness and then measuring from the wrong face
Some plans dimension to centerlines, others to faces. If you’re unsure, pick one method and apply it consistently, then annotate your assumption.
Mistake 3: Over-decorating too early
If you add finishes and furniture before validating layout, visual polish can mask layout problems. Validate geometry first, then style.
Mistake 4: Ignoring doors, swings, and clearances
A 3D floor plan that lacks door logic often “looks fine” but fails in real use. Always check collisions (bath doors vs vanities, fridge doors vs islands, closet doors vs beds).
How to present a 3D floor plan for approvals
Approvals are easier when stakeholders can understand tradeoffs quickly. Package your output like a mini decision deck:
- One overview image (whole level) with labels.
- Two to three focused views (kitchen, primary bath, main living zone).
- A comparison set: Option A vs Option B, with 2–3 bullets each.
- A constraints note: what cannot change (structure, plumbing, budget).
Good review questions: “Is circulation better?”, “Do we gain storage?”, “What is the most expensive change?”, “What are we assuming but haven’t verified?”
FAQ: quick answers about 3D floor plans
Is a 3D floor plan accurate enough for construction?
It can support construction discussions, but construction typically requires detailed 2D drawings and specifications. Use the 3D floor plan to align on layout intent, then confirm with proper documentation.
What’s the fastest way to improve accuracy?
Anchor the model to at least one reliable real-world measurement and validate the outer footprint early.
How do I keep redesign ideas realistic?
Separate layout from style. Keep walls/openings fixed while you explore finishes, furniture, and staging options.
Putting it all together
A high-quality 3d floor plan is built on clear inputs, explicit assumptions, and validation checkpoints. If you treat it as a decision model—not just a visualization—you’ll make faster layout calls, reduce misunderstandings, and share renovation concepts with far less friction.
If you prefer an iOS workflow for converting black-and-white plans into clean 3D previews and experimenting with AI-guided layouts, Floor Plan to 3D & Home Redesign is one option to explore.
