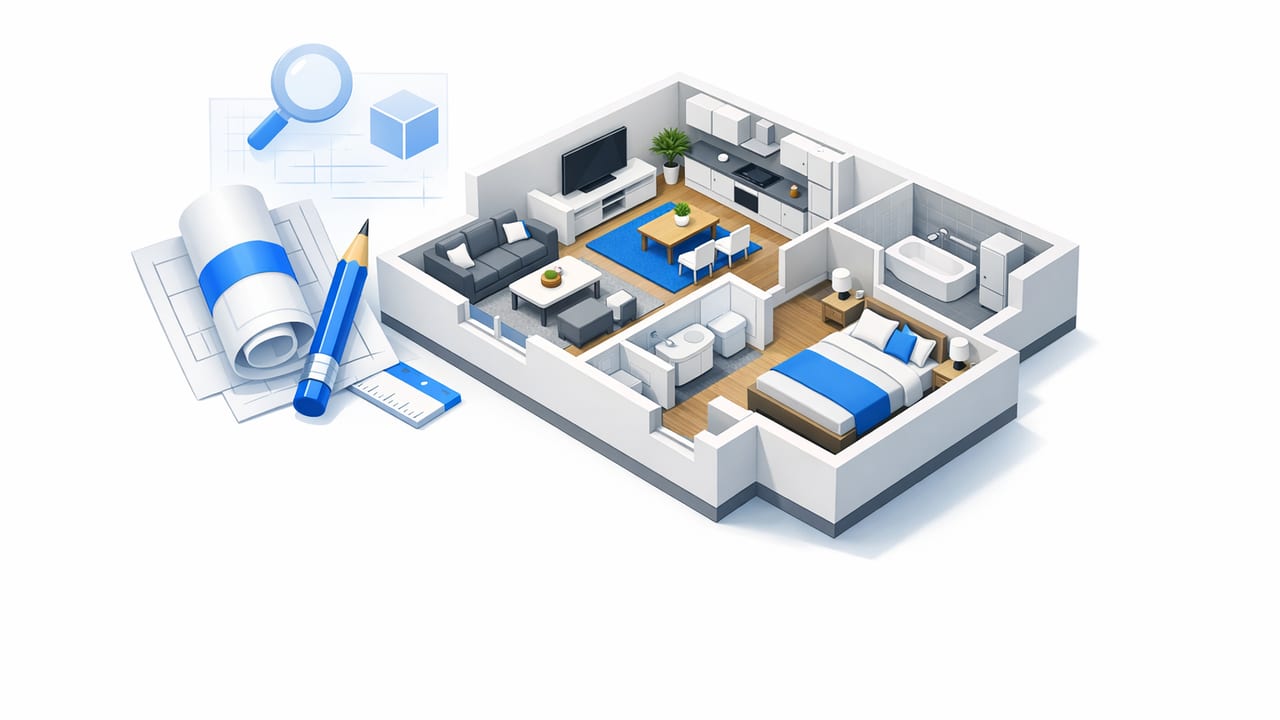
An accurate 3d floor plan is more than a “nice visualization.” It’s a decision tool. When scale is off by even a few percent, furniture won’t fit, circulation paths feel wrong, and renovation estimates can drift. The good news: you don’t need heavyweight 3D software to get reliable results. You need a repeatable accuracy workflow—especially when your source is a scanned black-and-white plan, a blueprint PDF, or a photo taken on-site.
This guide explains how to convert a 2D plan into a trustworthy 3D floor plan by controlling scale, wall thickness, openings (doors/windows), and room labels/dimensions. You’ll also learn when AI room planning helps and when you should override it to preserve the original layout.
Why accuracy matters in a 3D floor plan
A 3D floor plan usually feeds multiple downstream tasks:
- Renovation previews: testing kitchen layouts, bathroom changes, or wall removals before spending on contractors.
- Interior design planning: verifying clearances (walkways, door swings, seating zones) and furniture fit.
- Exterior refresh concepts: aligning interior changes with window placement and facade updates.
- Client presentations: exporting high-resolution renders for proposals, listings, or stakeholder reviews.
In each case, accuracy is what makes the render actionable—not just pretty.
Start with the source: choosing the right floor plan input
Your final model can’t be better than your input. Before conversion, assess the plan you have:
- Vector PDF or CAD: best for accuracy; lines are crisp and measurable.
- Scanned blueprint: workable, but often skewed or noisy; requires scale calibration.
- Photo of a plan: most error-prone due to perspective distortion; fix distortion first if possible.
Quick quality checklist
- At least one clear dimension string (e.g., “12'-6\"”).
- Legible room labels (Kitchen, Bedroom, etc.).
- Door swings and window breaks visible.
- No heavy shadows across critical walls.
Accuracy isn’t a single setting—it’s a chain. If scale is wrong at step one, every downstream decision inherits the error.
The 7-step accuracy workflow for floor plan conversion
Use this sequence whether you’re modeling manually or using an automated converter. It’s designed to reduce rework.
1) Calibrate scale using a known dimension
Pick a dimension that is both long (reduces relative error) and unambiguous (not a rounded estimate). Great choices include the overall building width or a long exterior wall dimension.
Tip: Avoid calibrating from a single door width unless you’re certain it’s standard (and the plan isn’t stylized).
2) Confirm wall thickness assumptions
Wall thickness impacts room sizes and furniture clearance. Many floor plans simplify walls, but your 3D floor plan should match the plan’s convention:
- Interior partitions: often 90–140 mm (or 3.5"–5.5") depending on region/material.
- Exterior walls: commonly thicker due to insulation/structure.
If the plan shows double lines for walls, you can infer thickness; if it’s single-line, you’ll need a consistent assumption and note it in your project.
3) Trace the primary envelope first (then internal walls)
Build the exterior boundary and major structural elements before interior partitions. This prevents drift where small tracing errors compound room-by-room. A reliable 3d floor plan typically comes from anchoring the “big geometry” first.
4) Place openings: doors and windows with real-world logic
Door swings and window placements are the most “felt” inaccuracies in a walkthrough. Validate openings with these checks:
- Door swing clearance: does it collide with cabinets, toilets, or furniture?
- Window head heights: consistent across a facade unless the plan specifies otherwise.
- Alignment: windows often center on a room or align with exterior elevations.
If your plan lacks opening dimensions, use typical standards—but keep them editable.
5) Preserve labels and key dimensions (they’re not decoration)
Room labels, annotations, and dimension strings are critical metadata. In many renovation workflows, stakeholders rely on the label layer to cross-check the 3D view with the original plan. When converting, ensure:
- Room names remain attached to the correct area.
- Dimensions reflect the same measurement convention (inside-to-inside vs. outside-to-outside).
- Any “notes” (e.g., “NEW WALL,” “REMOVE”) are carried into a comments layer.
6) Validate with two independent measurements
After conversion, verify accuracy using at least two checks that do not share the same potential error source. For example:
- Overall exterior width vs. the plan’s overall width.
- One major interior span (e.g., living room length) vs. the plan’s interior dimension.
If both match, your scale and tracing are likely stable. If one matches and one doesn’t, the plan may be distorted—or a wall thickness assumption is wrong.
7) Run a “use-case” test: furniture and circulation
The fastest practical validation is a layout test. Drop in a few common objects:
- Queen bed (60" x 80") + side clearance
- Dining table + chair pull-back zone
- Sofa + coffee table spacing
If the model behaves like a real space, your 3d floor plan is ready for redesign iterations.
Common accuracy pitfalls (and how to fix them)
Skewed scans and perspective photos
Scans can be stretched; photos can be trapezoidal. If you notice that one side matches scale but the other doesn’t, you’re likely seeing distortion. Fix by:
- Using a document-scanner mode to straighten the image before conversion.
- Calibrating scale using an exterior dimension and checking the opposite side.
Inconsistent dimension conventions
Some plans dimension to the outside of walls; others to the inside. Mixing these leads to “almost right” rooms that fail furniture tests. Choose one convention and apply it consistently.
Ignoring stair geometry
Stairs are a frequent source of mistakes: riser count, landing depth, and direction matter. If your 3d floor plan includes multiple levels, confirm stair placement early so vertical circulation aligns.
Manual modeling vs. automated conversion: a practical comparison
| Approach | Best for | Pros | Cons |
|---|---|---|---|
| Manual CAD/3D modeling | Complex projects, detailed documentation | Maximum control, precision detailing | Slow, steeper learning curve |
| Automated floor plan conversion | Fast renovation previews, early concepts | Quick turnaround, easy iteration | Needs verification for scale/openings |
| Hybrid (auto + manual fixes) | Most homeowners and remodelers | Speed plus accuracy where it matters | Requires a short validation pass |
Where AI room planner features help (and where to be careful)
AI room planning can dramatically speed up early-stage design by proposing furniture layouts, color palettes, and renovation concepts. It’s especially useful when you’re exploring options like:
- Open-plan living/dining configurations
- Kitchen triangle improvements
- Staging an empty room for listings
- Exterior refresh ideas that complement window placement
Be cautious when AI suggestions:
- Move structural walls without confirmation.
- Assume nonstandard door sizes or ignore swings.
- Change proportions (e.g., “widening” a room) without updating dimensions.
The best workflow is: lock the base geometry first, then iterate with AI on finishes, furniture, and non-structural changes.
Export tips: getting clean images from a 3D floor plan
When exporting for a proposal or presentation, clarity beats cinematic effects. Aim for:
- Consistent camera angles: one top-down 3D floor plan view plus 2–3 interior perspectives per key room.
- Readable labels: room names should be legible at the intended viewing size.
- Neutral lighting: reduces misinterpretation of color/finish decisions.
- High resolution: especially if the image will be printed or used in a slide deck.
A tiny “scale sanity check” you can automate
If you export measurements or you’re doing quick checks, it helps to standardize unit conversions (especially when plans mix feet/inches with metric). Here’s a simple snippet to convert feet+inches to meters for verification notes:
# Convert feet/inches to meters (for quick validation notes)

def ft_in_to_m(feet: float, inches: float = 0) -> float:
    total_inches = feet * 12 + inches
    return total_inches * 0.0254

# Example: 12'-6" = 12 feet, 6 inches
print(ft_in_to_m(12, 6))  # 3.81 m (approx)
You don’t need code to make a 3d floor plan—but you do need a repeatable way to confirm the model matches the plan.
FAQ: accurate 3D floor plans for redesign
What’s the most important factor for an accurate 3d floor plan?
Scale calibration. If you calibrate from a reliable dimension and validate with a second measurement, most other issues become manageable adjustments.
Do I need ceiling heights?
For many renovation previews, you can start with a standard height and adjust later. But if you’re changing lighting, cabinetry to ceiling, or window proportions, accurate heights matter.
How precise should it be?
For layout and furniture planning, being within ~1–2% is typically workable. For construction documents, you’ll need tighter control and professional review.
Putting it all together
A reliable 3d floor plan comes from a simple discipline: calibrate scale, preserve geometry, verify twice, then iterate. Once the base model is trustworthy, AI-driven room planning and redesign ideas become far more useful because they’re applied to the right proportions—so your previews translate into real-world decisions.
If you’re looking for a lightweight way to convert black-and-white plans into clean 3D and then explore room layouts and redesign options, an iOS tool like Floor Plan to 3D & Home Redesign can fit neatly into this accuracy-first workflow—just remember to run the validation steps before you present or build.
